Situation
3Recording Concerts
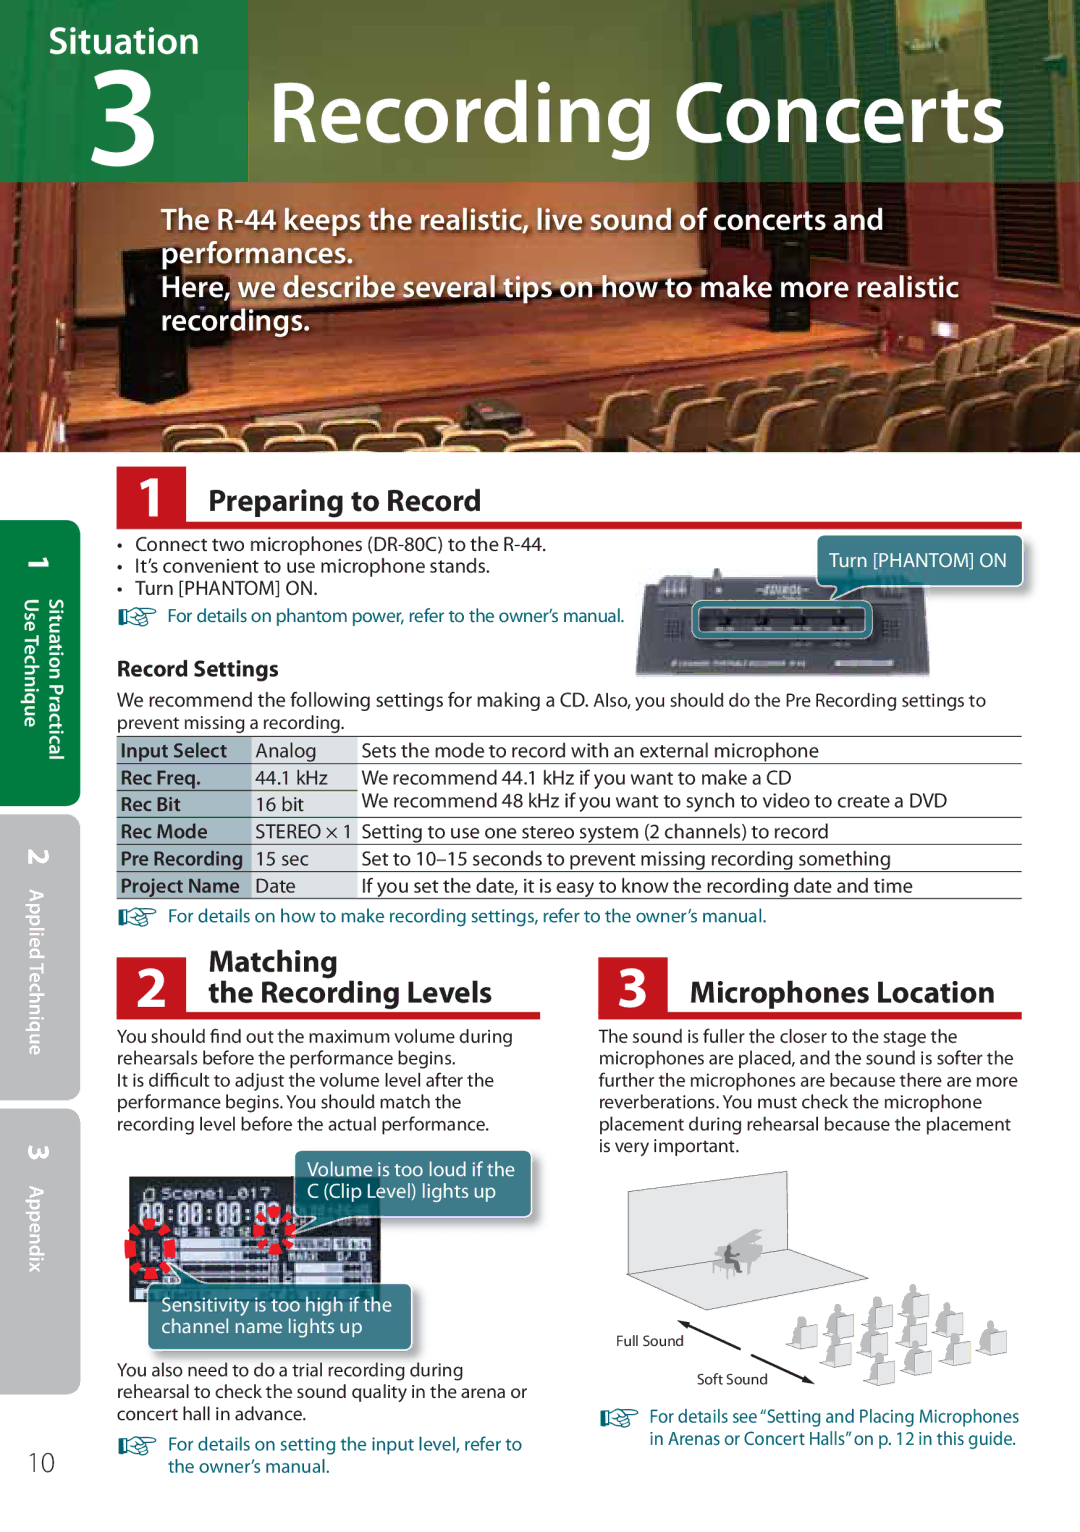
The
Here, we describe several tips on how to make more realistic recordings.
Situation Practical 1 Use Technique2 Applied Technique
1 Preparing to Record
• Connect two microphones | Turn [PHANTOM] ON | |
• | It’s convenient to use microphone stands. | |
• | Turn [PHANTOM] ON. |
|
☞For details on phantom power, refer to the owner’s manual.
Record Settings
We recommend the following settings for making a CD. Also, you should do the Pre Recording settings to prevent missing a recording.
Input Select | Analog | Sets the mode to record with an external microphone |
Rec Freq. | 44.1 kHz | We recommend 44.1 kHz if you want to make a CD |
Rec Bit | 16 bit | We recommend 48 kHz if you want to synch to video to create a DVD |
Rec Mode | STEREO × 1 Setting to use one stereo system (2 channels) to record | |
Pre Recording | 15 sec | Set to |
Project Name | Date | If you set the date, it is easy to know the recording date and time |
☞For details on how to make recording settings, refer to the owner’s manual.
2 | Matching | 3 Microphones Location |
the Recording Levels |
3 Appendix
10
You should find out the maximum volume during rehearsals before the performance begins.
It is difficult to adjust the volume level after the performance begins. You should match the recording level before the actual performance.
Volume is too loud if the
C (Clip Level) lights up
Sensitivity is too high if the channel name lights up
You also need to do a trial recording during rehearsal to check the sound quality in the arena or concert hall in advance.
☞For details on setting the input level, refer to the owner’s manual.
The sound is fuller the closer to the stage the microphones are placed, and the sound is softer the further the microphones are because there are more reverberations. You must check the microphone placement during rehearsal because the placement is very important.
Full Sound 
Soft Sound
☞For details see “Setting and Placing Microphones in Arenas or Concert Halls” on p. 12 in this guide.
