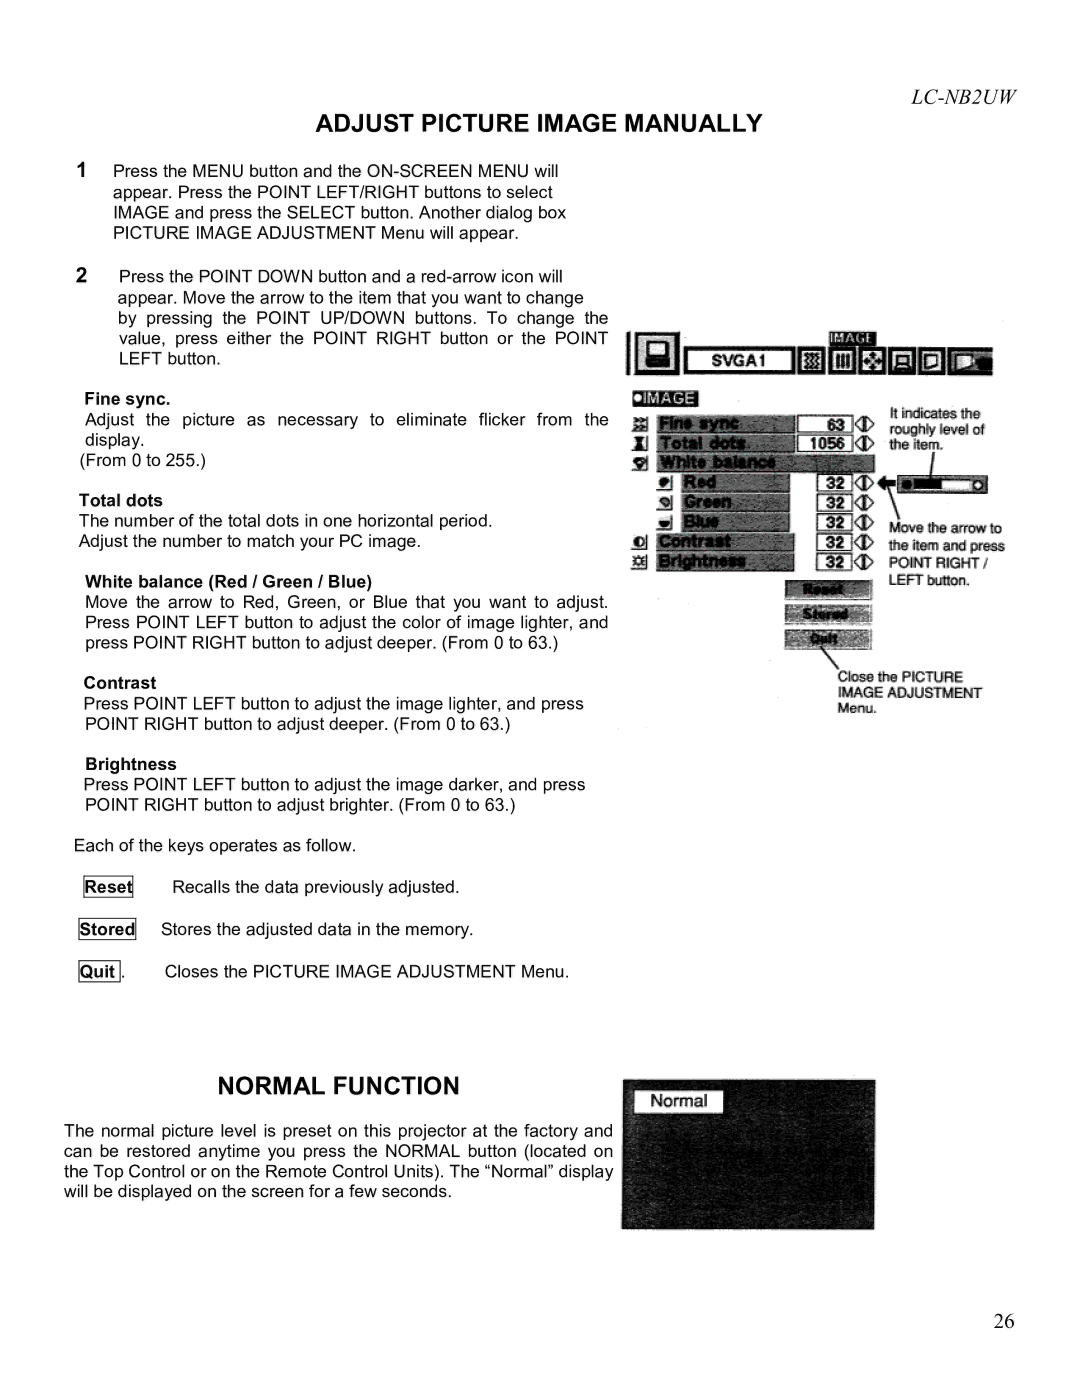
LC-NB2UW specifications
The Eiki LC-NB2UW is a versatile and high-performance portable projector designed to meet the needs of various presentation environments, from small meeting rooms to large lecture halls. This advanced projector integrates cutting-edge technologies to deliver brilliant image quality, making it a reliable tool for educators, business professionals, and event organizers alike.One of the main features of the Eiki LC-NB2UW is its impressive brightness level, boasting up to 3,600 ANSI lumens. This high brightness ensures clear visibility even in well-lit rooms, allowing presenters to deliver their messages effectively without being hindered by ambient lighting. Coupled with a native resolution of WUXGA (1920 x 1200), the projector offers stunning visuals with sharp details and vibrant colors, making images, videos, and presentations truly stand out.
The Eiki LC-NB2UW utilizes DLP (Digital Light Processing) technology, which enhances picture quality by providing high contrast ratios and rich color reproduction. This technology also contributes to the longevity of the projector, as it is known for its durability and resistance to color decay over time. Users can expect consistent and reliable performance without worrying about image degradation.
Another notable characteristic of the Eiki LC-NB2UW is its comprehensive connectivity options. The projector is equipped with multiple input interfaces, including HDMI, VGA, and USB ports, allowing seamless integration with various devices such as laptops, Blu-ray players, and streaming devices. This versatility makes it easy to switch between different media sources during presentations, accommodating diverse content formats.
Additionally, the Eiki LC-NB2UW features built-in speakers, optimizing the audio experience for presentations without the need for external sound systems. This feature is particularly beneficial for users who require an all-in-one solution for conveying information effectively.
Weighing just around 5.5 pounds, the Eiki LC-NB2UW is designed for portability, making it easy to transport between different venues. Its compact size and lightweight design enable users to set up impromptu presentations with minimal fuss.
In summary, the Eiki LC-NB2UW is an exceptional choice for anyone looking for a reliable and high-quality portable projector. With its impressive brightness, outstanding resolution, versatile connectivity options, and portable design, it proves to be an essential tool for effective communication in various professional settings.