7Adjust the focus of the Projection Lens.
Lens Lock Screw and rotate the Projection Lens to obtain a proper focus. After adjusting the focus, be sure to lock the Projection Lens with the Focus Lens Lock Screw securely. (See Fig. 5.) Adjust the focus of the Projection Lens MODEL
8Replace the Upper Lens Cover. Fix the Upper Lens Cover with four (4) Screws C. (See Fig.2.) Except the Model
Slide the
9Replace the Lower Lens Cover. Fix the Lower Lens Cover with two (2) Screws A. (See Fig.1.) Except the Model
Slide the
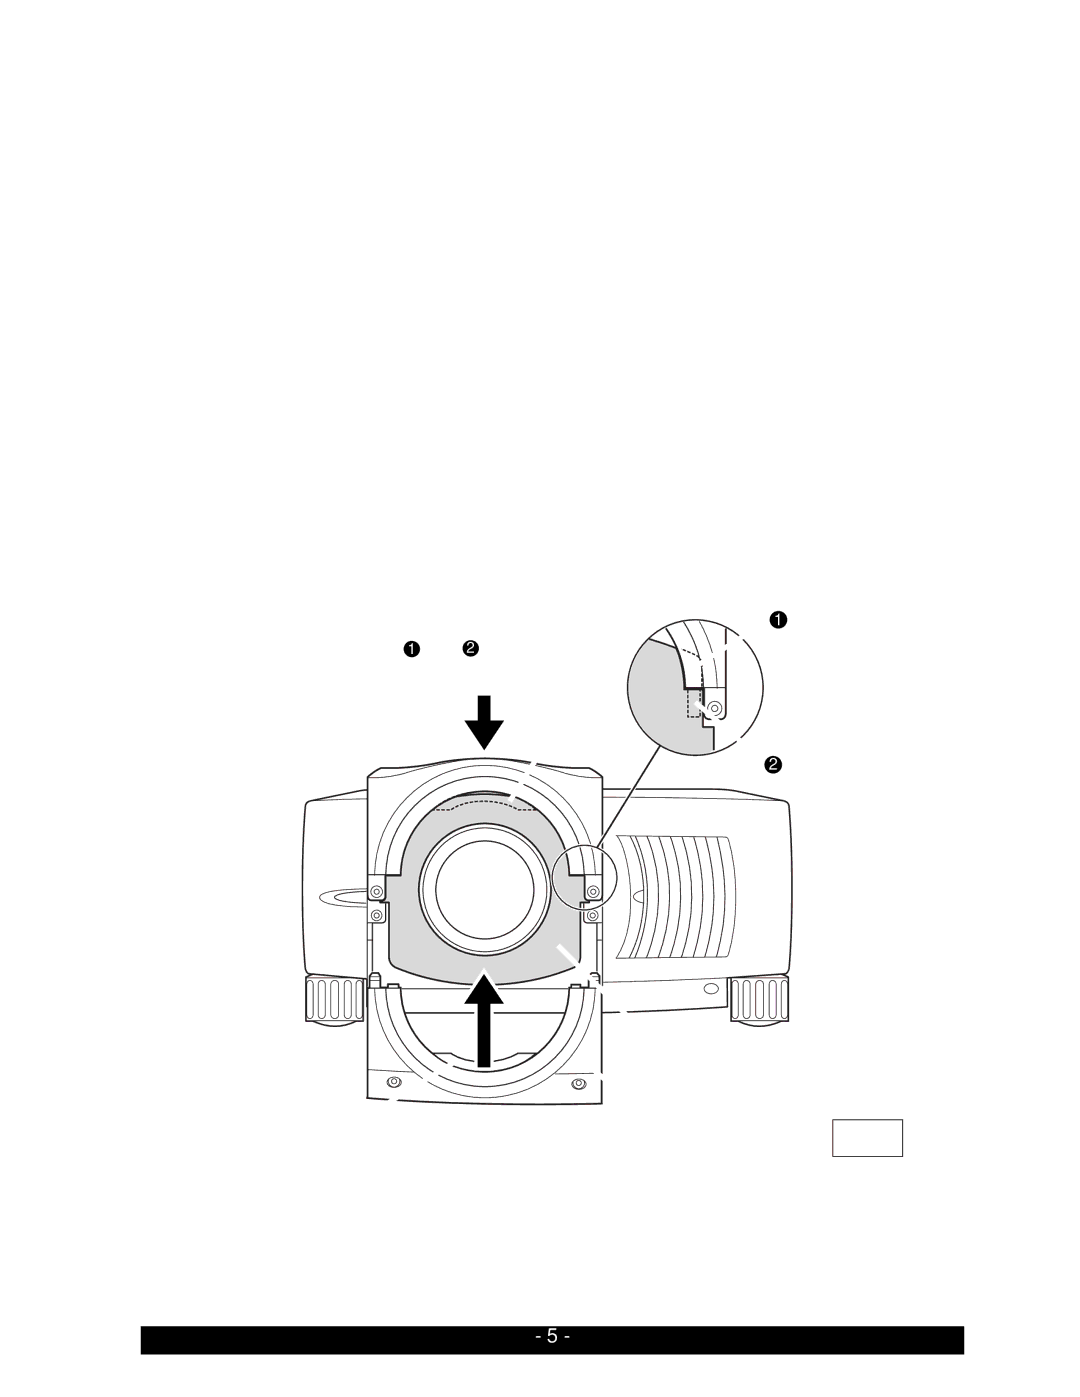
10 | Turn the projector on and operate the Lens shift, Zoom, and Focus fully to check the |
Sheets. If the |
are set properly.
Slide both upper sides of LIGHT BLOCK
Sheets in between 1 | and 2 . |
Slide into front | FLAP |
of the flap. |
|
1UPPER LENS COVER
2GUIDE
SHEETS
FLAP | LOWER LENS | |
COVER | ||
|
E
Fig-9
- 5 -
