Setting Procedures
1. Perform the auto adjustment.
●●To adjust flickering, screen position, and screen size automatically “Auto Screen Adjust”
Procedure
1.Choose “Screen” in the Setting menu, and press ![]() .
.
2.Choose “Auto Screen Adjust” in the “Screen” menu, and press ![]() .
.
3.Select “Yes” with ![]() or
or ![]() , and press
, and press ![]() .
.
Flickering, screen position, and screen size are corrected by the
If the screen is not displayed correctly even after performing “1. Perform the auto adjustment.” (page 24), perform the adjustments according to the procedures on the following pages. If the screen is displayed correctly, go to “5. Adjusting color gradation.” (page 26).
2.Prepare to use analog screen adjustment patterns.
Load the “EIZO LCD Utility Disk” to your PC, and then open the “Screen adjustment pattern files”.
Note
•For details and instructions on opening the “Screen adjustment pattern files”, refer to the Readme.txt file.
3.Perform the auto adjustment again with the analog screen adjustment pattern displayed.
●●To adjust flickering, screen position, and screen size automatically “Auto Screen Adjust”
Procedure
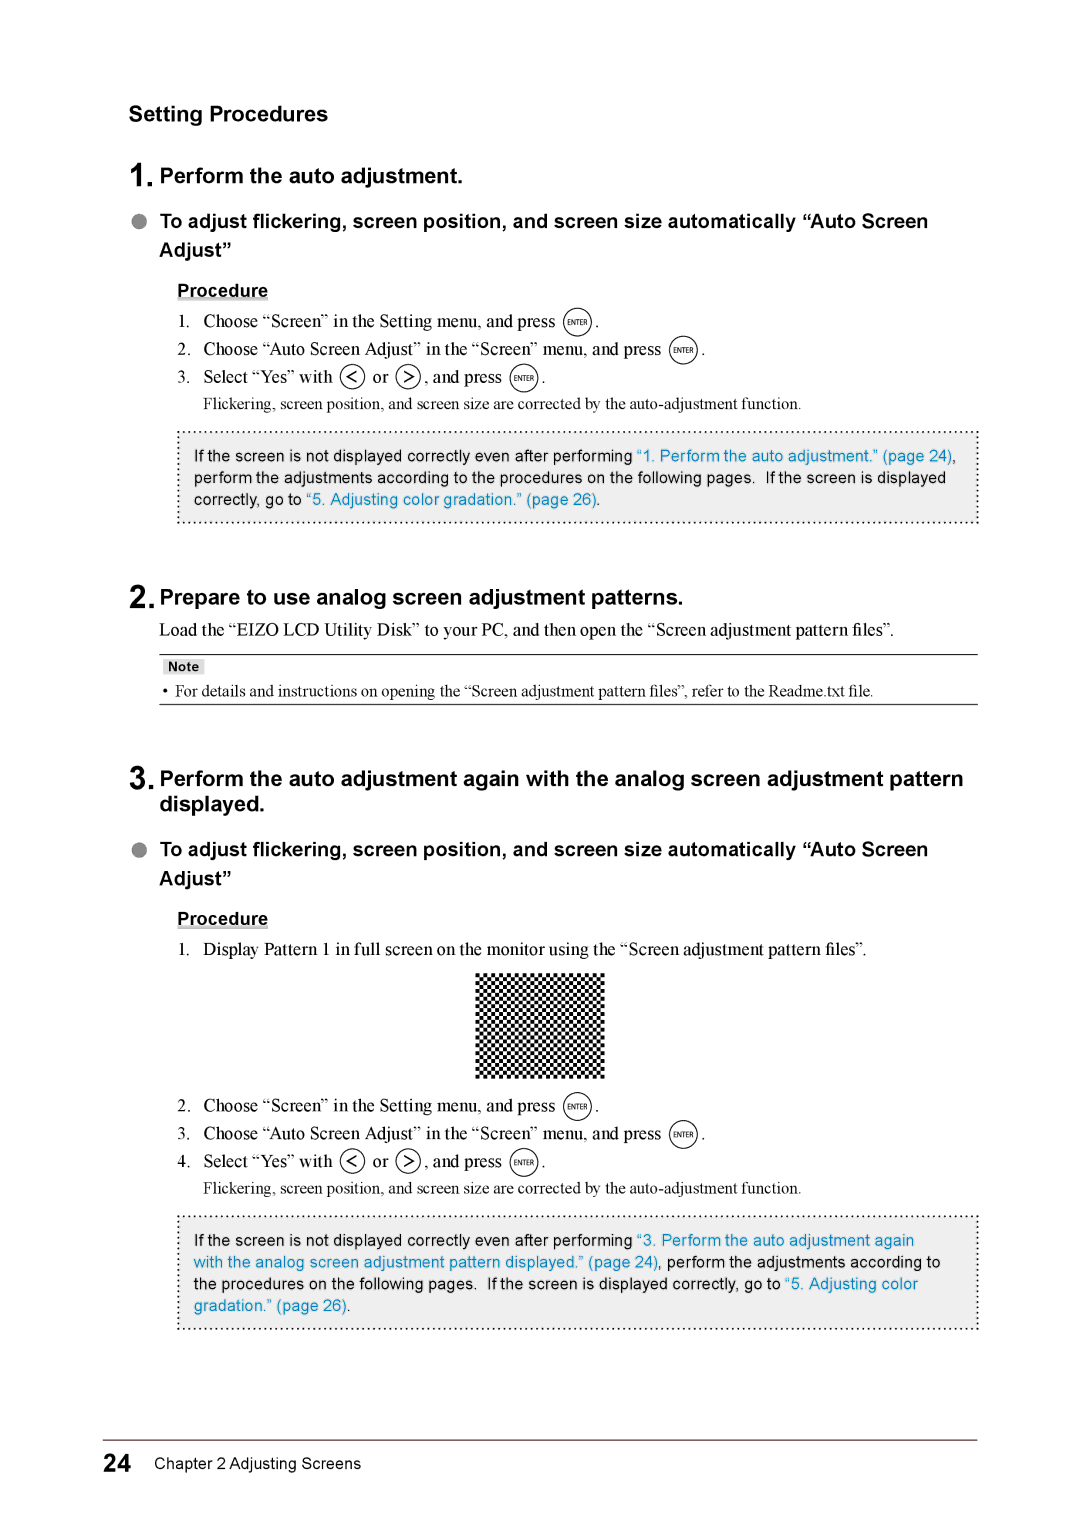
1.Display Pattern 1 in full screen on the monitor using the “Screen adjustment pattern files”.
2.Choose “Screen” in the Setting menu, and press ![]() .
.
3.Choose “Auto Screen Adjust” in the “Screen” menu, and press ![]() .
.
4.Select “Yes” with ![]() or
or ![]() , and press
, and press ![]() .
.
Flickering, screen position, and screen size are corrected by the
If the screen is not displayed correctly even after performing “3. Perform the auto adjustment again with the analog screen adjustment pattern displayed.” (page 24), perform the adjustments according to the procedures on the following pages. If the screen is displayed correctly, go to “5. Adjusting color gradation.” (page 26).
24 Chapter 2 Adjusting Screens
