3. PRESSURE TESTING
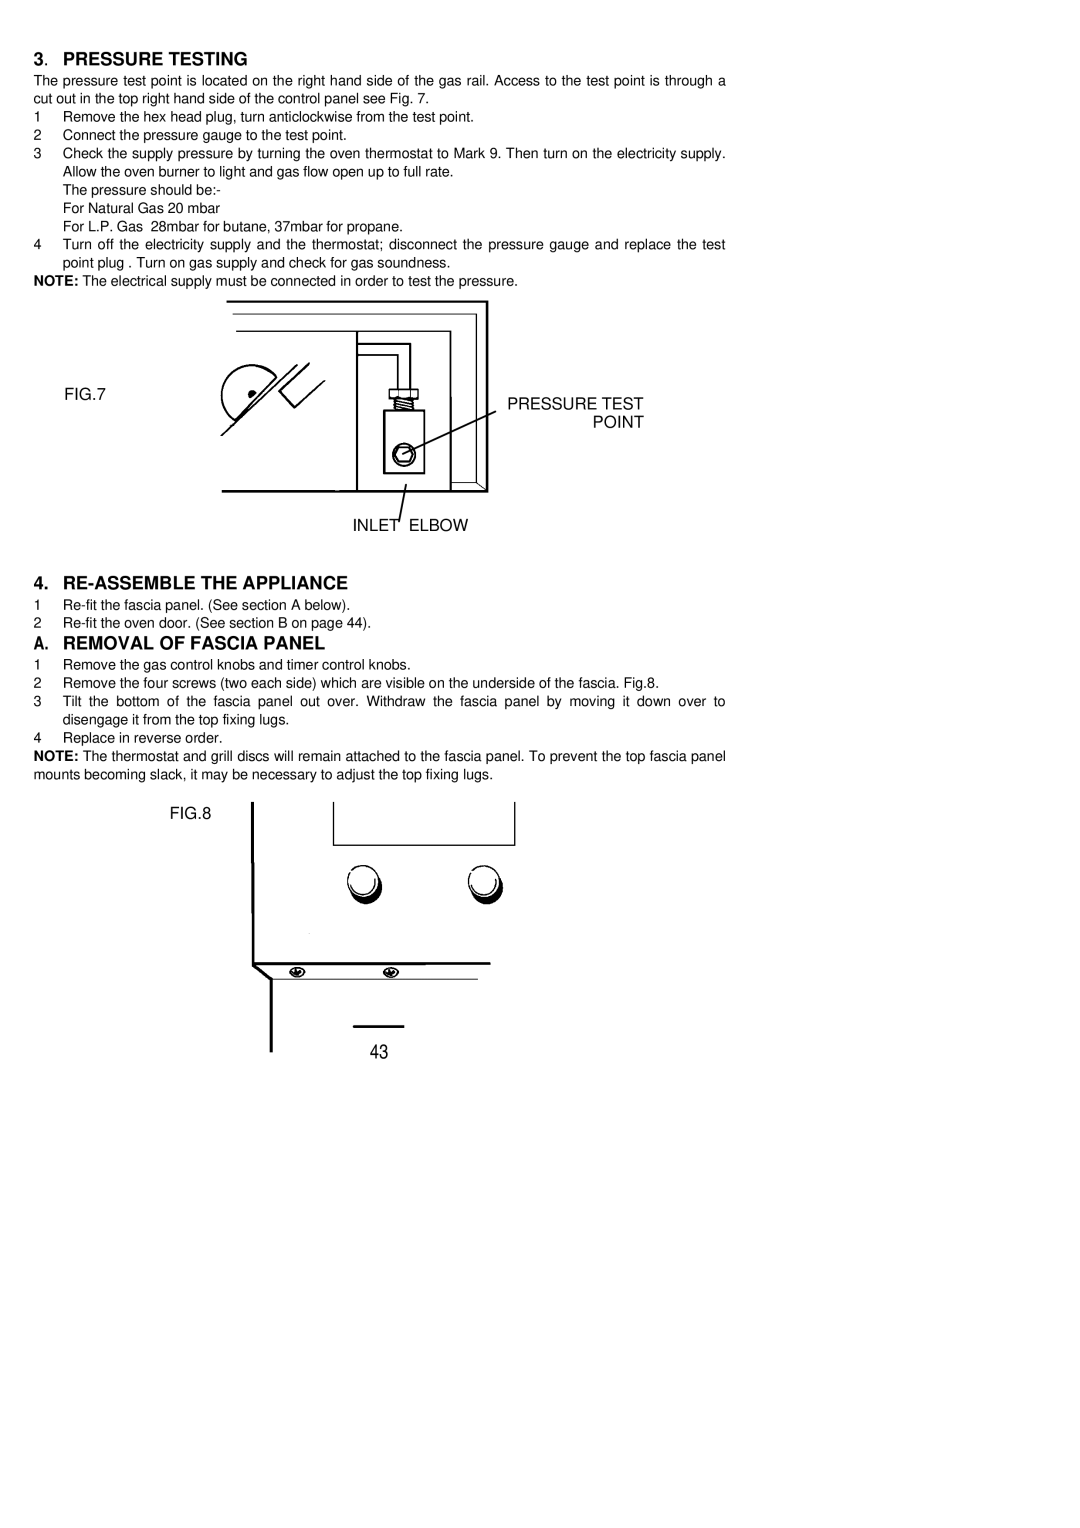
The pressure test point is located on the right hand side of the gas rail. Access to the test point is through a cut out in the top right hand side of the control panel see Fig. 7.
1Remove the hex head plug, turn anticlockwise from the test point.
2Connect the pressure gauge to the test point.
3Check the supply pressure by turning the oven thermostat to Mark 9. Then turn on the electricity supply. Allow the oven burner to light and gas flow open up to full rate.
The pressure should be:- For Natural Gas 20 mbar
For L.P. Gas 28mbar for butane, 37mbar for propane.
4Turn off the electricity supply and the thermostat; disconnect the pressure gauge and replace the test point plug . Turn on gas supply and check for gas soundness.
NOTE: The electrical supply must be connected in order to test the pressure.
FIG.7
PRESSURE TEST POINT
INLET ELBOW
4. RE-ASSEMBLE THE APPLIANCE
1
2
A.REMOVAL OF FASCIA PANEL
1Remove the gas control knobs and timer control knobs.
2Remove the four screws (two each side) which are visible on the underside of the fascia. Fig.8.
3Tilt the bottom of the fascia panel out over. Withdraw the fascia panel by moving it down over to disengage it from the top fixing lugs.
4Replace in reverse order.
NOTE: The thermostat and grill discs will remain attached to the fascia panel. To prevent the top fascia panel mounts becoming slack, it may be necessary to adjust the top fixing lugs.
FIG.8
43