INSTALLATION AND CONNECTION INSTRUCTIONS
Installing the Dishwasher
•The dishwasher must be installed on a firm floor and adjusted to ensure that it is stable and level.
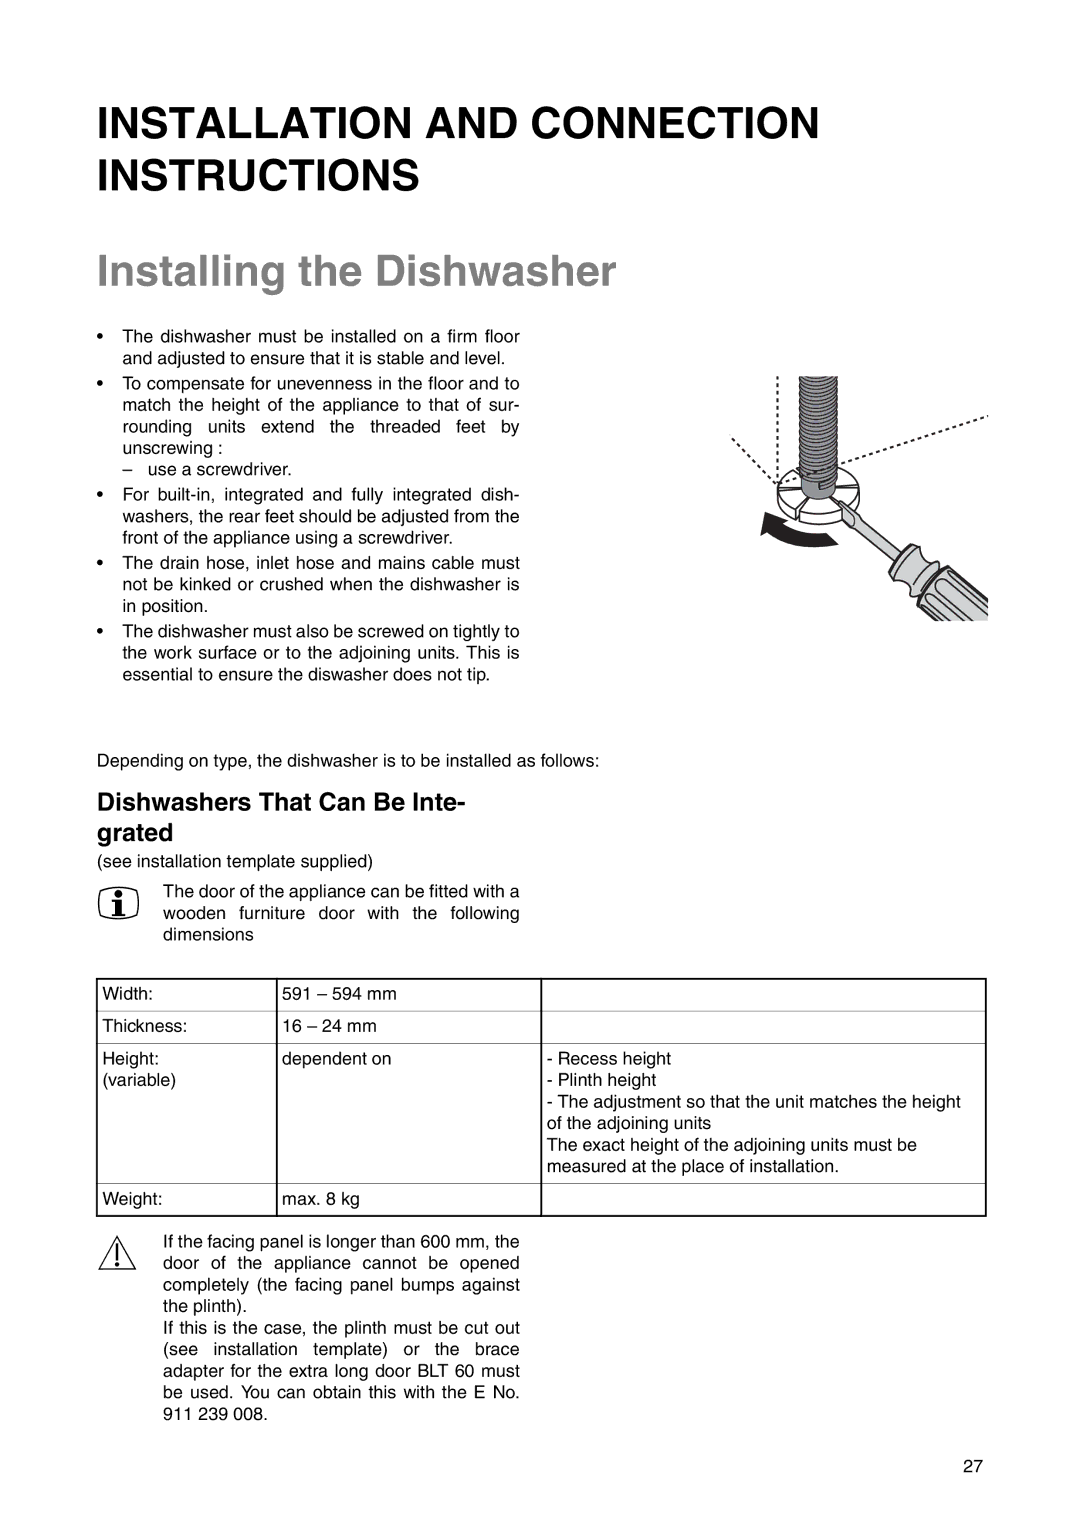
• To compensate for unevenness in the floor and to match the height of the appliance to that of sur- rounding units extend the threaded feet by unscrewing :
– use a screwdriver.
•For
washers, the rear feet should be adjusted from the front of the appliance using a screwdriver.
•The drain hose, inlet hose and mains cable must not be kinked or crushed when the dishwasher is in position.
•The dishwasher must also be screwed on tightly to the work surface or to the adjoining units. This is essential to ensure the diswasher does not tip.
Depending on type, the dishwasher is to be installed as follows:
Dishwashers That Can Be Inte- grated
(see installation template supplied)
3The door of the appliance can be fitted with a wooden furniture door with the following dimensions
Width: | 591 – 594 mm |
|
|
|
|
Thickness: | 16 – 24 mm |
|
|
|
|
Height: | dependent on | - Recess height |
(variable) |
| - Plinth height |
|
| - The adjustment so that the unit matches the height |
|
| of the adjoining units |
|
| The exact height of the adjoining units must be |
|
| measured at the place of installation. |
|
|
|
Weight: | max. 8 kg |
|
|
|
|
1If the facing panel is longer than 600 mm, the door of the appliance cannot be opened completely (the facing panel bumps against the plinth).
If this is the case, the plinth must be cut out (see installation template) or the brace adapter for the extra long door BLT 60 must be used. You can obtain this with the E No. 911 239 008.
27