EPSON PRINTER | Epson 2100 |
| Part No. A26421 |
IMPORTANT
.
If your printer is new, set it up according to the enclosed manufacturers instructions.
This is a check to ensure your new printer and drivers are working correctly before the
It is very important you read these instructions carefully before you begin!
We will take you through the following steps:
1Preparing your Injector
2Setting up of the Inks in the bottle tray
3Installation of the modified injector to your printer
4Fitting of the Tube Supports System
5Producing your first print.
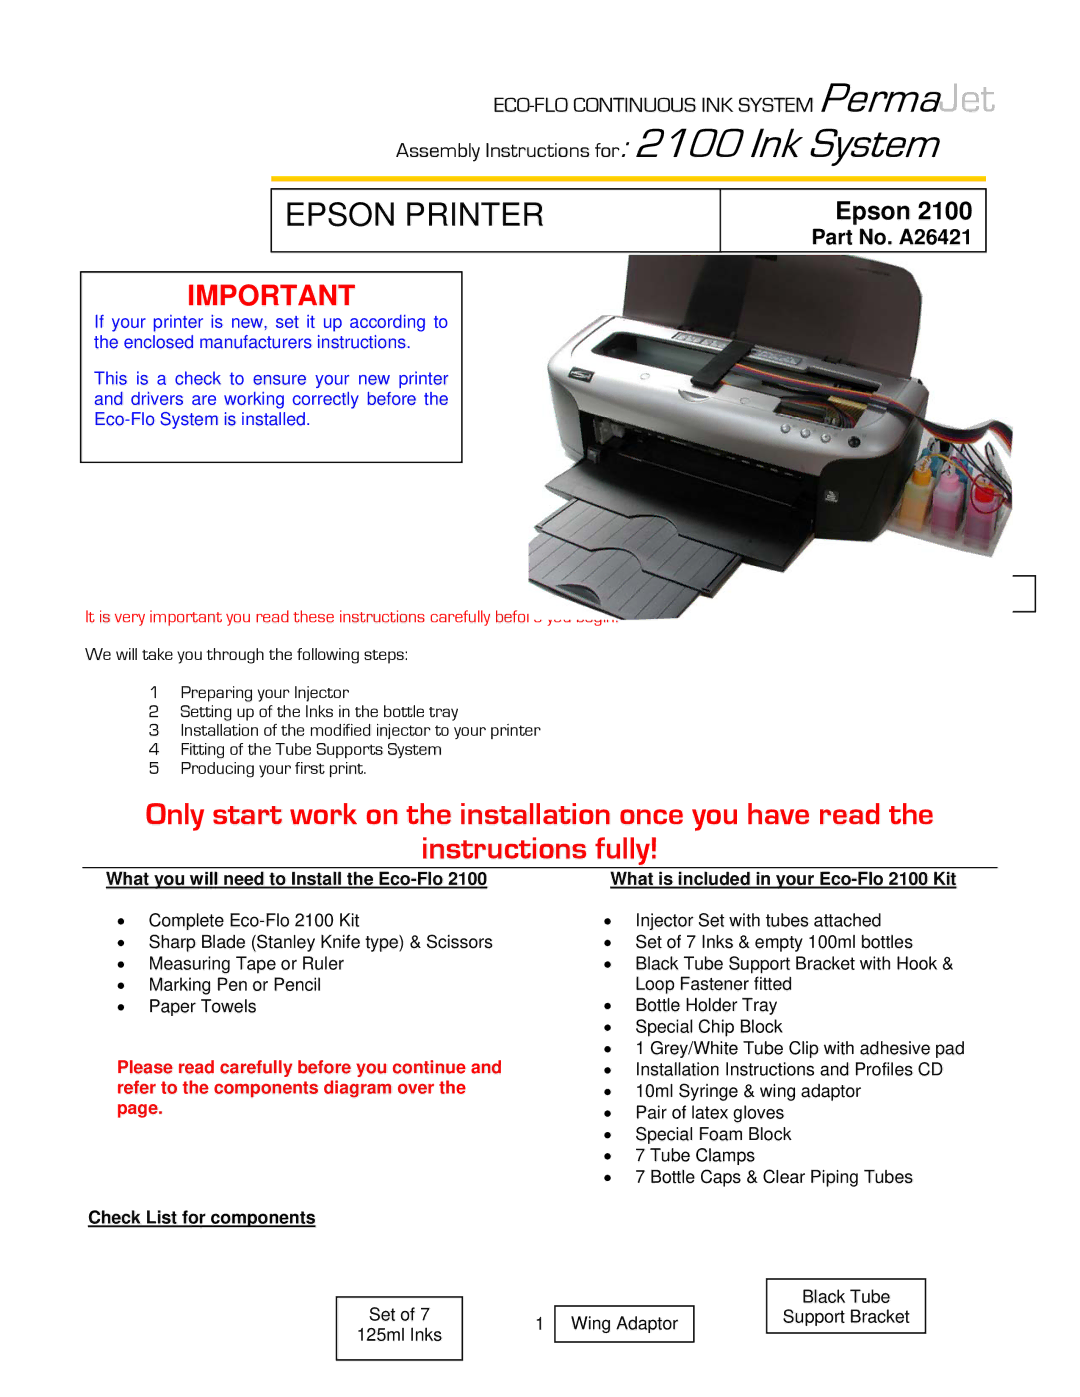
Epson 2100 Eco-Flo Shown
Only start work on the installation once you have read the
instructions fully!
What you will need to Install the Eco-Flo 2100
•Complete
•Sharp Blade (Stanley Knife type) & Scissors
•Measuring Tape or Ruler
•Marking Pen or Pencil
•Paper Towels
Please read carefully before you continue and refer to the components diagram over the page.
Check List for components
What is included in your
•Injector Set with tubes attached
•Set of 7 Inks & empty 100ml bottles
•Black Tube Support Bracket with Hook & Loop Fastener fitted
•Bottle Holder Tray
•Special Chip Block
•1 Grey/White Tube Clip with adhesive pad
•Installation Instructions and Profiles CD
•10ml Syringe & wing adaptor
•Pair of latex gloves
•Special Foam Block
•7 Tube Clamps
•7 Bottle Caps & Clear Piping Tubes
Set of 7
125ml Inks
1
Wing Adaptor
Black Tube
Support Bracket