Carefully align them, and when you are happy the injectors are in position. PLEASE BE CAREFUL NOT TO PUSH TOO HARD, AS THIS WILL CAUSE DAMAGE TO THE INJECTOR & PRINTER HEAD. Push the injectors home until you feel a positive seated position see Fig.15 below.
Fig.14
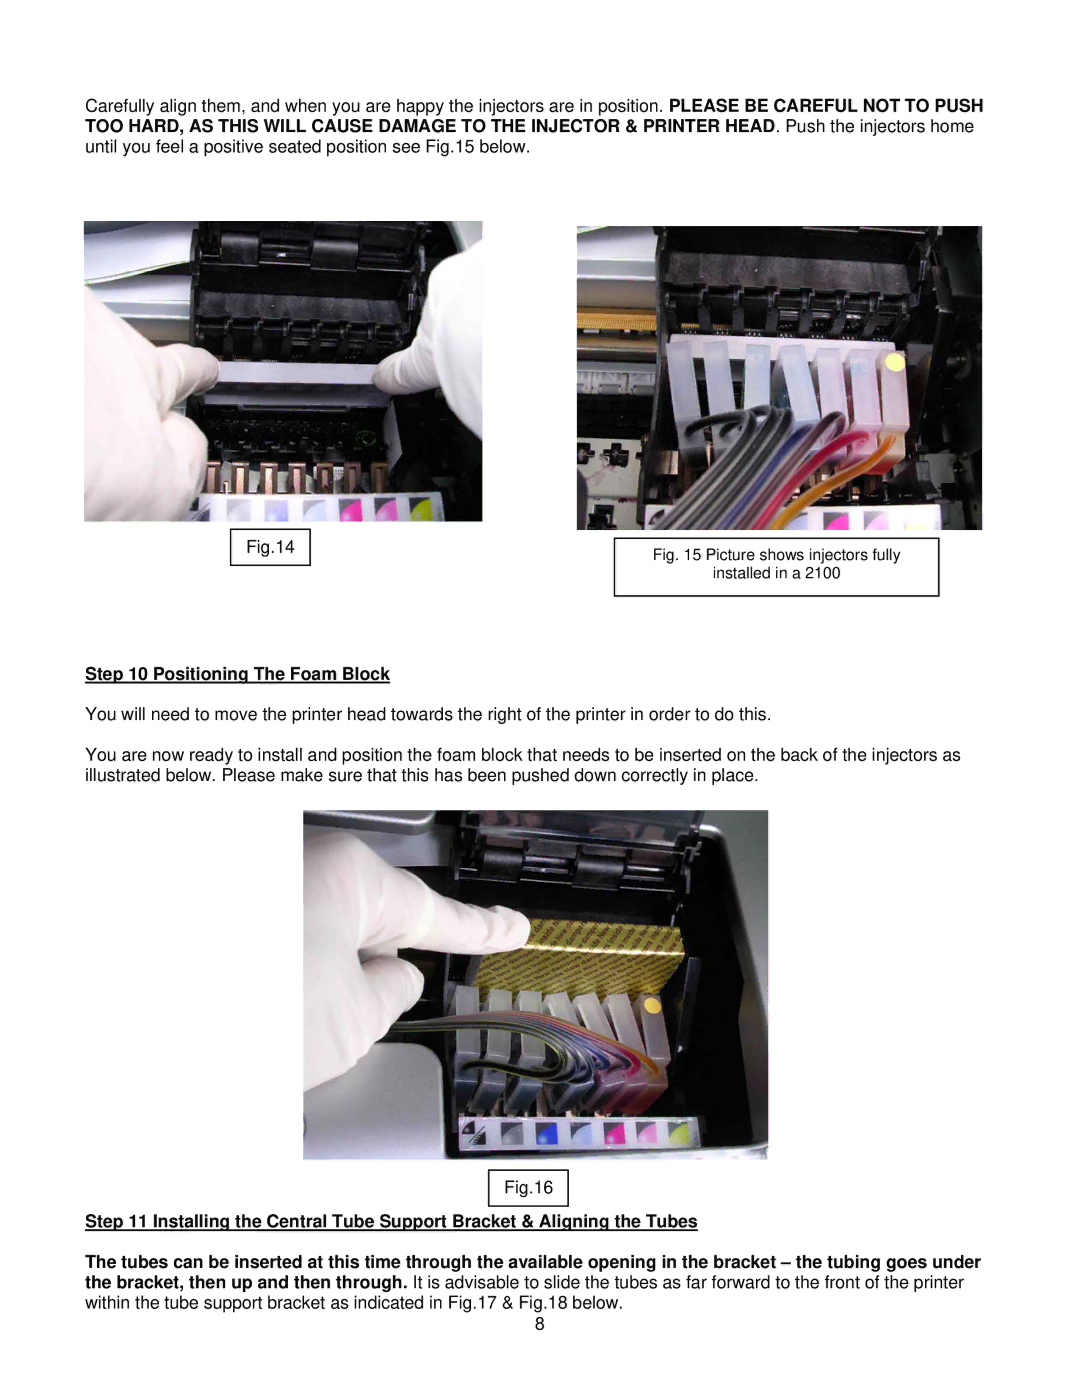
Step 10 Positioning The Foam Block
Fig. 15 Picture shows injectors fully
installed in a 2100
You will need to move the printer head towards the right of the printer in order to do this.
You are now ready to install and position the foam block that needs to be inserted on the back of the injectors as illustrated below. Please make sure that this has been pushed down correctly in place.
Fig.16
Step 11 Installing the Central Tube Support Bracket & Aligning the Tubes
The tubes can be inserted at this time through the available opening in the bracket – the tubing goes under the bracket, then up and then through. It is advisable to slide the tubes as far forward to the front of the printer within the tube support bracket as indicated in Fig.17 & Fig.18 below.
8