This can be done manually by moving the head to the left and right and checking that there is just enough tubing to allow the print head to move freely, without it dragging against any part of the printer see Fig. 20 & Fig. 21 below.
The tubing should look and be assembled as the diagrams opposite.
Fig.20
Fig.21
PLEASE NOTE, due to the nature of the tubing you may need to leave the head unit in the left hand position as illustrated in Fig.20 left overnight in order for the tube to mould in the correct manner, at this stage you may find that the FOAM BLOCK may not be required and in fact slide away, if this is the case remove the block.
Step 12 Install Final Tube Clip
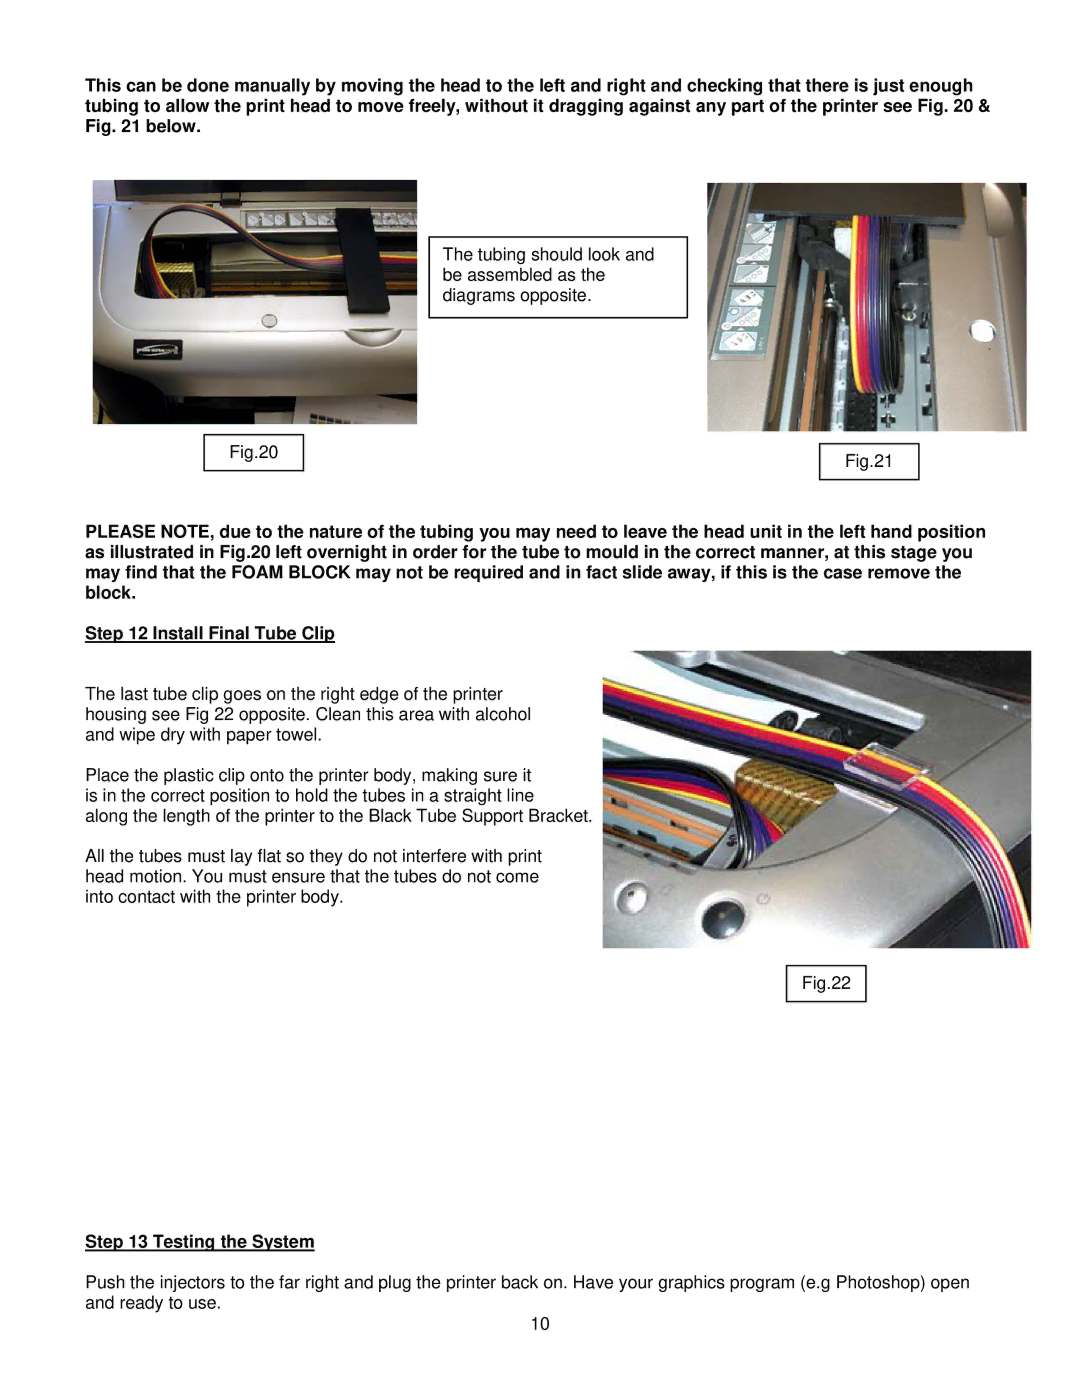
The last tube clip goes on the right edge of the printer housing see Fig 22 opposite. Clean this area with alcohol and wipe dry with paper towel.
Place the plastic clip onto the printer body, making sure it is in the correct position to hold the tubes in a straight line along the length of the printer to the Black Tube Support Bracket.
All the tubes must lay flat so they do not interfere with print head motion. You must ensure that the tubes do not come into contact with the printer body.
Fig.22
Step 13 Testing the System
Push the injectors to the far right and plug the printer back on. Have your graphics program (e.g Photoshop) open and ready to use.
10