Fig.4
Fig.5
Using a pair of scissors separate all tubes by snipping gently at the tube ends. Please see Fig.4 to the left.
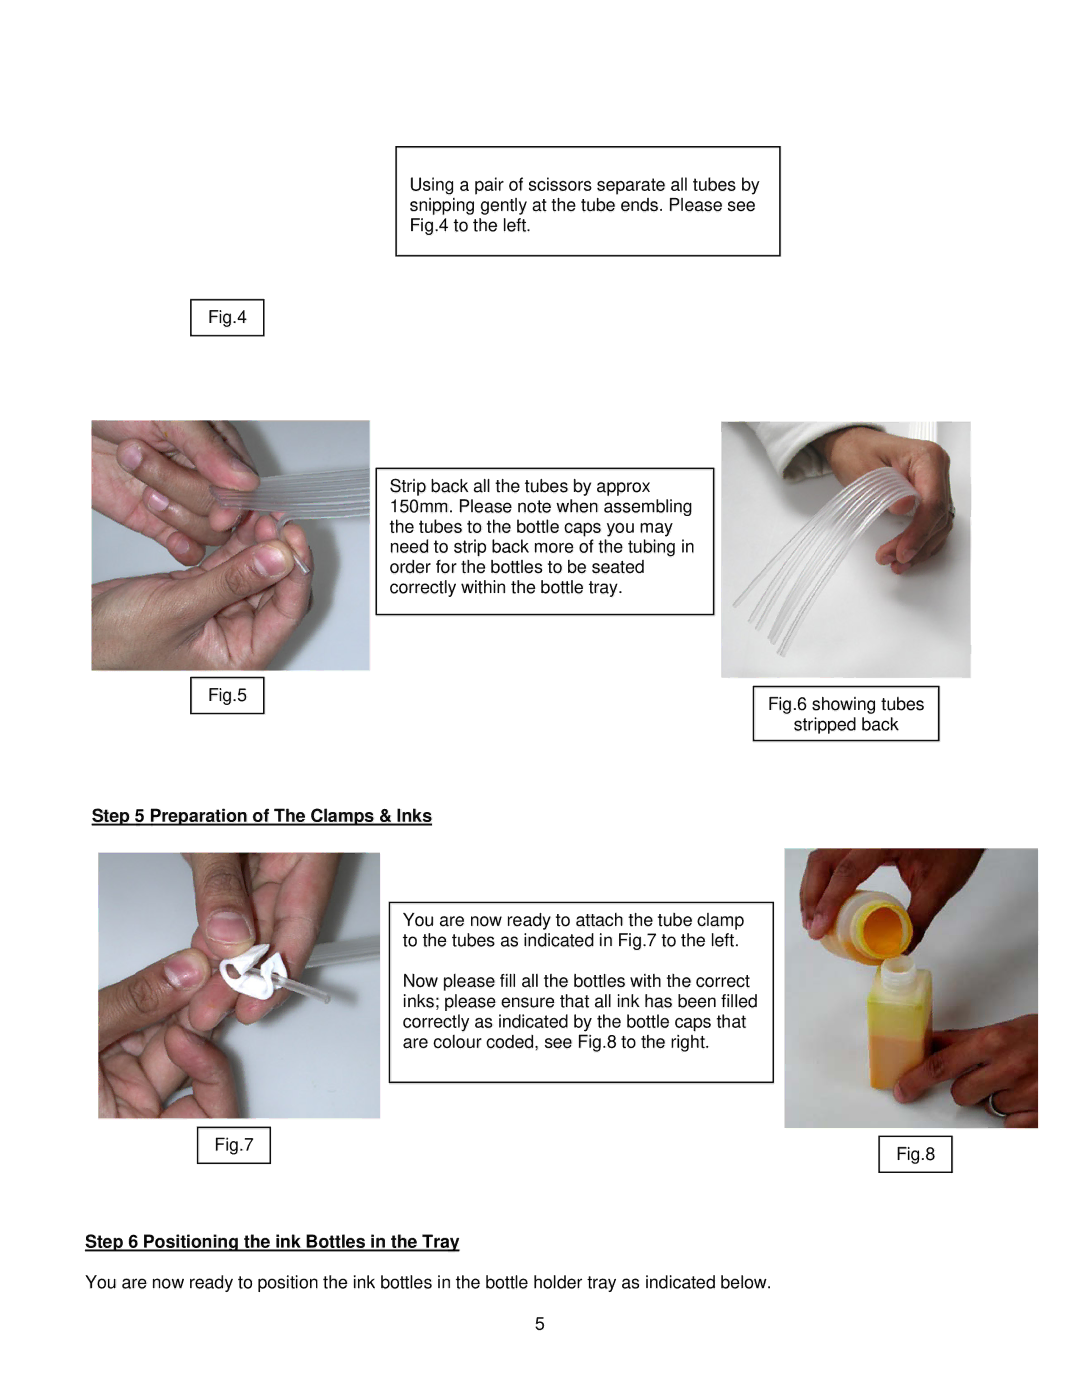
Strip back all the tubes by approx 150mm. Please note when assembling the tubes to the bottle caps you may need to strip back more of the tubing in order for the bottles to be seated correctly within the bottle tray.
Fig.6 showing tubes
stripped back
Step 5 Preparation of The Clamps & Inks
You are now ready to attach the tube clamp to the tubes as indicated in Fig.7 to the left.
Now please fill all the bottles with the correct inks; please ensure that all ink has been filled correctly as indicated by the bottle caps that are colour coded, see Fig.8 to the right.
Fig.7
Step 6 Positioning the ink Bottles in the Tray
You are now ready to position the ink bottles in the bottle holder tray as indicated below.
5
Fig.8