EPSON LQ-2080
Removing paper from the pull tractor
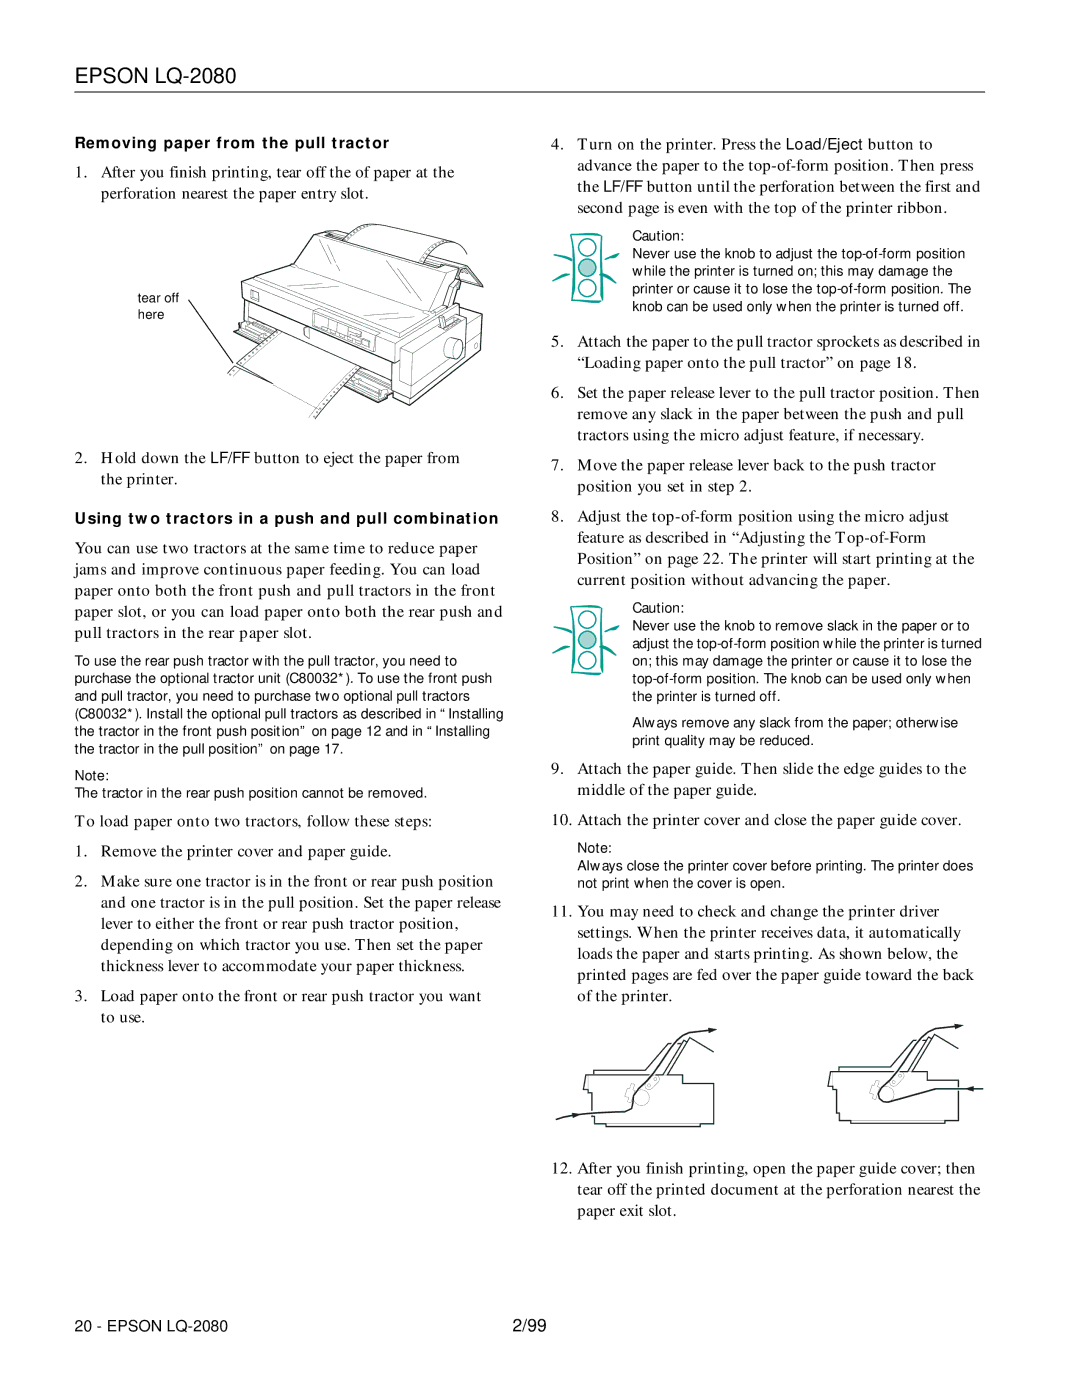
1.After you finish printing, tear off the of paper at the perforation nearest the paper entry slot.
tear off here
2.Hold down the LF/FF button to eject the paper from the printer.
Using two tractors in a push and pull combination
You can use two tractors at the same time to reduce paper jams and improve continuous paper feeding. You can load paper onto both the front push and pull tractors in the front paper slot, or you can load paper onto both the rear push and pull tractors in the rear paper slot.
To use the rear push tractor with the pull tractor, you need to purchase the optional tractor unit (C80032*). To use the front push and pull tractor, you need to purchase two optional pull tractors (C80032*). Install the optional pull tractors as described in “Installing the tractor in the front push position” on page 12 and in “Installing the tractor in the pull position” on page 17.
Note:
The tractor in the rear push position cannot be removed.
To load paper onto two tractors, follow these steps:
1.Remove the printer cover and paper guide.
2.Make sure one tractor is in the front or rear push position and one tractor is in the pull position. Set the paper release lever to either the front or rear push tractor position, depending on which tractor you use. Then set the paper thickness lever to accommodate your paper thickness.
3.Load paper onto the front or rear push tractor you want to use.
4.Turn on the printer. Press the Load/Eject button to advance the paper to the
Caution:
Never use the knob to adjust the
5.Attach the paper to the pull tractor sprockets as described in “Loading paper onto the pull tractor” on page 18.
6.Set the paper release lever to the pull tractor position. Then remove any slack in the paper between the push and pull tractors using the micro adjust feature, if necessary.
7.Move the paper release lever back to the push tractor position you set in step 2.
8.Adjust the
Caution:
Never use the knob to remove slack in the paper or to adjust the
Always remove any slack from the paper; otherwise print quality may be reduced.
9.Attach the paper guide. Then slide the edge guides to the middle of the paper guide.
10.Attach the printer cover and close the paper guide cover.
Note:
Always close the printer cover before printing. The printer does not print when the cover is open.
11.You may need to check and change the printer driver settings. When the printer receives data, it automatically loads the paper and starts printing. As shown below, the printed pages are fed over the paper guide toward the back of the printer.
12.After you finish printing, open the paper guide cover; then tear off the printed document at the perforation nearest the paper exit slot.
20 - EPSON | 2/99 |