EPSON LQ-2080
Removing the printed document from the rear push tractor
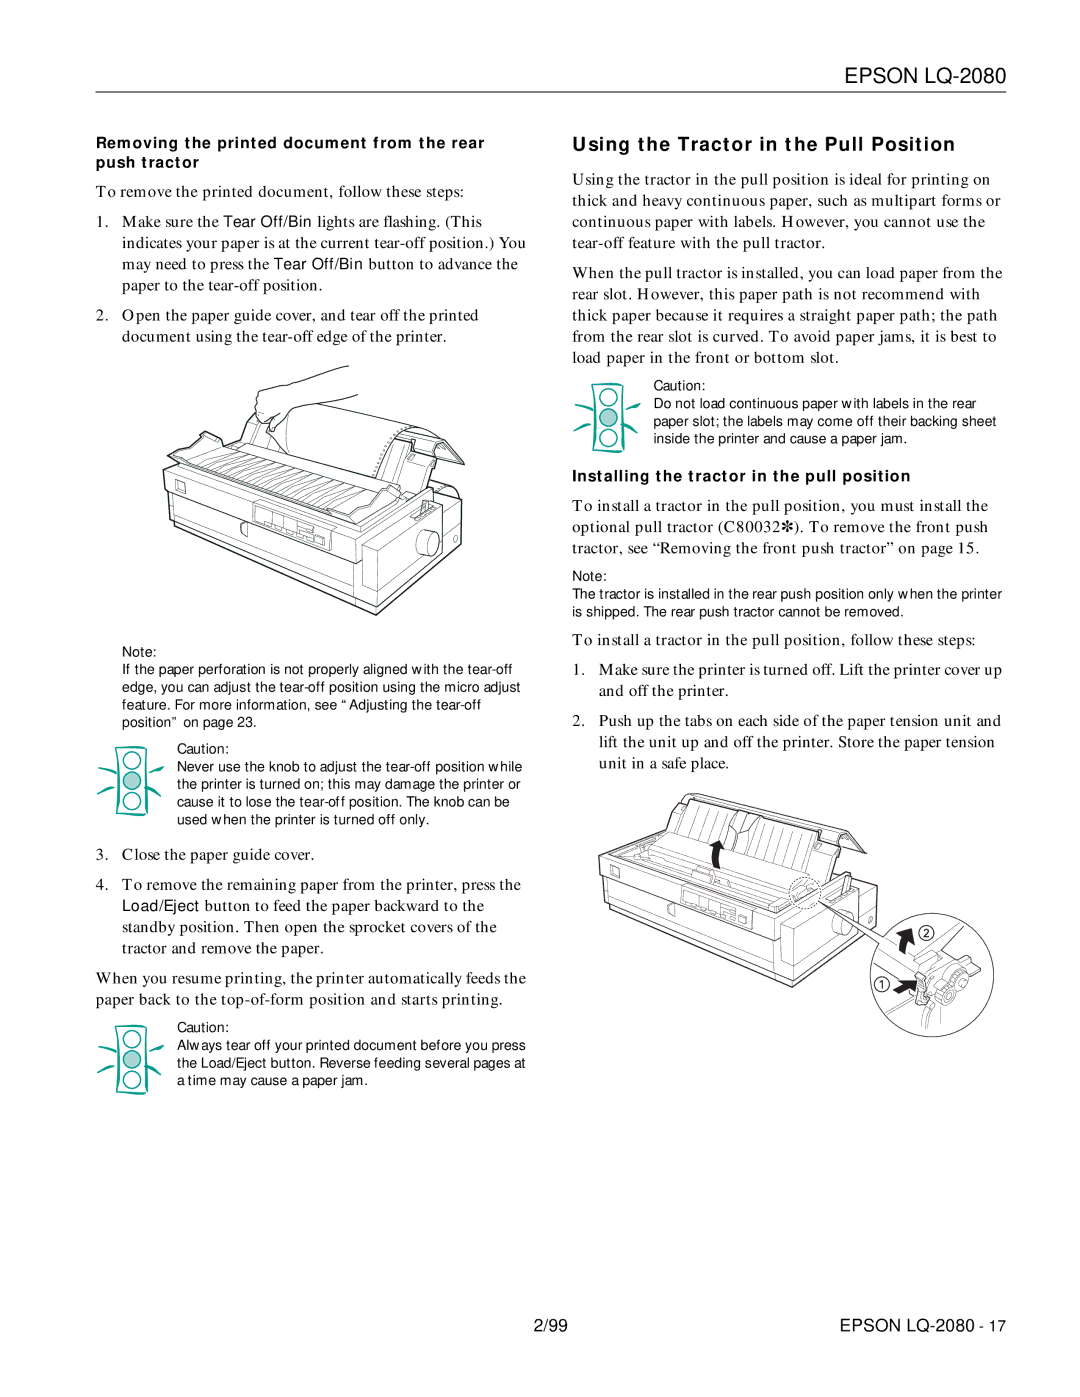
To remove the printed document, follow these steps:
1.Make sure the Tear Off/Bin lights are flashing. (This indicates your paper is at the current
2.Open the paper guide cover, and tear off the printed document using the
Note:
If the paper perforation is not properly aligned with the
Caution:
Never use the knob to adjust the
3.Close the paper guide cover.
4.To remove the remaining paper from the printer, press the Load/Eject button to feed the paper backward to the standby position. Then open the sprocket covers of the tractor and remove the paper.
When you resume printing, the printer automatically feeds the paper back to the
Caution:
Always tear off your printed document before you press the Load/Eject button. Reverse feeding several pages at a time may cause a paper jam.
Using the Tractor in the Pull Position
Using the tractor in the pull position is ideal for printing on thick and heavy continuous paper, such as multipart forms or continuous paper with labels. However, you cannot use the
When the pull tractor is installed, you can load paper from the rear slot. However, this paper path is not recommend with thick paper because it requires a straight paper path; the path from the rear slot is curved. To avoid paper jams, it is best to load paper in the front or bottom slot.
Caution:
Do not load continuous paper with labels in the rear paper slot; the labels may come off their backing sheet inside the printer and cause a paper jam.
Installing the tractor in the pull position
To install a tractor in the pull position, you must install the optional pull tractor (C80032✽). To remove the front push tractor, see “Removing the front push tractor” on page 15.
Note:
The tractor is installed in the rear push position only when the printer is shipped. The rear push tractor cannot be removed.
To install a tractor in the pull position, follow these steps:
1.Make sure the printer is turned off. Lift the printer cover up and off the printer.
2.Push up the tabs on each side of the paper tension unit and lift the unit up and off the printer. Store the paper tension unit in a safe place.
2/99 | EPSON |