VS & VC Series Components
Front Panel LED - Will flash red until the system is ready, at which point it will turn blue. Solid red indicates that the system is in Standby mode (video off).
IR Receiver - Use with the included handheld IR remote to control the Vision
Power Button - Press and release to toggle the Vision between standby and on. Hold for 5 seconds to force the unit to shutdown (power LED turns off). Press the power button again to power up.
Eject Button - Press and release to eject the internal optical disc tray.
USB port (front panel) - Use to connect a USB keyboard and mouse to control the Vision
Power port - Plug the included AC power cord into Vision
Gigabit Ethernet port - Connect Vision to your Gigabit Ethernet switch using a Cat 5e or Cat 6 rated cable.
USB ports (back panel) - Use to connect one or more USB to
IR port - Connect Vision to an external wired IR control system using a stereo 1/8” cable where the sleeve is ground, ring is power, and tip is signal.
HDMI input ports - Connect Vision to an external disc changer that has an HDMI port or to an Escient
HDMI Output port - Connect Vision to a widescreen high definition TV that has an HDMI port using a high quality HDMI cable, or a DVI port using an HDMI to DVI cable.
Component Video ports - Connect Vision to a widescreen high definition TV that has component video (Y, Pb, and Pr) ports using a high quality component video cable with green, blue, and red connectors.
Composite Video port - Connect Vision to a standard definition TV that has a composite video port using a high quality video cable.
Coax digital audio port - Connect Vision to a home theater A/V receiver that has a coax digital audio port, using a high quality coax digital cable.
Optical digital audio port - Connect Vision to a home theater A/V receiver that has an optical digital audio port, using a high quality optical digital audio (also called a S/PDIF or TOSLINK) cable.
Analog audio ports - Connect Vision to a widescreen high definition TV or home theater A/V receiver with analog audio port (red and white), using an analog audio cable.
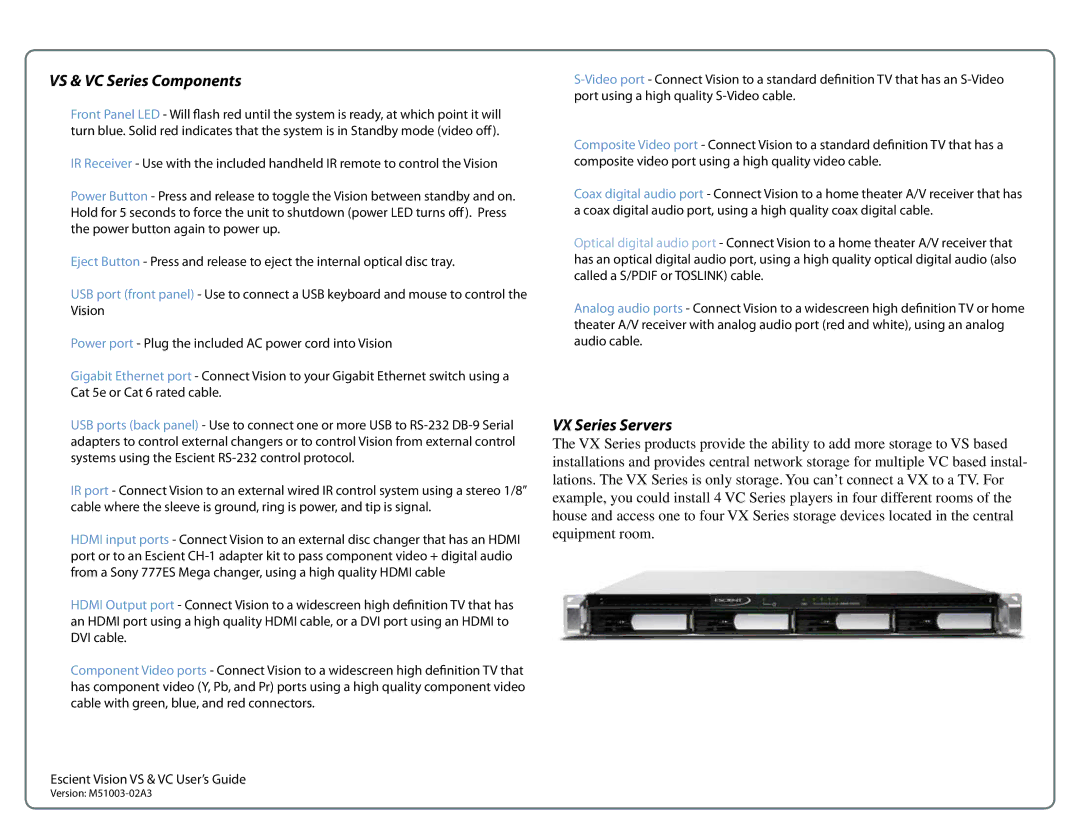
VX Series Servers
The VX Series products provide the ability to add more storage to VS based installations and provides central network storage for multiple VC based instal- lations. The VX Series is only storage. You can’t connect a VX to a TV. For example, you could install 4 VC Series players in four different rooms of the house and access one to four VX Series storage devices located in the central equipment room.
Escient Vision VS & VC User’s Guide | 12 |
Version: |