Configuring VX Server from a PC
Since the Vision VX does not connect directly to a display device, you must connect to the VX using a computer and web browser connected to the same network. Enter
The first time you use Vision you may be prompted to select a language. Vision may automatically attempt to connect to the Internet through your home network to register and check for any software updates. If any of these steps fail, simply follow the on screen instructions as you follow the next section.
Configuring Multiple VX Servers
If you have more than 1 VX Server in your Vision system you must rename each server one by one so that they have different network names. Connect, power on, and configure each server ONE AT A TIME and rename each. For example, connect to the first server using
Repeat the steps for each additional server (connect, power on, and configure)
renaming them: “vx2”, “vx3”, etc....
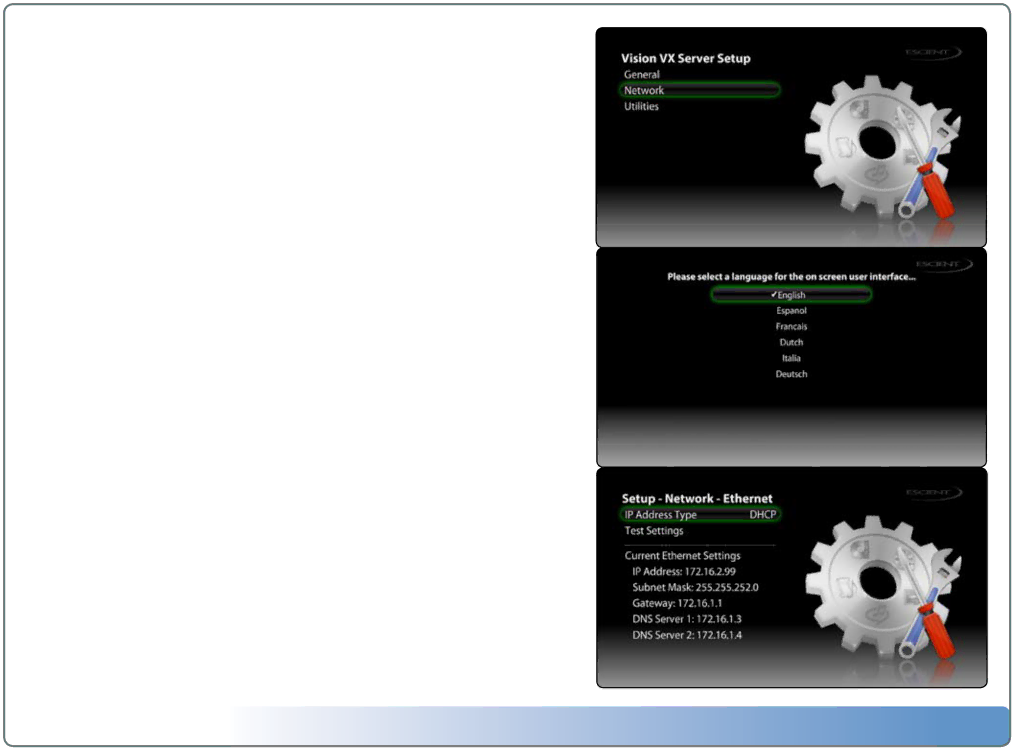
Language Settings
Select one of the available languages for Vision’s
Network Settings
If you connected to your VX using the network name
Note: The VX must get an IP address from a DHCP router for initial setup.
Escient Vision
Version:
6Main Menu
6Language Settings
6Network Settings
8
