INSTALLATION INSTRUCTIONS
Read these instructions carefully and completely before you install the machine. The installation should be carried out by a qualified person who is familiar with all local codes and ordinances for electrical and plumbing connections.
If a dishwasher is being installed in this area for the first time, most of the cabinet work, plumbing, and electrical has to be done before you move the machine into place.
If you are replacing an old dishwasher, you must check the plumbing connection and wiring before you move the new dishwasher into place.
A
After you have placed the dishwasher near the installation location, remove the wrappings from the dishwasher. Be sure to remove any items packaged inside the dishwasher.
NOTE: It is a good idea to inspect for any shipping damage before you proceed with the installation. Should you find any damage, you should report it to your dealer or builder immediately.
WHAT YOU NEED
TOOLS
1)Phillips No. 2 screwdriver or power screwdriver (preferably with magnetic screw bits)
2)Adjustable 10” crescent wrench
3)
4)Tape measure
5)Spirit level
6)Electric drill with
7)Keyhole saw
8)
MATERIALS NEEDED
←
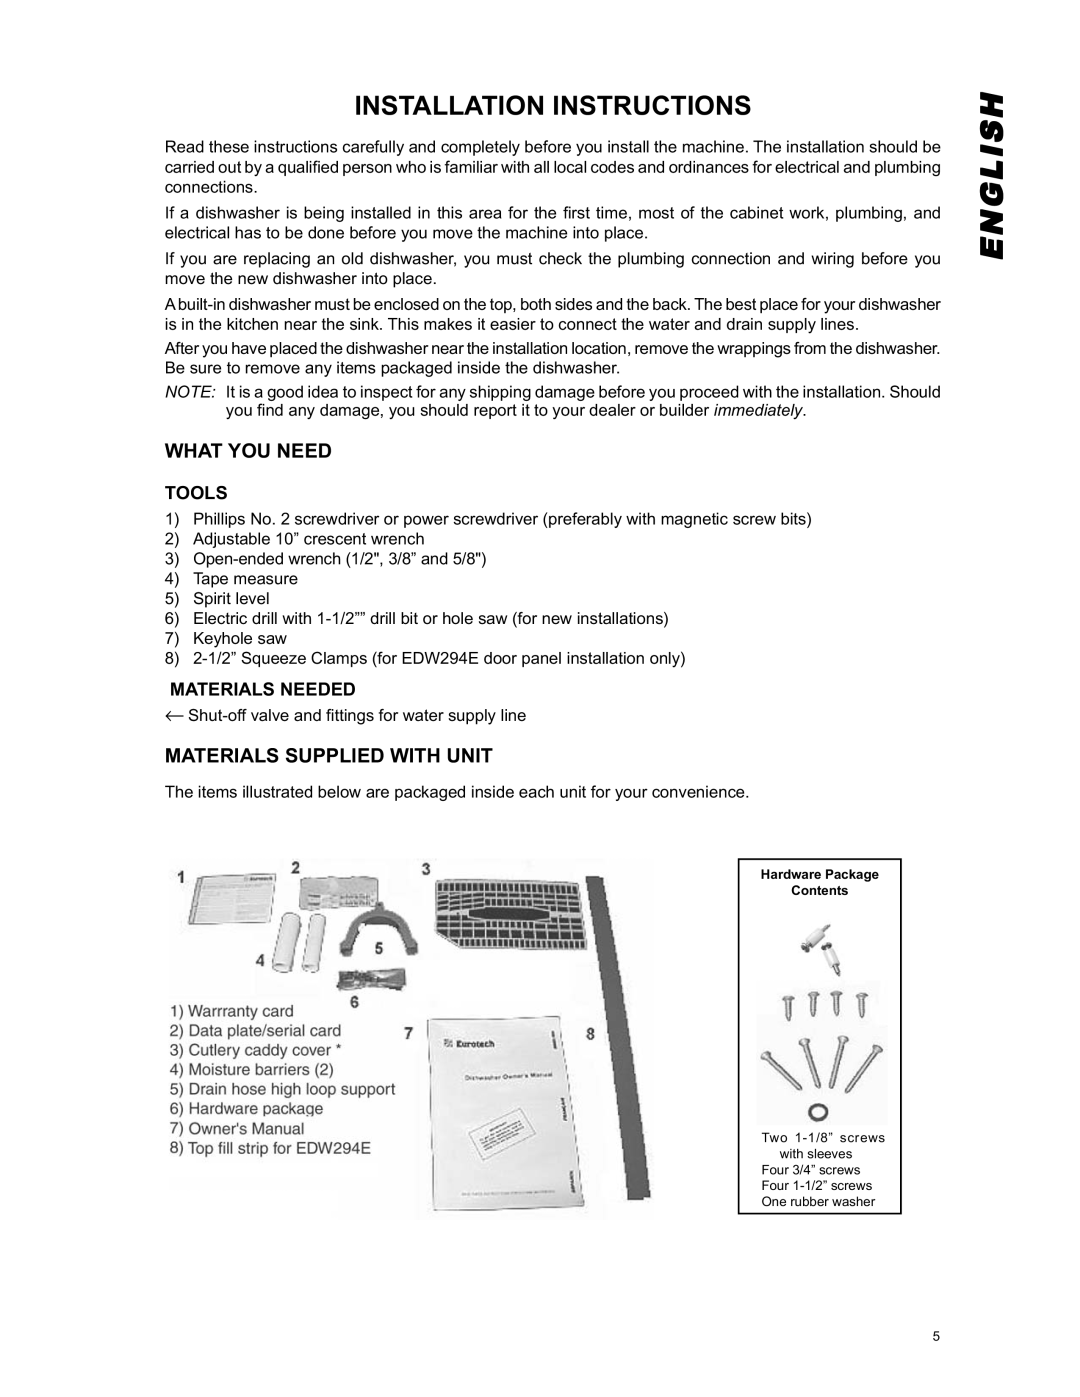
MATERIALS SUPPLIED WITH UNIT
The items illustrated below are packaged inside each unit for your convenience.
Hardware Package
Contents
Two
Four 3/4” screws Four
ENGLISH
5
