Manuals
/
Exmark
/
Lawn and Garden
/
Lawn Mower
Exmark
FMD 524, FMD 604
manual
Maintenance And Storage
Models:
FMD 604
FMD 524
1
12
44
44
Download
44 pages
21.79 Kb
9
10
11
12
13
14
15
16
Troubleshooting
Specification
Install
Lubrication Chart
Safety Alert Symbol
Dimension
Maintenance
Problem
Micro-Mulch Accessory
Assembly Instructions
Page 12
Image 12
Page 11
Page 13
Page 12
Image 12
Page 11
Page 13
Contents
For Turf Ranger Serial Nos. 440,000 & Higher and FMD524 & FMD604
Serial Nos. 440,000 & Higher
Page
EXMARK PARTS PLUS PROGRAM
EFFECTIVE DATE September 1 Program
How the Program Works
OPERATORS MANUAL
TABLE OF CONTENTS
SAFETY
SPECIFICATIONS
ASSEMBLY INSTRUCTIONS
1.SAFETY
1.1 SAFETY ALERT SYMBOL
ATTENTION! BECOME ALERT YOUR SAFETY IS INVOLVED
1.2 TRAINING
DANGER
DANGER
1.4 OPERATION
SAFE ZONE FOR MOWING
G0083
a Before checking, cleaning, or working on the mower
a Before refueling b Before making height adjustments
c When parking inside a building
c Disconnect battery cables in the reverse order after starting
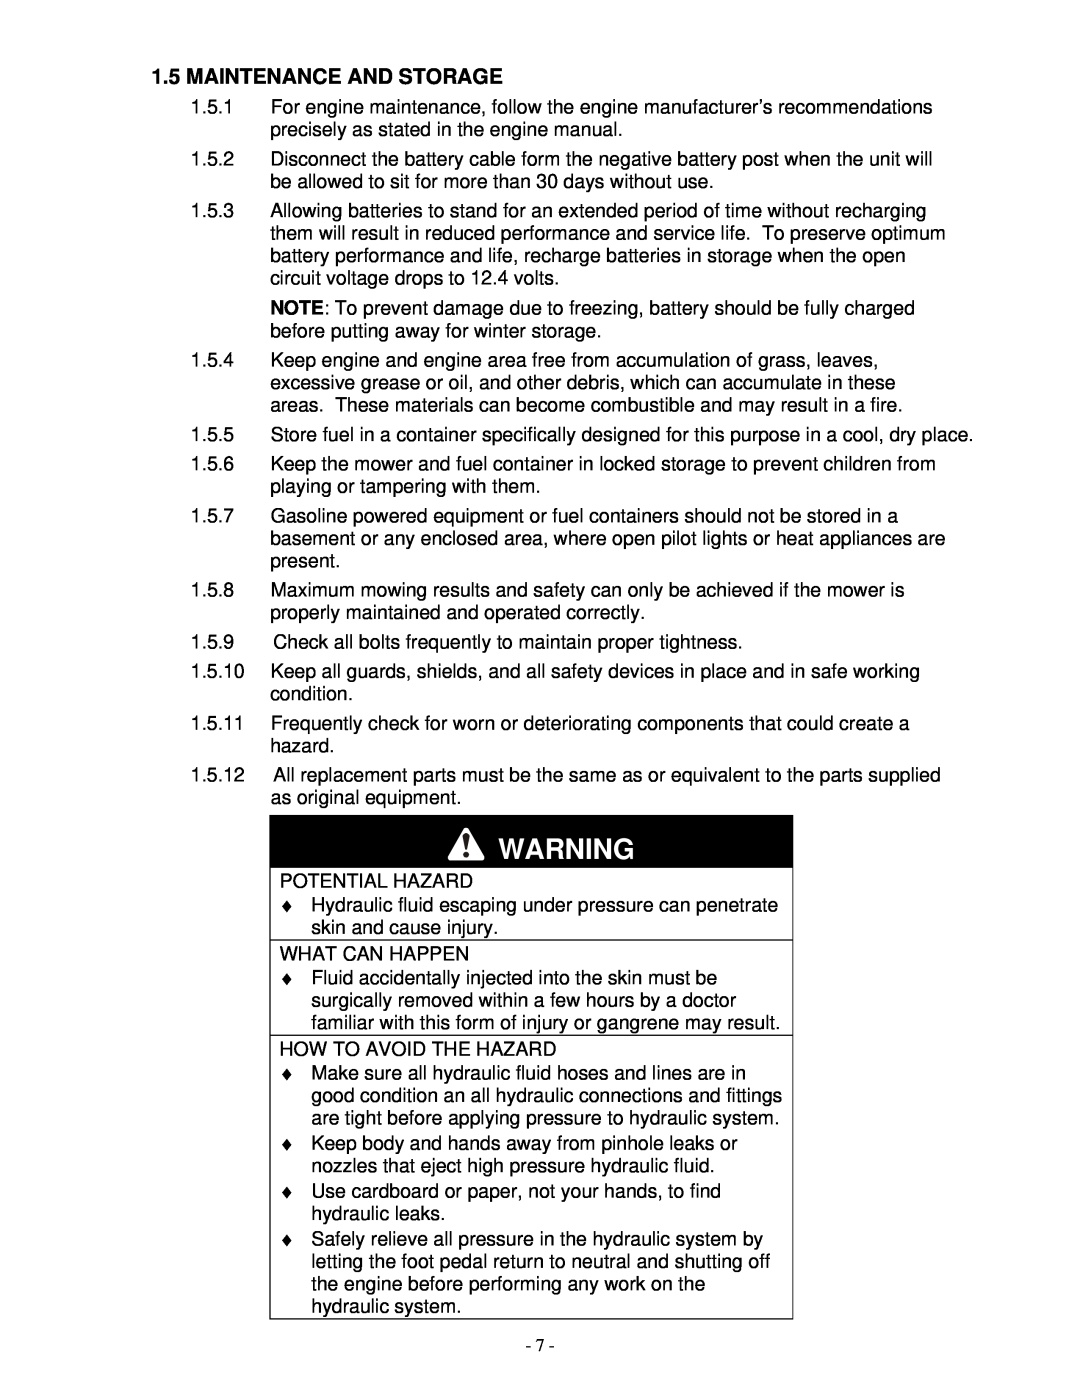
1.5 MAINTENANCE AND STORAGE
1.6 SAFETY SIGNS
PART NO. 103-2248 LOCATION Steering Console
LOCATION Under Belt Shields
LOCATION LH & RH Front Top Surface of Mower Deck
LOCATION On Intake Screen Below Fuel Tank
2. SPECIFICATIONS
2.1 MODEL NUMBER TR23KC 2.2 ENGINE
2.3 FUEL SYSTEM
2.4 ELECTRICAL SYSTEM
2.10 DIMENSIONS
2.8 TIRES
2.9 MOWER DECK
2.11 TORQUE REQUIREMENTS
3. ASSEMBLY INSTRUCTIONS
3.1 Uncrate tractor and mower deck 3.2 SERVICE BATTERY
The machine is shipped with a filled lead acid battery
3.3 INSTALL SEAT
3.4 INSTALL REAR STEERING WHEEL
3.5 INSTALL DRIVE WHEELS
3.6 INSTALL HANDLE BAR
HARDWARE AND SUPPORT PIN LOCATION FOR DECK SUPPORT FRAME
4. CONTROLS
IDLER PULLEY KIT AND LOCATION
3.9 POSITION DISCHARGE CHUTE
NOTE Do Not tow machine or transmission damage may result
5. OPERATION INSTRUCTIONS
5.1 PRE-START
5.2 MOWING
DRIVE WHEEL RELEASE LEVER
5.3 TRANSPORTING
6. MAINTENANCE & ADJUSTMENTS
6.1 PERIODIC MAINTENANCE
6.1.2 Clean engine air cooling system
Clean all debris from around the engine and transmission daily
6.1.3 Clean transmission cooling compartment Service Interval Daily
6.1.4 Clean grass build-up under mower deck and check mower blades
BLADE BOLT INSTALLATION
DO NOT USE WRENCH HERE
6.1.6 Check for loose hardware Service Interval Daily
6.1.7 Service air cleaner Service Interval 50 hrs
b Loosen retaining clips and remove air cleaner compartment cover
More often under severe conditions
6.1.9 Check hydraulic oil level Service Interval 40 hrs
6.1.10 Check tire pressures Service Interval 40 hrs
b Inflate tires to pressures specified in Section 2.8 Specifications
6.1.11 Check battery charge Service Interval Monthly
LUBRICATION CHART
SERVICE
CASTER WHEEL ASSEMBLY
FITTING LOCATIONS
6.1.15 Remove engine shrouds and clean cooling fins
6.1.16 Change fuel filter Service Interval As Required
6.1.17 Lubrication of steering yoke pivot Service Interval Monthly
6.1.18 Check spark plugs Service Interval 160 hrs
6.1.19.2 Change hydraulic oil Service Interval Yearly
6.1.20 Inspect Electric clutch gap Service Interval 250 hrs
Refer to Section 6.2.12 for inspection and adjustment procedures
6.1.22 Wheel hub, slotted nut torque specification
6.2 ADJUSTMENTS
CUTTING HEIGHT ADJUSTMENT
ANTI-SCALP ROLLER BOLT INSTALLATION ANTI-SCALP ROLLER AND
Torque to 40-45 ft-lbs. 54-61 N-m, or loss of roller may result
6.2.3 Mower deck drive belt No adjustment necessary
Page
NEUTRAL CENTERING DEVICE ADJUSTMENT
PARKING BRAKE QUADRANT ADJUSTMENT
BRAKE CONTROL LINK AND SPRING ADJUSTMENT
PARKING BRAKE NEUTRAL LOCKOUT ADJUSTMENT
MOTION CONTROL LINKAGE ADJUSTMENT
SEAT SWITCH ADJUSTMENT
ELECTRIC CLUTCH ADJUSTMENT
ARMREST ADJUSTMENT
THROTTLE TENSION
Armrest Adjustment Tab Rotate ¼ Turn
8. TROUBLE SHOOTING
7.2 BATTERY DISPOSAL
7. WASTE DISPOSAL
7.1 MOTOR OIL DISPOSAL
ENGINE TROUBLESHOOTING
ENGINE TROUBLESHOOTING TABLE
PROBLEM
9. WIRING DIAGRAMS
Engine Deck Wiring Diagram
Console Wiring Diagram
10.Limited Warranty Exmark Turf Equipment
Page
MICRO-MULCH ACCESSORY
LAZER Z
LAZER Z HP
LAZER Z XP
Top
Page
Image
Contents