INSTALLATION INSTRUCTIONS
Installation instructions
Before you start
These instructions are intended as a guide only. It is the responsibility of the Plumber and Electrician to ensure that each installation complies with the Government Regulations and Local Government By- Laws.
Lifting & Removing the Dishwasher
We recommend two people should move the dishwasher, with one person standing on each side. Always lift from the step at the lower rear of the dishwasher. Hold the dishwasher level by placing your other hand at the top of the door on the front.
Never Lift From the Door Handle
Do not lift from the decorative panel on the front of the dishwasher. Always be careful with the hoses and the power cord at the back of the dishwasher. Careful handling will prevent damage and malfunction from squashing, kinking or cuts.
This dishwasher must not be connected to an under sink high pressure “push through” type hot water system, as damage to the system will result. If in doubt as to the suitability of your system, consult your Plumber.
The dishwasher should not be connected to a hot water system where the temperature exceeds 75°C, or where there is no temperature control, i.e. a wet back system, unless the system is fitted with a suitable tempering valve.
While installing the dishwasher, check the drain hose is not restricted or kinked.
Do not remove the insulation blanket from the rear of the product. This is not part of the packaging. It provides sound and heat insulation.
Plumbing
Drainage
The recommended method of installation for a Fisher & Paykel DW920 and DW820 Dishwasher is shown in Diagrams 1, 2 & 3 on Page 5. The diagrams are designed to eliminate problems that often occur with combined
The standpipe must have a minimum inside diameter of 38mm and stand 750mm above the floor. A drain hose support is provided to hold the drain hose in place in the standpipe (see Diagrams 1 and 2). It is not recommended that the drain hose or drain pipe be connected directly to a waste disposal unit (see Diagram 2).
When connecting the drain hose to a sink trap with a drain hose spigot, it is important that the drain hose is supported to the height of the bench (see Diagram 3). Ensure the drain spigot has a minimum hole size of 15mm and that it has been drilled out.
Water Valve Connections
Both Fisher & Paykel Dishwasher Models DW920 and DW820 have single valve water connections. We recommend a cold water connection to give the best wash performance and energy efficiency.
Water Supply
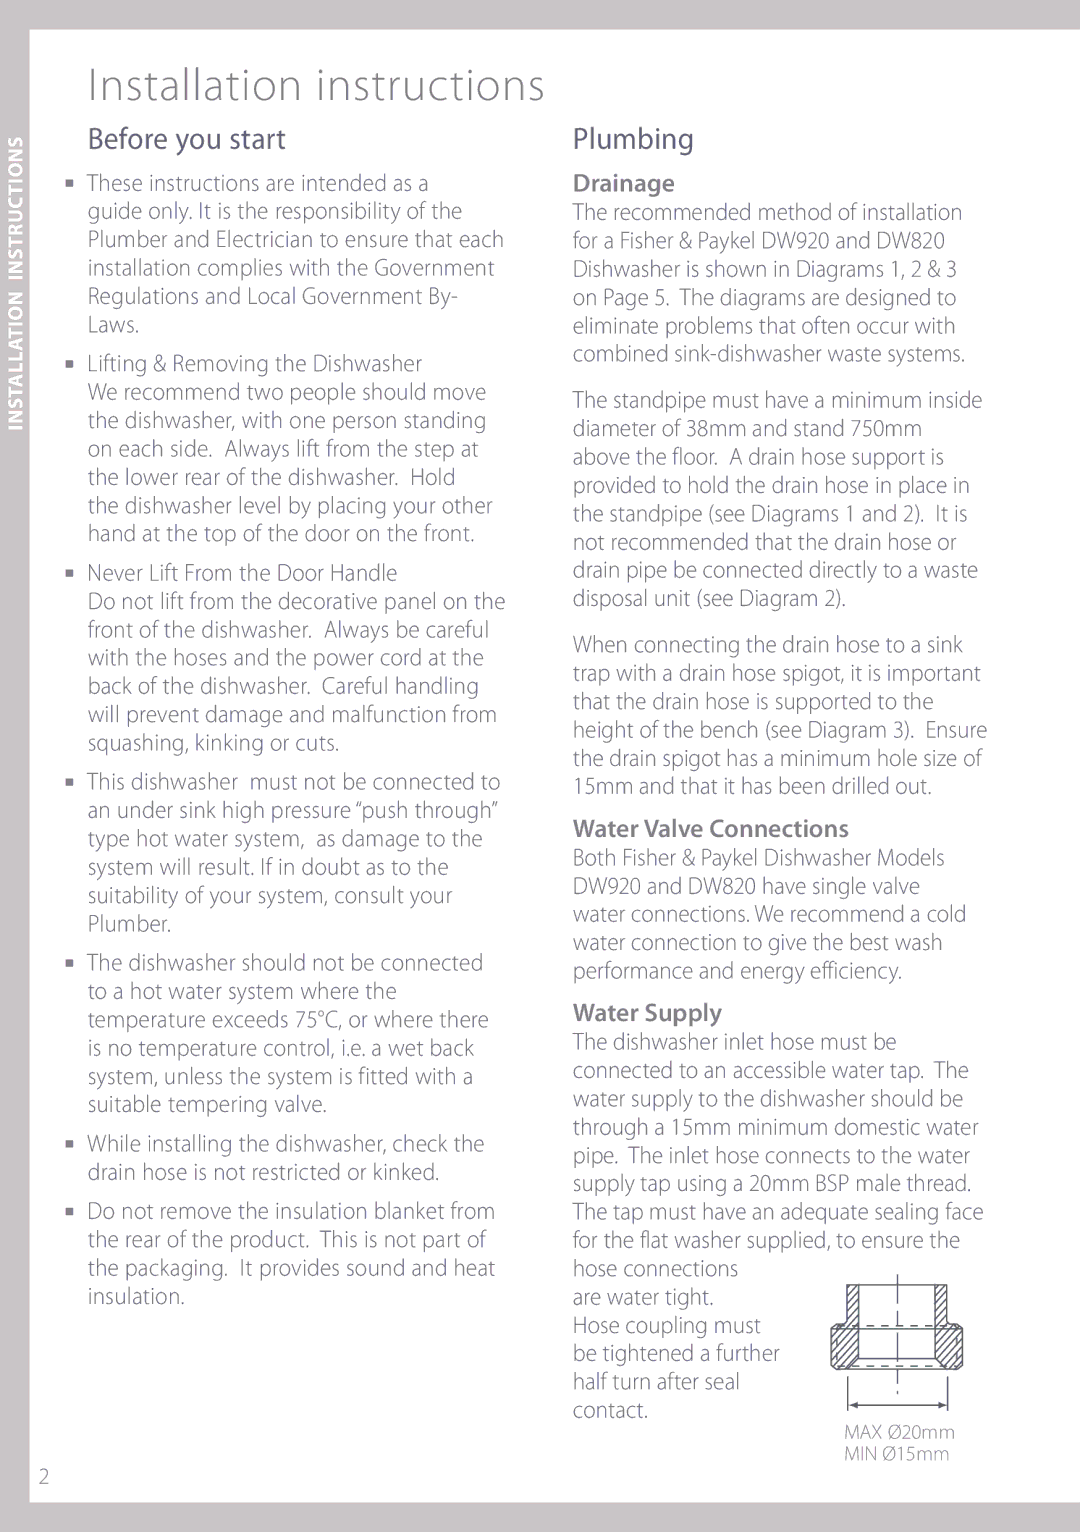
The dishwasher inlet hose must be connected to an accessible water tap. The water supply to the dishwasher should be through a 15mm minimum domestic water pipe. The inlet hose connects to the water supply tap using a 20mm BSP male thread. The tap must have an adequate sealing face for the flat washer supplied, to ensure the hose connections
are water tight. Hose coupling must be tightened a further half turn after seal
contact.![]()
![]() MAX Ø20mm MIN Ø15mm
MAX Ø20mm MIN Ø15mm
2