Before you start using your Ice & Water refrigerator 15 EN
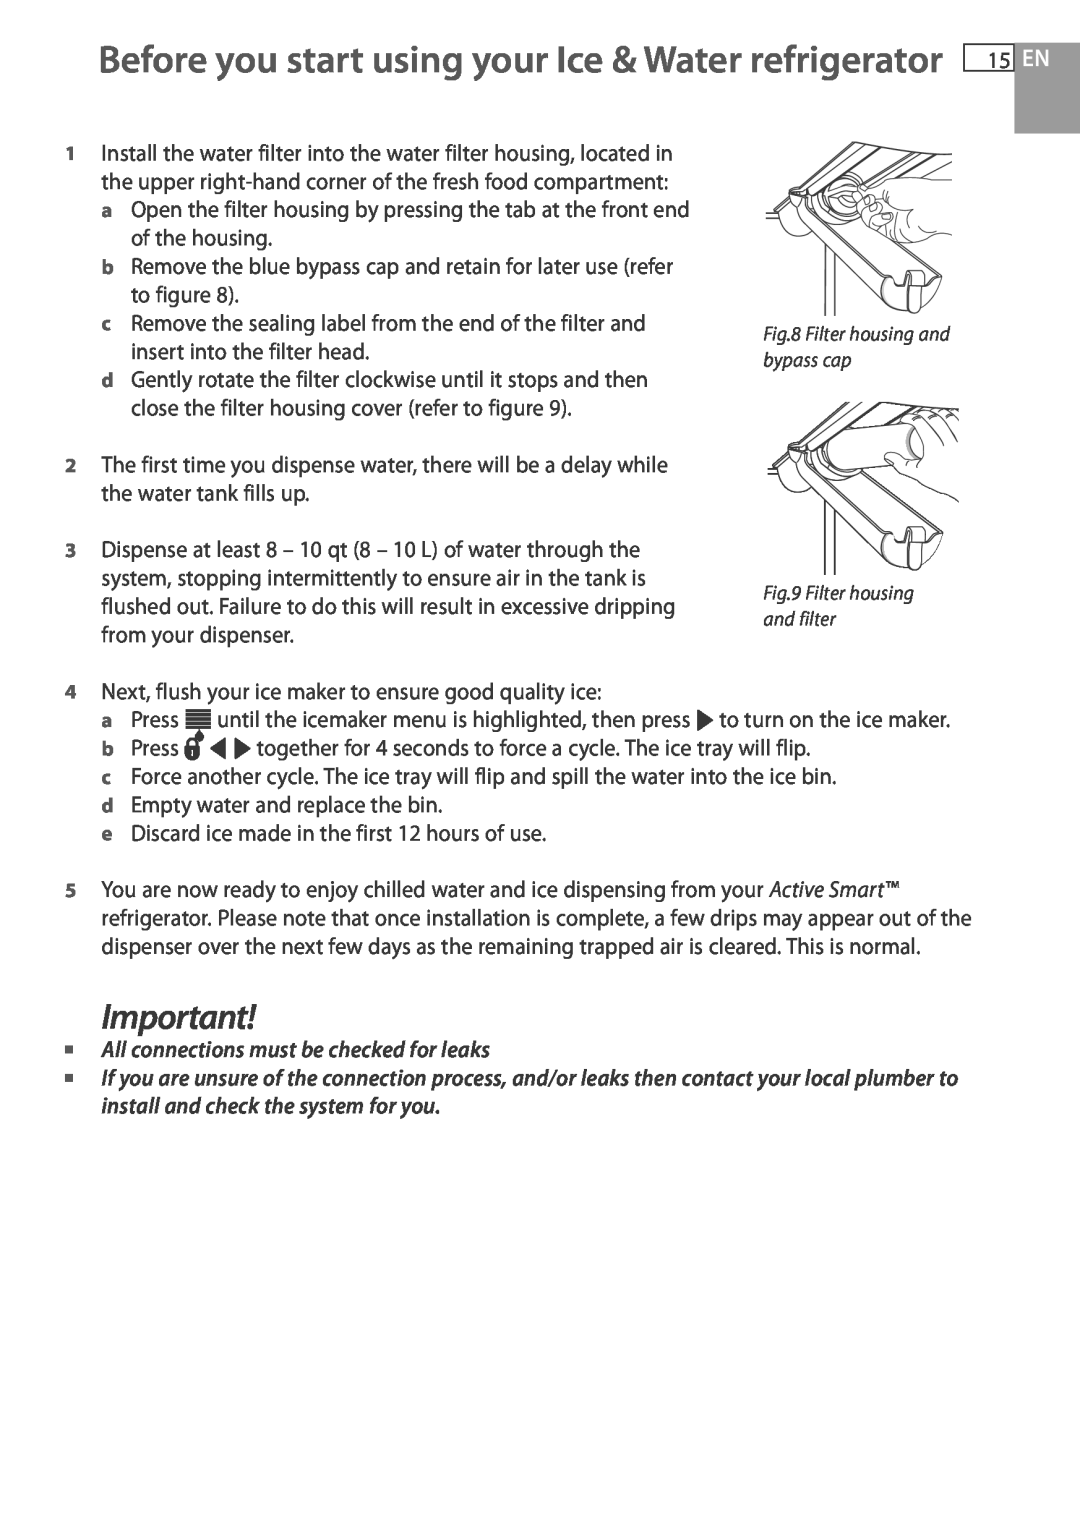
1Install the water filter into the water filter housing, located in the upper
of the housing.
b Remove the blue bypass cap and retain for later use (refer to figure 8).
c Remove the sealing label from the end of the filter and insert into the filter head.
d Gently rotate the filter clockwise until it stops and then close the filter housing cover (refer to figure 9).
2The first time you dispense water, there will be a delay while the water tank fills up.
3Dispense at least 8 – 10 qt (8 – 10 L) of water through the system, stopping intermittently to ensure air in the tank is flushed out. Failure to do this will result in excessive dripping from your dispenser.
Fig.8 Filter housing and bypass cap
Fig.9 Filter housing and filter
4Next, flush your ice maker to ensure good quality ice:
a Press ![]() until the icemaker menu is highlighted, then press
until the icemaker menu is highlighted, then press ![]() to turn on the ice maker.
to turn on the ice maker.
b Press ![]()
![]()
![]() together for 4 seconds to force a cycle. The ice tray will flip.
together for 4 seconds to force a cycle. The ice tray will flip.
c Force another cycle. The ice tray will flip and spill the water into the ice bin. d Empty water and replace the bin.
e Discard ice made in the first 12 hours of use.
5You are now ready to enjoy chilled water and ice dispensing from your Active Smart™ refrigerator. Please note that once installation is complete, a few drips may appear out of the dispenser over the next few days as the remaining trapped air is cleared. This is normal.
Important!
All connections must be checked for leaks
If you are unsure of the connection process, and/or leaks then contact your local plumber to install and check the system for you.