![]() INSTALLER INSTRUCTIONS
INSTALLER INSTRUCTIONS
ENGLISH |
|
|
|
|
|
|
|
|
|
|
|
| 5. |
|
|
|
| First installation | |||||
|
|
|
|
|
|
|
|
|
| Do not leave packaging material waste unguarded in the household environment. | |
|
|
|
|
|
|
|
|
|
|
| |
|
|
|
|
|
|
|
|
|
|
| |
|
|
|
|
|
|
|
|
|
|
| |
|
|
|
|
|
|
|
|
|
|
| Separate the various packaging waste materials and deliver them to the |
|
|
|
|
|
|
|
|
|
|
| closest selective waste collection centres. |
|
|
|
|
|
|
|
|
|
|
|
|
In order to remove all manufacturing residues, we recommend cleaning the appliance.
For further information on cleaning see Chapter 15  [Page 37].
6.Positioning in the work top
The following interventions require masonry and/or carpentry work and must there- fore be completed by a competent technician. Installation can be completed on dif- ferent materials, such as masonry, metal, solid wood and plastic laminated wood, as long as it is heat resistant (T 100°C).
6.1Installation on the support structure (worktop) of a traditional
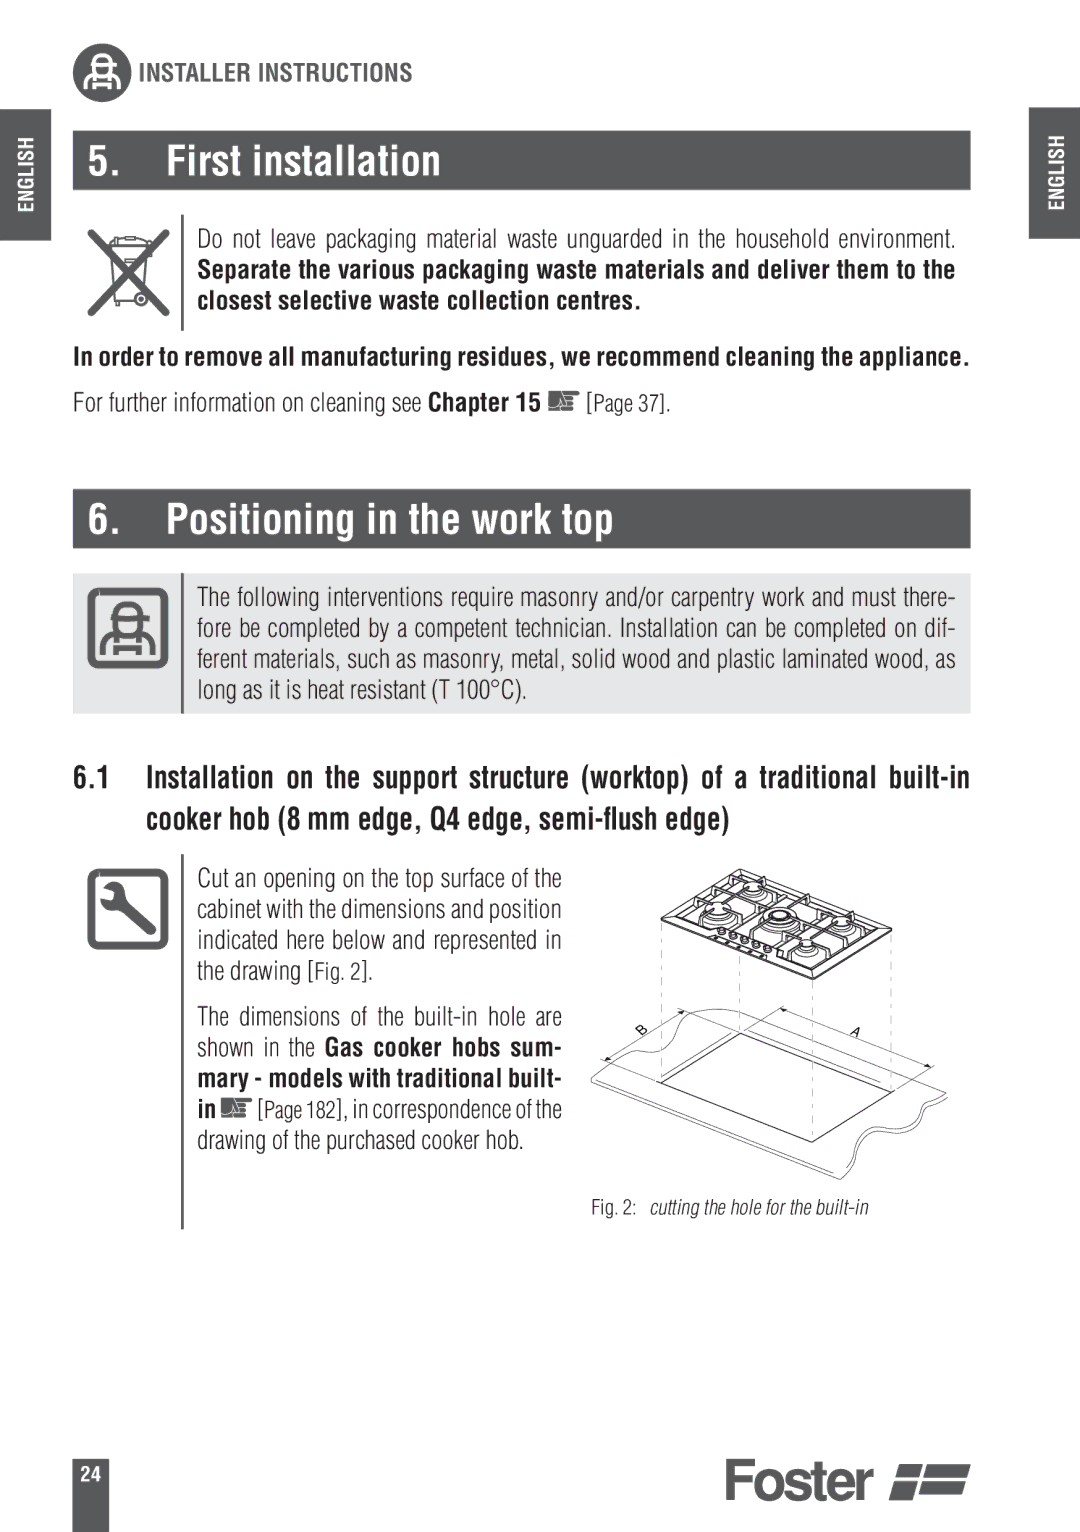
Cut an opening on the top surface of the cabinet with the dimensions and position indicated here below and represented in the drawing [Fig. 2].
The dimensions of the | B | A | ||
shown in the Gas cooker hobs sum- | ||||
|
| |||
mary - models with traditional built- |
|
| ||
in | [Page 182], in correspondence of the |
|
| |
drawing of the purchased cooker hob. |
|
| ||
|
| Fig. 2: cutting the hole for the | ||
ENGLISH
24
