ENGLISH
![]() INSTALLER INSTRUCTIONS
INSTALLER INSTRUCTIONS
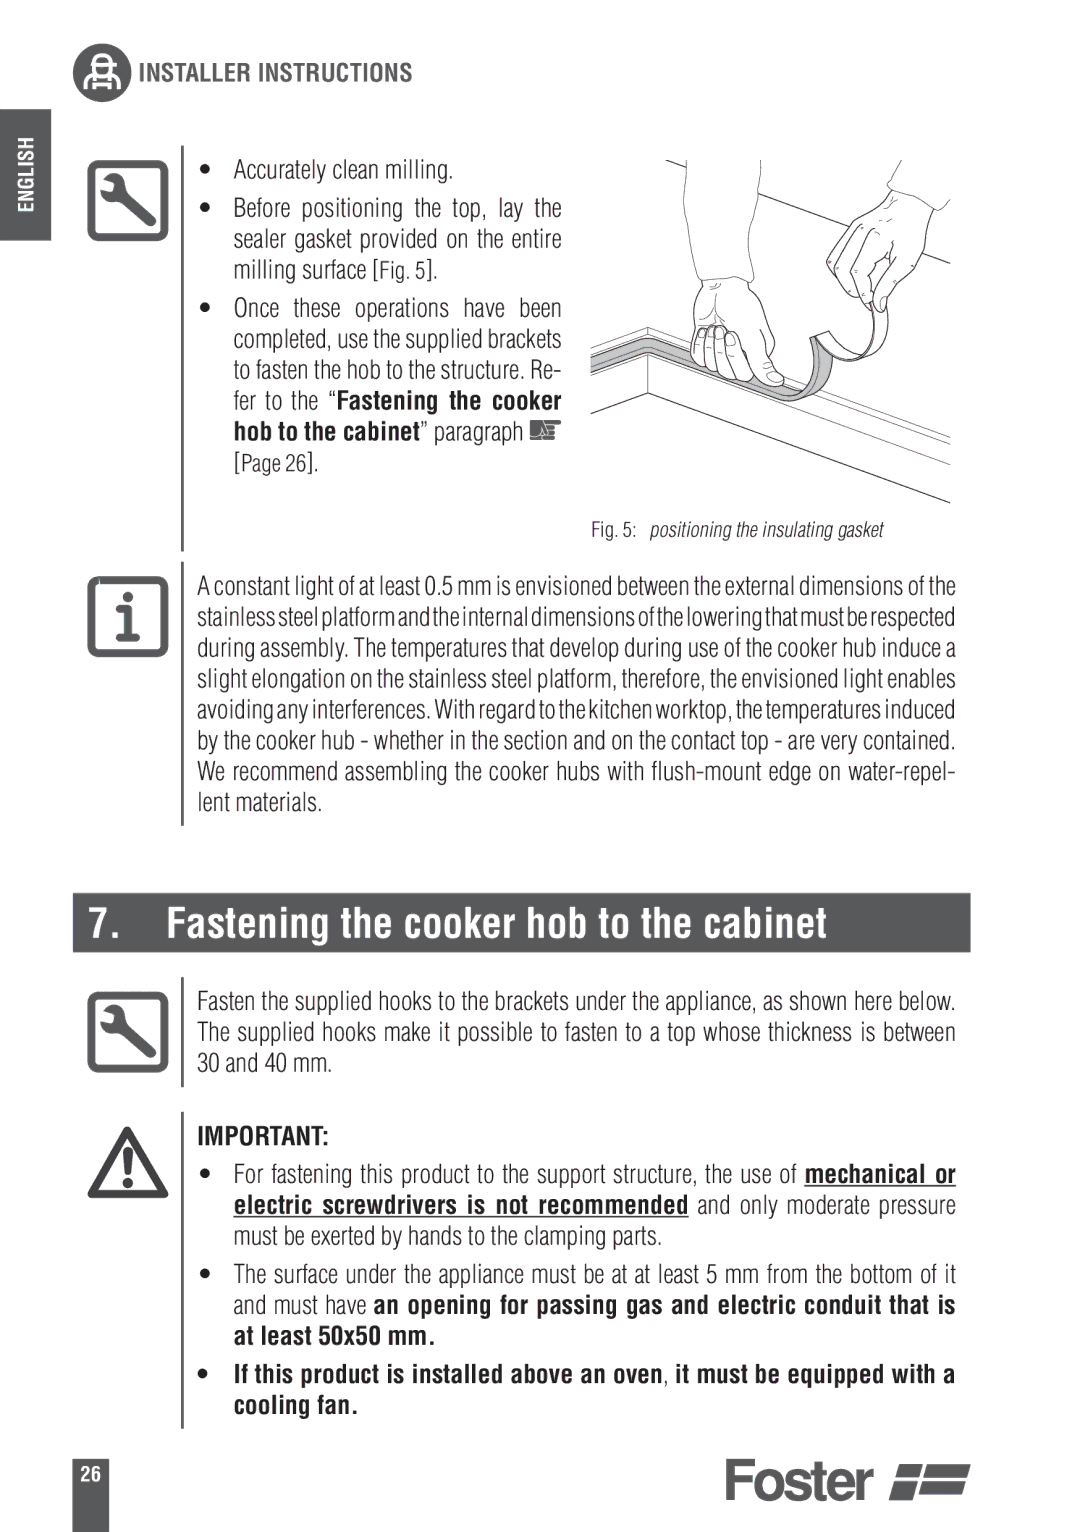
•Accurately clean milling.
•Before positioning the top, lay the sealer gasket provided on the entire
milling surface [Fig. 5].
•Once these operations have been
completed, use the supplied brackets to fasten the hob to the structure. Re- fer to the “Fastening the cooker hob to the cabinet” paragraph ![]() [Page 26].
[Page 26].
Fig. 5: positioning the insulating gasket
A constant light of at least 0.5 mm is envisioned between the external dimensions of the stainlesssteelplatformandtheinternaldimensionsoftheloweringthatmustberespected during assembly. The temperatures that develop during use of the cooker hub induce a slight elongation on the stainless steel platform, therefore, the envisioned light enables avoiding any interferences. With regard to the kitchen worktop, the temperatures induced by the cooker hub - whether in the section and on the contact top - are very contained. We recommend assembling the cooker hubs with
7.Fastening the cooker hob to the cabinet
Fasten the supplied hooks to the brackets under the appliance, as shown here below. The supplied hooks make it possible to fasten to a top whose thickness is between 30 and 40 mm.
IMPORTANT:
• For fastening this product to the support structure, the use of mechanical or electric screwdrivers is not recommended and only moderate pressure must be exerted by hands to the clamping parts.
•The surface under the appliance must be at at least 5 mm from the bottom of it and must have an opening for passing gas and electric conduit that is at least 50x50 mm.
•If this product is installed above an oven, it must be equipped with a cooling fan.
26