6.6Configuring the Switch
The freeConnect Smart 2420 has a web interface to allow for easy configuration of the Switch. A network administrator can manage and monitor the switch from anywhere on the LAN. This section describes how to configure the Switch’s advanced functions, including:
•Port setting (Speed/Disable, Duplex mode, Flow Control and Port base QoS)
•Virtual LAN Group setting (VLAN)
•Trunking
•Port Mirroring
•System Setting
•Device status
6.7Login
Before you access the web interface, note that you must be connected to the Switch via a network connection, and your computer must be on the same IP subnet as the switch. For example, since the default network address of the default IP address of the Web Smart Switch is 192.168.0.1, then the manager PC should be set at 192.168.0.x (where x is a number between 2 and 254), with a subnet mask of 255.255.255.0.
1.Open your web browser (Internet Explorer 5.0 or higher is recommended).
2.Enter the IP address of the Switch in the “Address” field. The default is http://192.168.0.1.
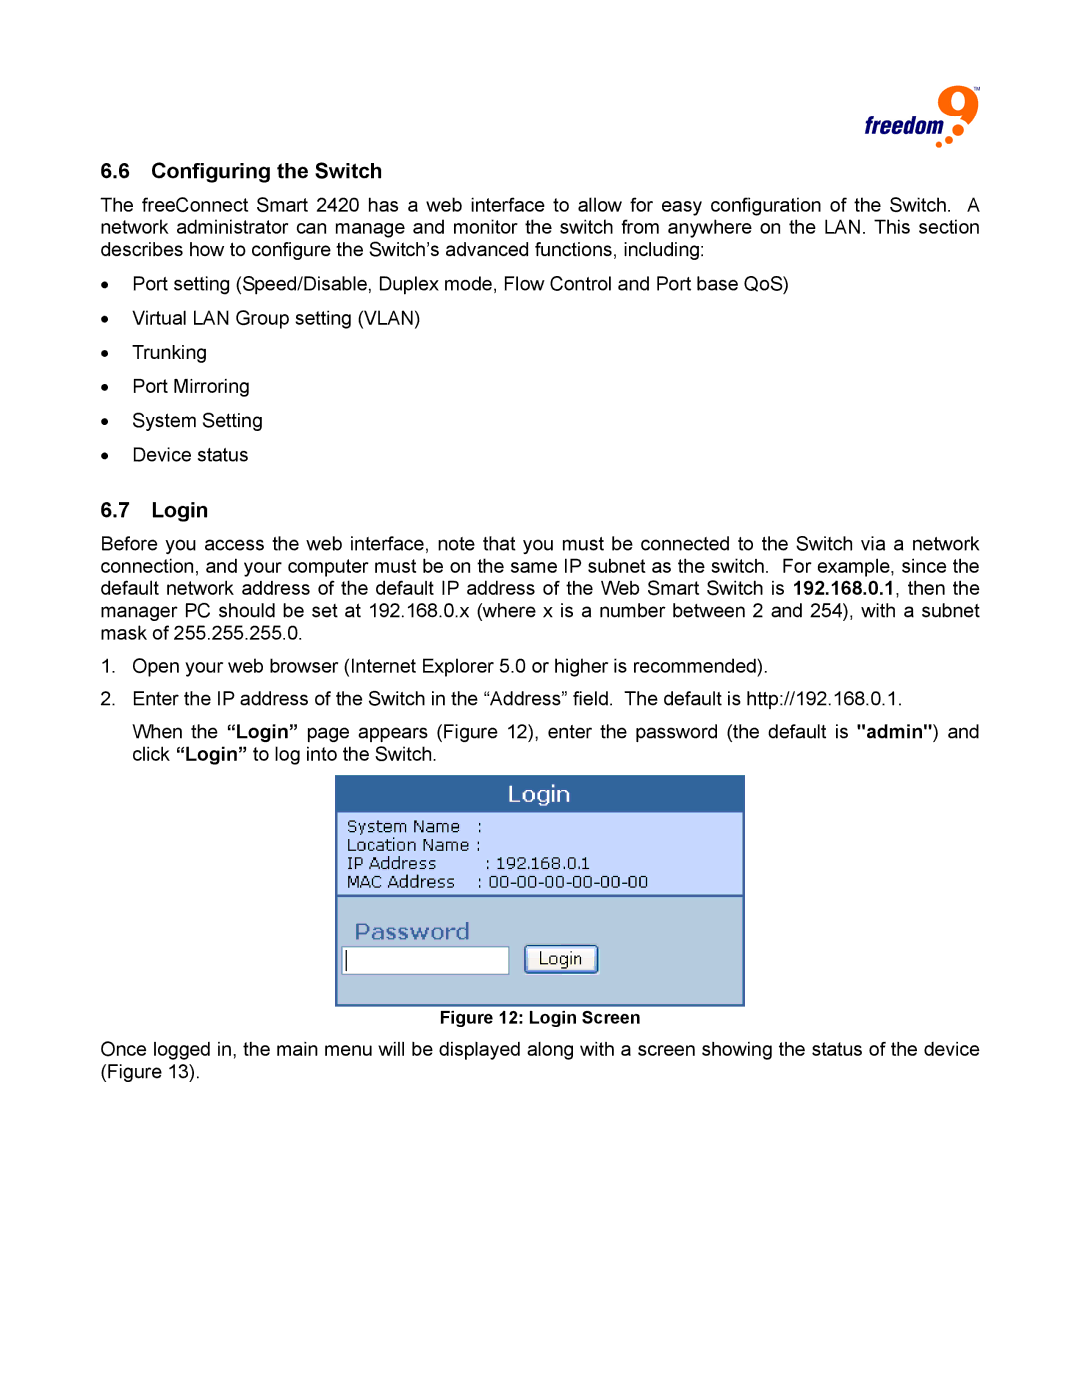
When the “Login” page appears (Figure 12), enter the password (the default is "admin") and click “Login” to log into the Switch.
Figure 12: Login Screen
Once logged in, the main menu will be displayed along with a screen showing the status of the device (Figure 13).