318200439 specifications
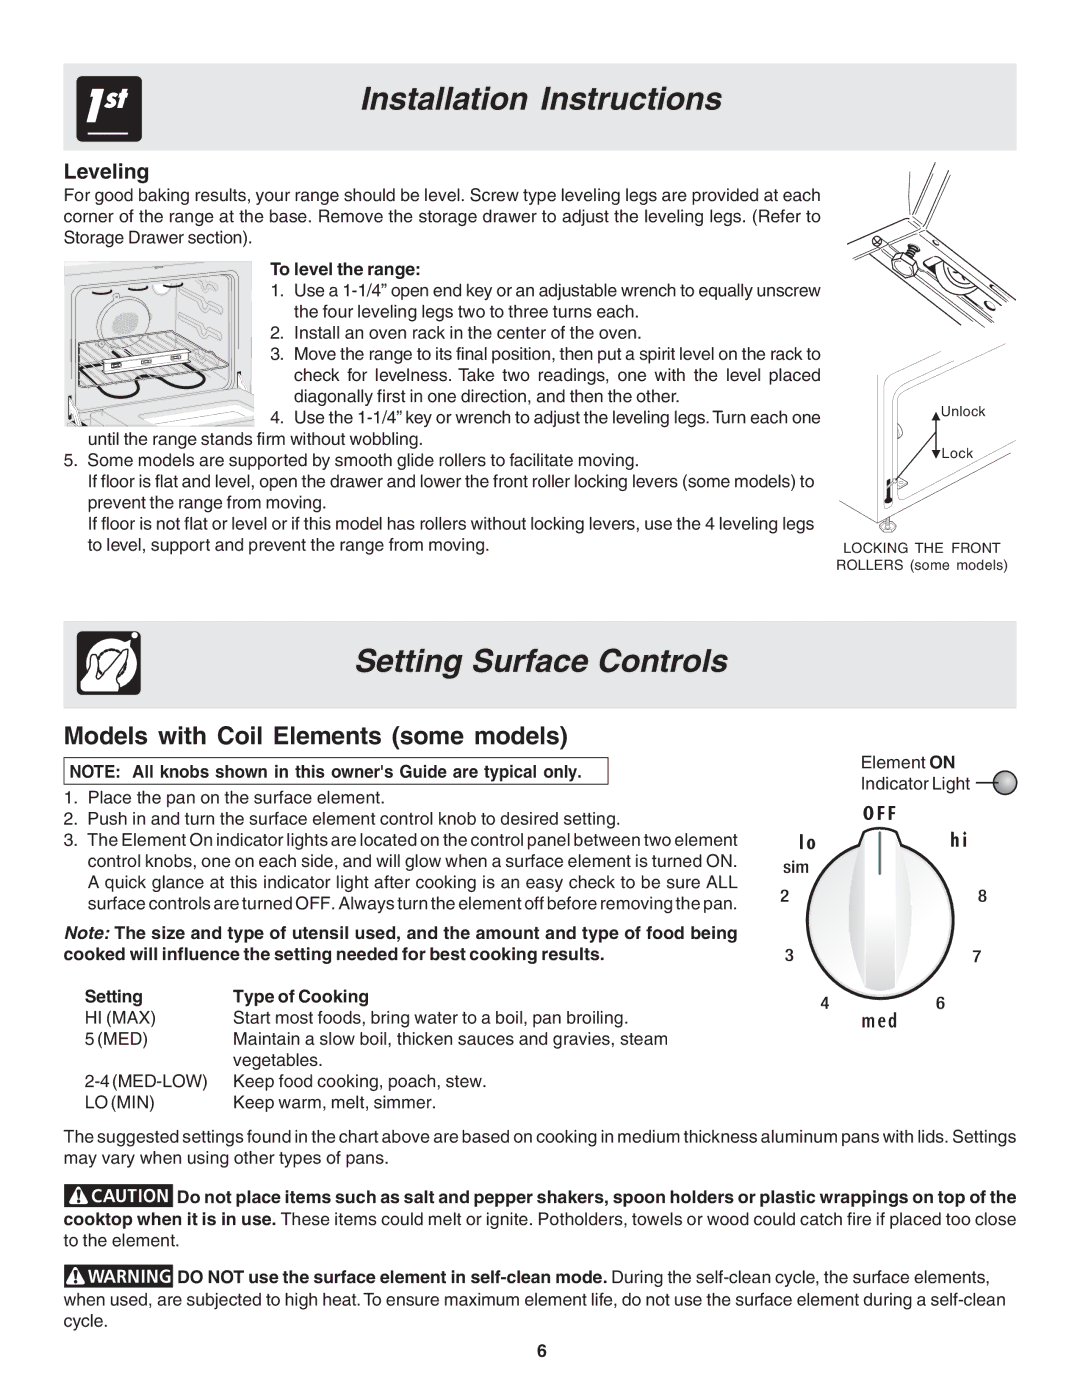
The Frigidaire 318200439 is a high-performance range surface burner that is designed to enhance the cooking experience by combining efficiency with versatility. This component is a popular choice among home cooks and professionals alike due to its sturdy construction and user-friendly features.One of the standout characteristics of the Frigidaire 318200439 is its powerful heating capabilities. It is equipped with advanced burner technology that ensures even heat distribution across the cooking surface. This means that food cooks evenly, reducing the risk of hot spots that can lead to unevenly cooked meals. Whether you are simmering sauces, frying, or boiling, this burner is designed to provide reliable heat at various levels, catering to a range of cooking techniques.
Another significant feature of the Frigidaire 318200439 is its durability. Made with high-quality materials, it can withstand the rigors of daily cooking. The surface is designed to resist scratches and stains, ensuring it maintains its appearance even after extensive use. This durability means that users can enjoy a long-lasting product that requires minimal maintenance.
The burner also incorporates intuitive controls that allow for precise adjustments of flame intensity. This feature is particularly beneficial for intricate cooking tasks that require careful temperature management. The easy-to-use design means that users of all skill levels can effectively harness its capabilities.
Compatibility is another advantage of the Frigidaire 318200439. It seamlessly integrates with a variety of Frigidaire range models, making it a convenient replacement part for those looking to restore the functionality of their cooking appliances. This versatility ensures that users do not have to invest in a completely new unit if they experience issues with their current range.
In summary, the Frigidaire 318200439 is an exceptional burner that offers powerful performance, durability, and ease of use. Its advanced heating technology, intuitive controls, and compatibility with numerous Frigidaire models make it a valuable addition to any kitchen. Whether you're a seasoned chef or a casual cook, this burner can help elevate your culinary creations. With the Frigidaire 318200439, cooking becomes not just a task but an enjoyable experience worth savoring.