General Cleaning
Cleaning Various Parts of Your Appliance
Before cleaning any part of the drawer, be sure control is turned OFF and the drawer is COOL. REMOVE SPILLOVERS AND HEAVY SOILING AS SOON AS POSSIBLE. REGULAR CLEANINGS WILL REDUCE THE NUMBER OF MAJOR CLEANINGS LATER.
Surfaces | How to Clean |
Vinyl | Use hot, soapy water and a cloth. Dry with a clean cloth. |
|
|
Plastic | To remove control knob, turn to the OFF position; grasp firmly and pull straight off the shaft. |
Control Knobs, Control Panel | Clean with a cloth soaked in soapy water. Rinse with a clean water and a dishcloth. Be sure |
| to squeeze excess water from the cloth before wiping the panel; especially when wiping |
| around the controls. Excess water in or around the controls may cause damage to the |
| appliance. To replace knob after cleaning, line up the flat sides of both the knob and the |
| shaft; then push the knob into place. |
|
|
Stainless Steel | Cleaners made especially for stainless steel are recommended. Always follow the |
Door | manufacturer's instructions. Be sure to rinse the cleaners. DO NOT clean the door gasket. |
| The door gasket is essential for a good seal. Care should be taken not to rub, damage or |
| remove the gasket. |
|
|
Porcelain Enamel | Gentle scouring with a soapy scouring pad will remove most spots. Rinse with a 1:1 solution |
Door Liner, Body Parts and | of clear water and ammonia. If necessary, cover difficult spots with an |
Drawer Cavity | paper towel for 30 to 40 minutes. Rinse with clean water and a damp cloth, and then scrub |
| with a |
| or the porcelain may become damaged during future heating. DO NOT use spray oven |
| cleaners. |
|
|
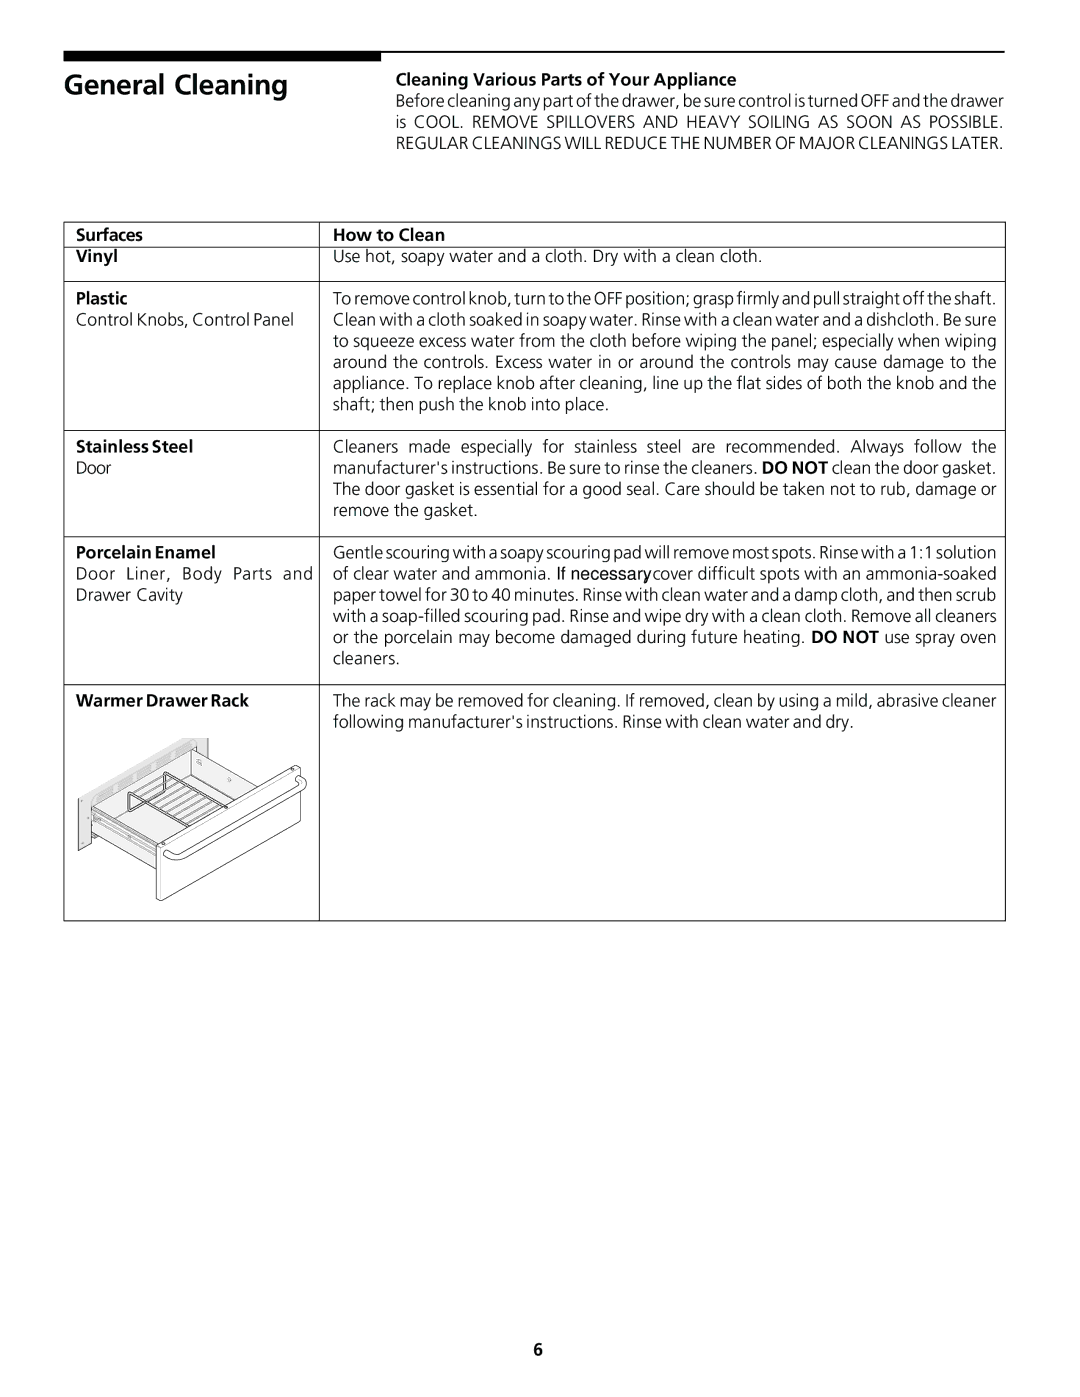
Warmer Drawer Rack | The rack may be removed for cleaning. If removed, clean by using a mild, abrasive cleaner |
| following manufacturer's instructions. Rinse with clean water and dry. |
|
|
6
