YFPRE18E ELECTRIC FRYER
CHAPTER 4:
4.4.2 Filter Operation (cont.)
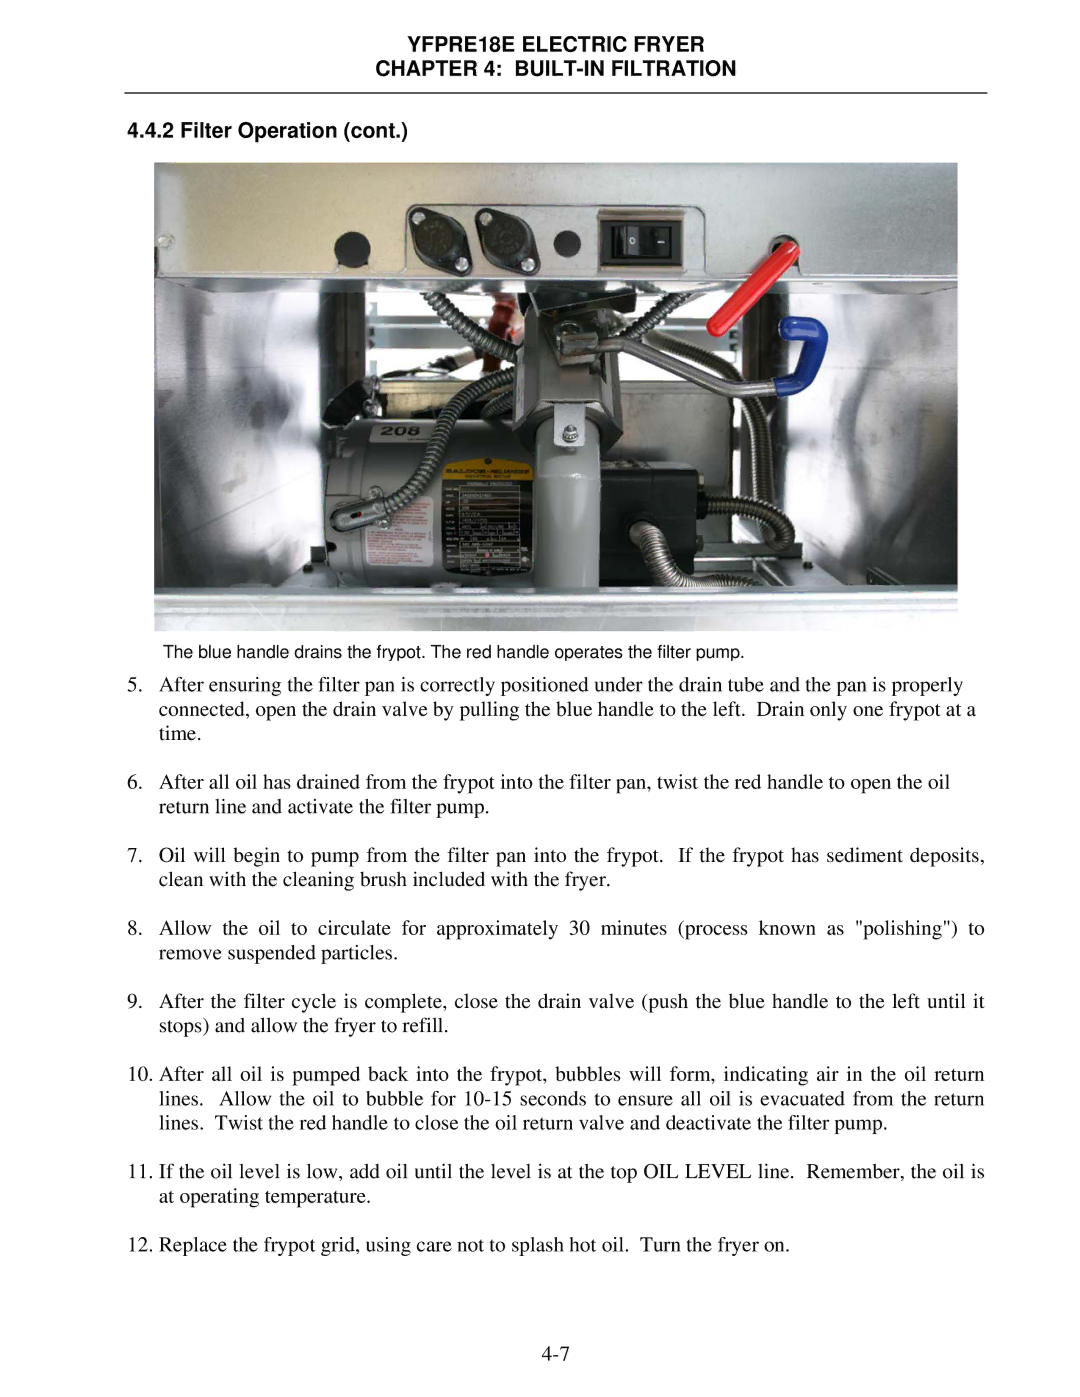
The blue handle drains the frypot. The red handle operates the filter pump.
5.After ensuring the filter pan is correctly positioned under the drain tube and the pan is properly connected, open the drain valve by pulling the blue handle to the left. Drain only one frypot at a time.
6.After all oil has drained from the frypot into the filter pan, twist the red handle to open the oil return line and activate the filter pump.
7.Oil will begin to pump from the filter pan into the frypot. If the frypot has sediment deposits, clean with the cleaning brush included with the fryer.
8.Allow the oil to circulate for approximately 30 minutes (process known as "polishing") to remove suspended particles.
9.After the filter cycle is complete, close the drain valve (push the blue handle to the left until it stops) and allow the fryer to refill.
10.After all oil is pumped back into the frypot, bubbles will form, indicating air in the oil return lines. Allow the oil to bubble for
11.If the oil level is low, add oil until the level is at the top OIL LEVEL line. Remember, the oil is at operating temperature.
12.Replace the frypot grid, using care not to splash hot oil. Turn the fryer on.