
ASU9RMLQ ASU12RMLQ AOU24RML AOU36RML specifications
Fujitsu is a prominent player in the HVAC industry, delivering energy-efficient and advanced climate control solutions. Among their extensive product lineup, the ASU9RMLQ, ASU12RMLQ, AOU24RML, and AOU36RML represent cutting-edge technology specifically designed to cater to diverse cooling and heating needs in residential and commercial spaces.The Fujitsu ASU9RMLQ and ASU12RMLQ are wall-mounted indoor units that are well-suited for smaller residential settings. These models are known for their sleek design, ensuring they blend seamlessly into any environment. Their main features include a high energy efficiency rating, achieving SEER ratings of up to 18, which translates to significant cost savings on energy bills. Both models are equipped with Inverter technology, allowing them to adjust the compressor speed as needed, thus providing consistent temperature control while minimizing energy consumption.
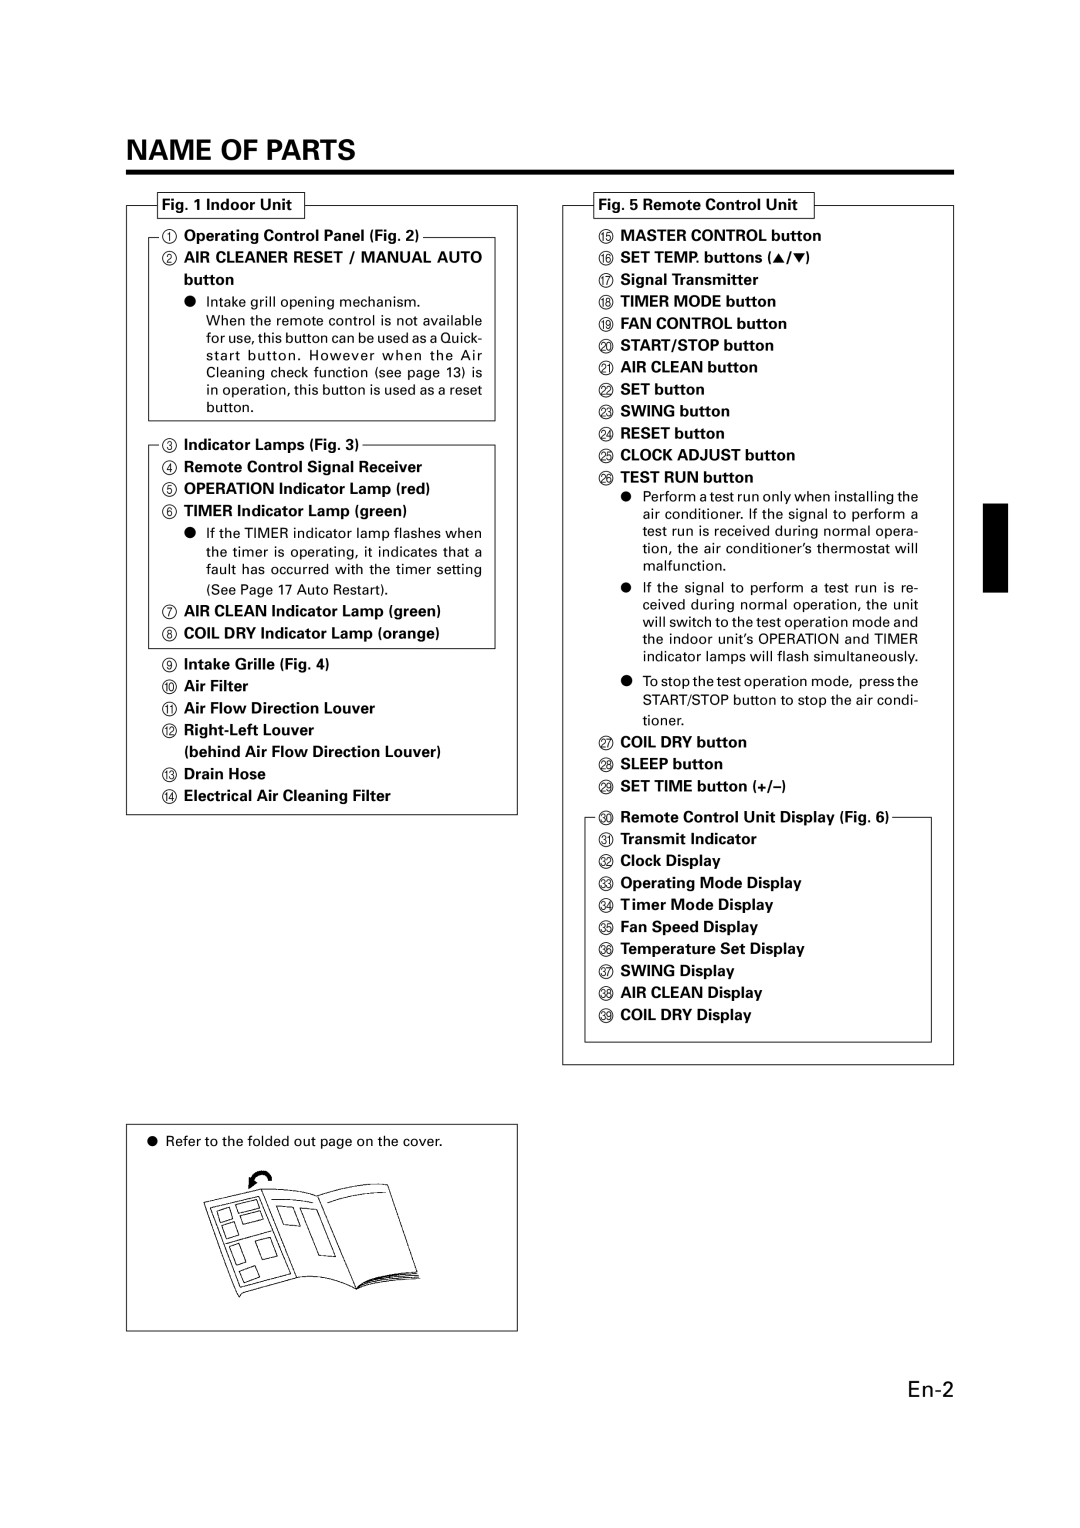
Additionally, these indoor units are designed with advanced filtration systems that enhance air quality by removing dust, allergens, and other pollutants. The easy-to-use remote controls enable users to adjust settings conveniently, while the quiet operation ensures minimal disruption during use.
On the other hand, the AOU24RML and AOU36RML are outdoor units designed to provide robust cooling and heating performance. They are engineered to work in conjunction with their respective indoor counterparts, offering a comprehensive climate control system. The AOU24RML is capable of cooling larger spaces with its powerful output, while the AOU36RML excels in extensive areas, making it ideal for commercial applications.
Both outdoor units feature enhanced durability, built to withstand various weather conditions. They employ advanced compressor technology that optimizes performance and energy efficiency. The incorporation of smart technology allows for remote management through smartphone applications, adding an extra layer of convenience for users.
In summary, the Fujitsu ASU9RMLQ, ASU12RMLQ, AOU24RML, and AOU36RML are distinguished by their ability to provide effective and energy-efficient climate control. With features such as Inverter technology, advanced filtration, and responsive control systems, these units represent a smart investment for anyone looking to enhance their indoor environment while being mindful of energy consumption. Whether for residential or commercial spaces, these Fujitsu models deliver reliability and innovation in HVAC solutions.