3. INITIAL SETTINGS
d)Use [+] or
e)To operate the transducer in reduced power (for example, when vessel is in dry dock), press ["] to select PWR REDUCTION, and then press [+] or
OFF ON
f)Press [+] or
6.Confirm settings and turn off the power.
3.3Water Temperature Sensor Setting
If a water temperature sensor is connected, set up as follows:
1.Turn on the power and turn the [FUNCTION] switch to the MENU position.
2.Press [!] and [+] to select SYSTEM at the top of the screen.
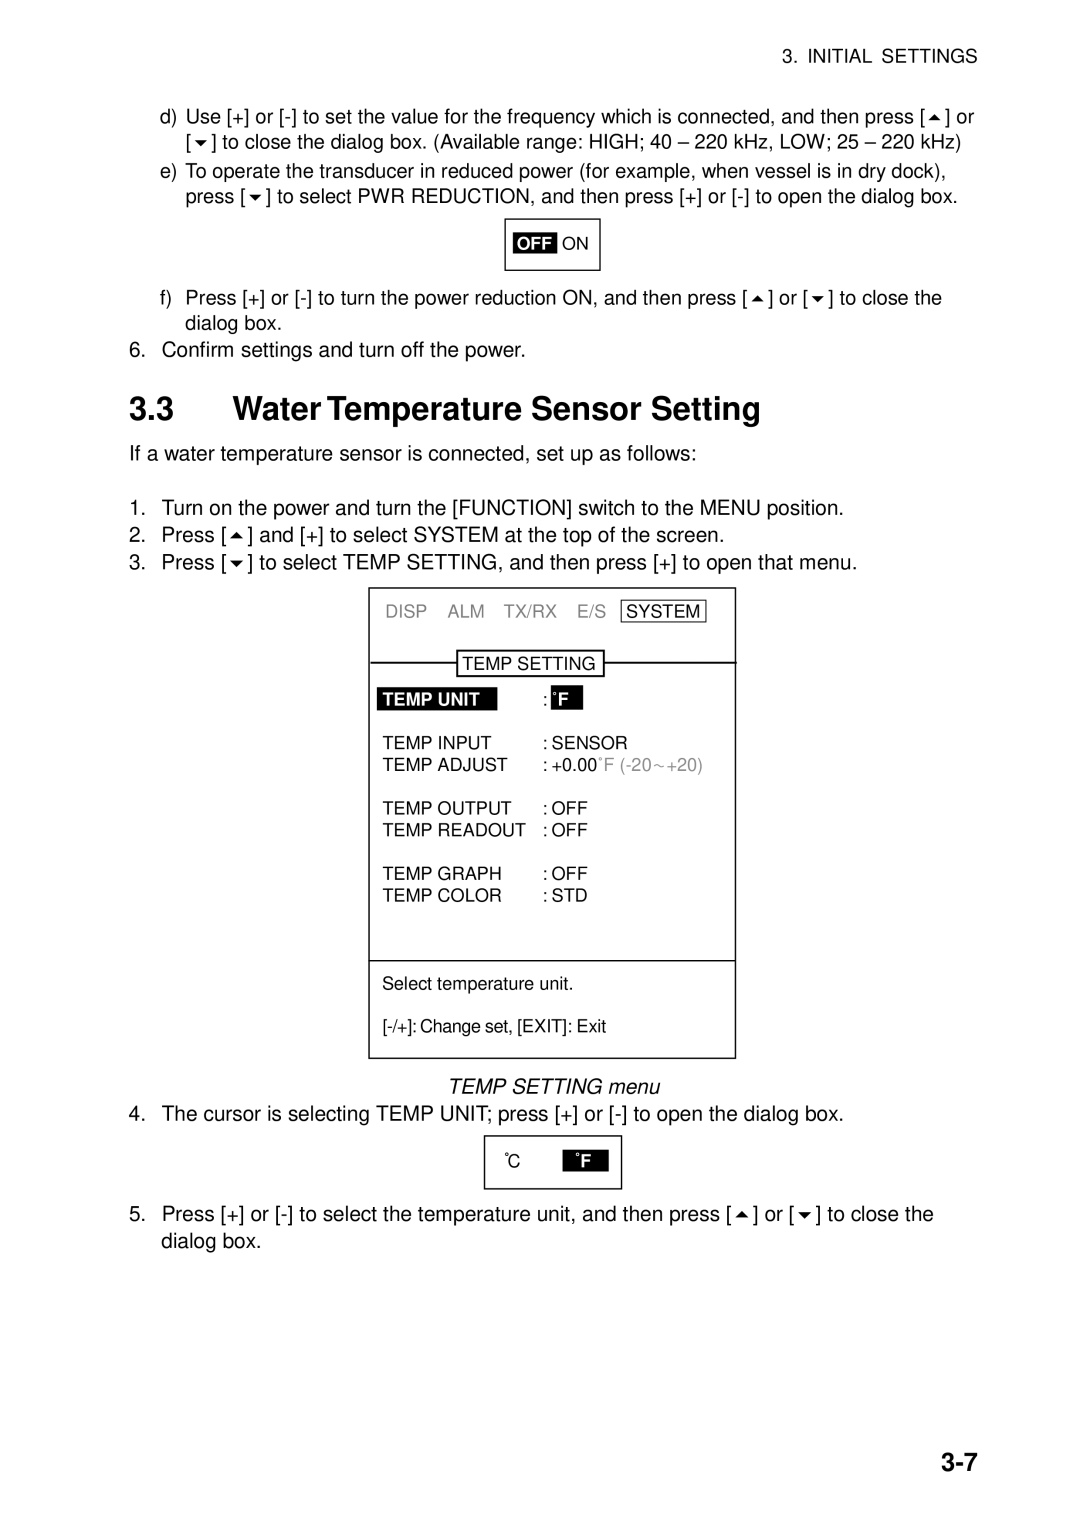
3.Press ["] to select TEMP SETTING, and then press [+] to open that menu.
DISP ALM TX/RX E/S SYSTEM
![]() TEMP SETTING
TEMP SETTING ![]()
TEMP UNIT |
| : | ˚F |
|
TEMP INPUT | : SENSOR | |||
TEMP ADJUST | : +0.00˚F | |||
TEMP OUTPUT | : OFF | |||
TEMP READOUT | : OFF | |||
TEMP GRAPH | : OFF | |||
TEMP COLOR | : STD | |||
Select temperature unit.
TEMP SETTING menu
4. The cursor is selecting TEMP UNIT; press [+] or
CF
5.Press [+] or
