PS Engineering
PAV80 Series IFE System
Installation and Operator’s Manual
Connect the PVA802 to a
conductors from the RG179 coax.
NOTE: This unit can become warm when fully loaded, and should not be mounted where an occupant may have inadvertent
contact with it.
The PVA802 should be mounted in accordance with
also includes any supporting structure that may be fabricated, in accordance with Chapter 2, Sections 25 and 26.
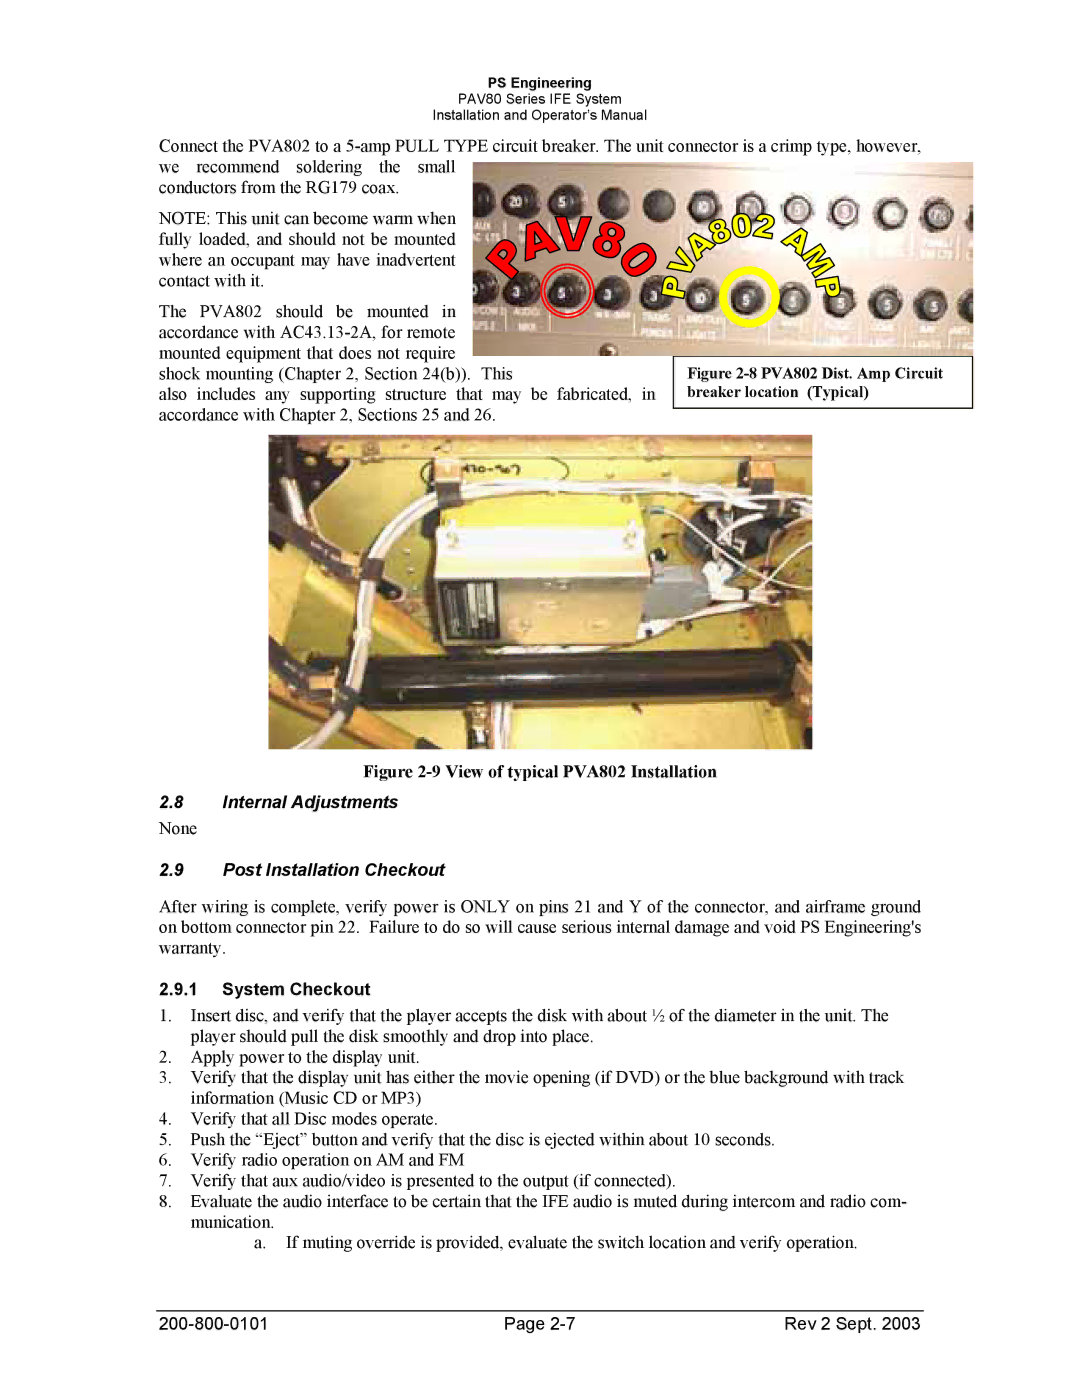
Figure 2-8 PVA802 Dist. Amp Circuit breaker location (Typical)
Figure 2-9 View of typical PVA802 Installation
2.8Internal Adjustments
None
2.9Post Installation Checkout
After wiring is complete, verify power is ONLY on pins 21 and Y of the connector, and airframe ground on bottom connector pin 22. Failure to do so will cause serious internal damage and void PS Engineering's warranty.
2.9.1System Checkout
1.Insert disc, and verify that the player accepts the disk with about ½ of the diameter in the unit. The player should pull the disk smoothly and drop into place.
2.Apply power to the display unit.
3.Verify that the display unit has either the movie opening (if DVD) or the blue background with track information (Music CD or MP3)
4.Verify that all Disc modes operate.
5.Push the “Eject” button and verify that the disc is ejected within about 10 seconds.
6.Verify radio operation on AM and FM
7.Verify that aux audio/video is presented to the output (if connected).
8.Evaluate the audio interface to be certain that the IFE audio is muted during intercom and radio com- munication.
a. If muting override is provided, evaluate the switch location and verify operation.
Page | Rev 2 Sept. 2003 |