Safety Information
Using the self-cleaning oven (on some models).
Never force the latch handle. Forcing the handle will damage the door lock mechanism.
Operating Instructions
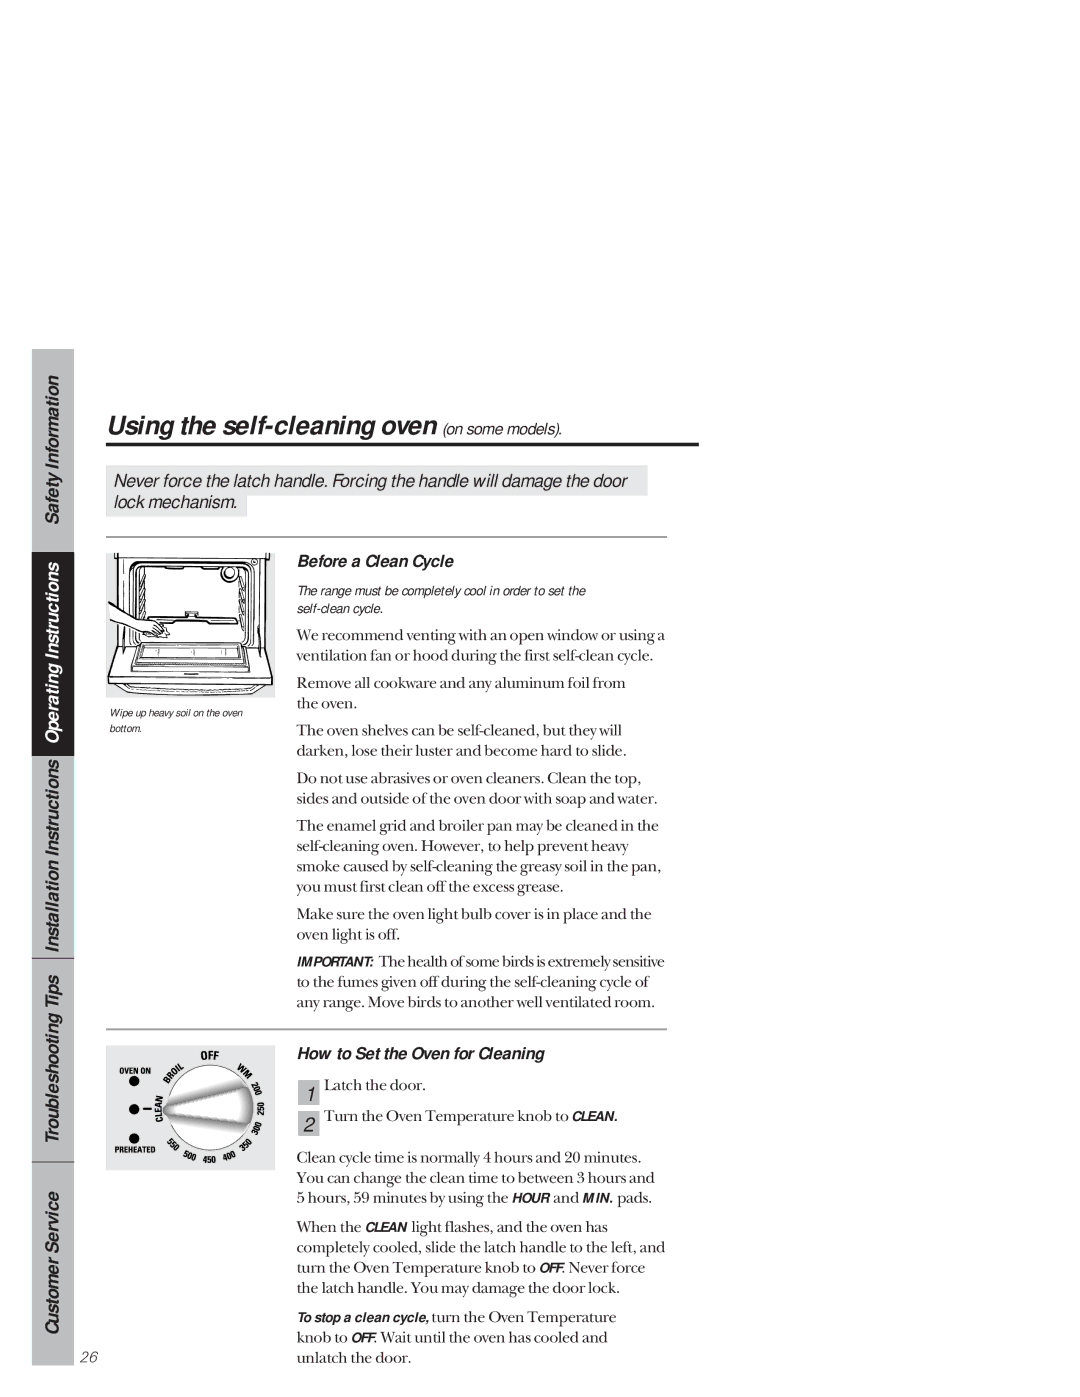
Wipe up heavy soil on the oven
Before a Clean Cycle
The range must be completely cool in order to set the
We recommend venting with an open window or using a ventilation fan or hood during the first
Remove all cookware and any aluminum foil from the oven.
Customer Service Troubleshooting Tips Installation Instructions
bottom.
26
The oven shelves can be
Do not use abrasives or oven cleaners. Clean the top, sides and outside of the oven door with soap and water.
The enamel grid and broiler pan may be cleaned in the
Make sure the oven light bulb cover is in place and the oven light is off.
IMPORTANT: The health of some birds is extremely sensitive to the fumes given off during the
How to Set the Oven for Cleaning
| Latch the door. |
1 | |
| Turn the Oven Temperature knob to CLEAN. |
2 |
Clean cycle time is normally 4 hours and 20 minutes. You can change the clean time to between 3 hours and 5 hours, 59 minutes by using the HOUR and MIN. pads.
When the CLEAN light flashes, and the oven has completely cooled, slide the latch handle to the left, and turn the Oven Temperature knob to OFF. Never force the latch handle. You may damage the door lock.
To stop a clean cycle, turn the Oven Temperature knob to OFF. Wait until the oven has cooled and unlatch the door.