Be sure all the controls are turned to OFF and the surface units are cool before attempting to remove them.
Surface unit |
|
| Surface Units (on some models) |
|
|
| To clean the surface units, turn the control to the highest |
|
|
| setting for a minute. The coils will burn off any soil. |
|
|
| To remove a surface unit: |
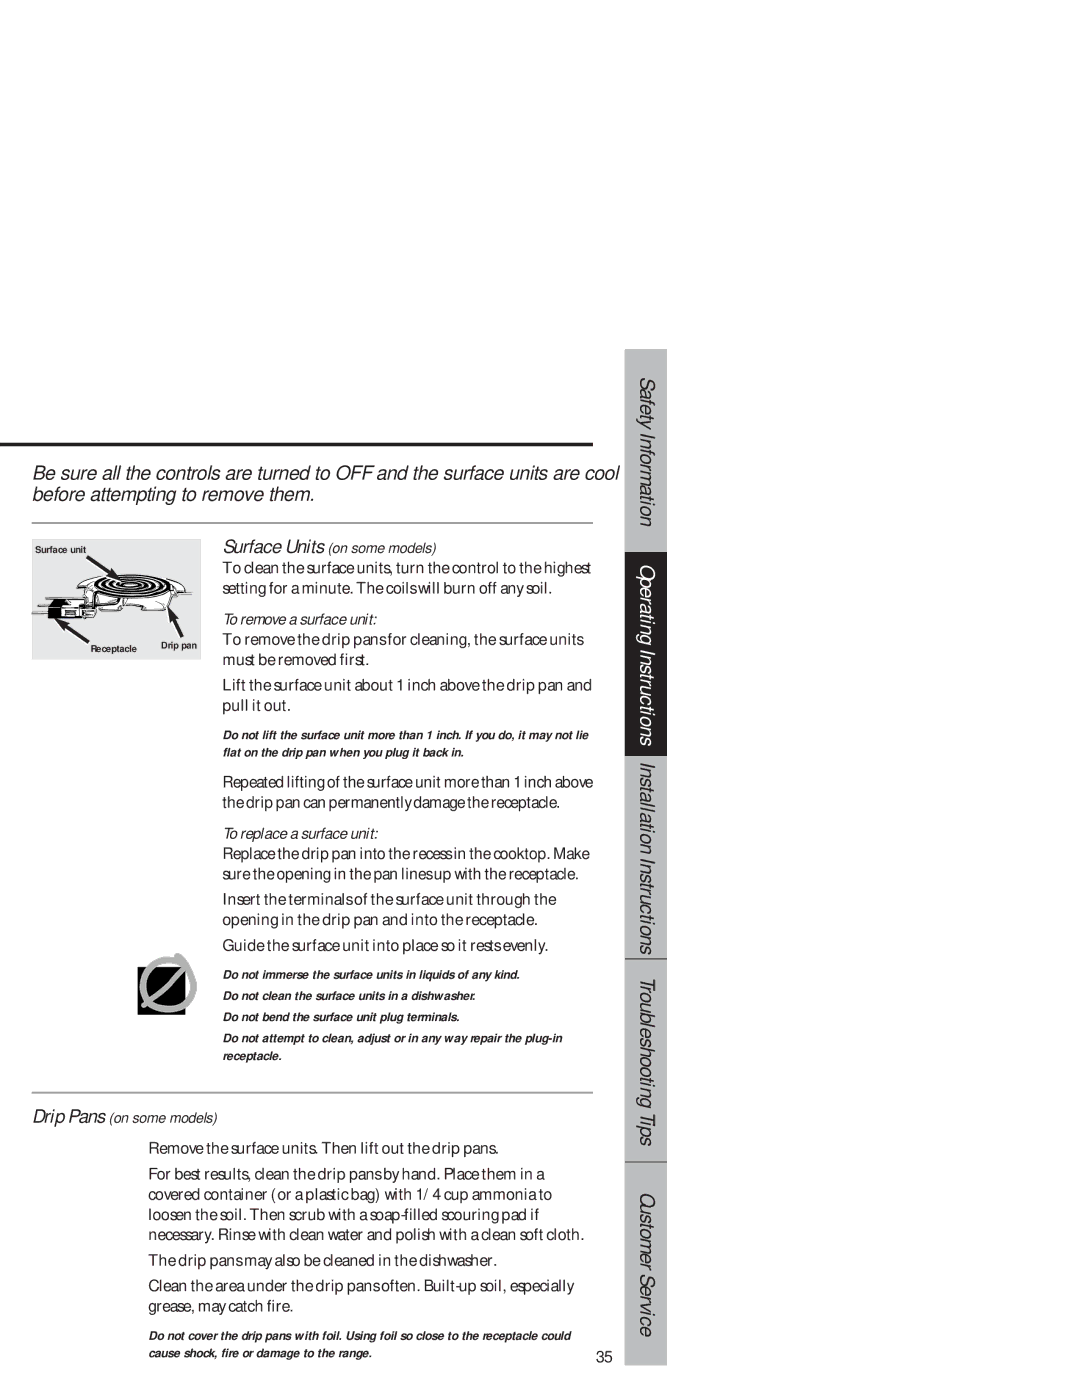
Receptacle | Drip pan | To remove the drip pans for cleaning, the surface units | |
|
|
| must be removed first. |
|
|
| |
|
|
| Lift the surface unit about 1 inch above the drip pan and |
|
|
| pull it out. |
|
|
| Do not lift the surface unit more than 1 inch. If you do, it may not lie |
|
|
| flat on the drip pan when you plug it back in. |
|
|
| Repeated lifting of the surface unit more than 1 inch above |
|
|
| the drip pan can permanently damage the receptacle. |
|
|
| To replace a surface unit: |
|
|
| Replace the drip pan into the recess in the cooktop. Make |
|
|
| sure the opening in the pan lines up with the receptacle. |
|
|
| Insert the terminals of the surface unit through the |
|
|
| opening in the drip pan and into the receptacle. |
|
|
| Guide the surface unit into place so it rests evenly. |
|
|
| Do not immerse the surface units in liquids of any kind. |
|
|
| |
|
|
| Do not clean the surface units in a dishwasher. |
|
|
| Do not bend the surface unit plug terminals. |
|
|
| |
|
|
| Do not attempt to clean, adjust or in any way repair the |
|
|
| receptacle. |
Drip Pans (on some models)
Remove the surface units. Then lift out the drip pans.
For best results, clean the drip pans by hand. Place them in a covered container (or a plastic bag) with 1/4 cup ammonia to loosen the soil. Then scrub with a
The drip pans may also be cleaned in the dishwasher. |
|
Clean the area under the drip pans often. |
|
grease, may catch fire. |
|
Do not cover the drip pans with foil. Using foil so close to the receptacle could |
|
cause shock, fire or damage to the range. | 35 |
|
Safety Information Operating Instructions Installation Instructions Troubleshooting Tips Customer Service
