
EER3000, JBP70, EER2000, JBP64, JBP65 specifications
The GE JBP series of ranges, including models JBP65, JBP64, JBP66, JBP67, JBP68, and JBP70, are designed to cater to a variety of cooking needs and preferences, offering versatility, convenience, and advanced technology. These ranges are crafted with the modern kitchen in mind, providing features that enhance cooking experiences while ensuring ease of use and safety.One of the standout features of this series is the use of a smooth, easy-to-clean cooktop surface. The ceramic glass cooktops offer a sleek and modern look, while also allowing for quick cleanup after cooking. With multiple radiant elements, including a powerful high-heat burner, these models offer flexibility for various cooking styles, from simmering soups to searing meats.
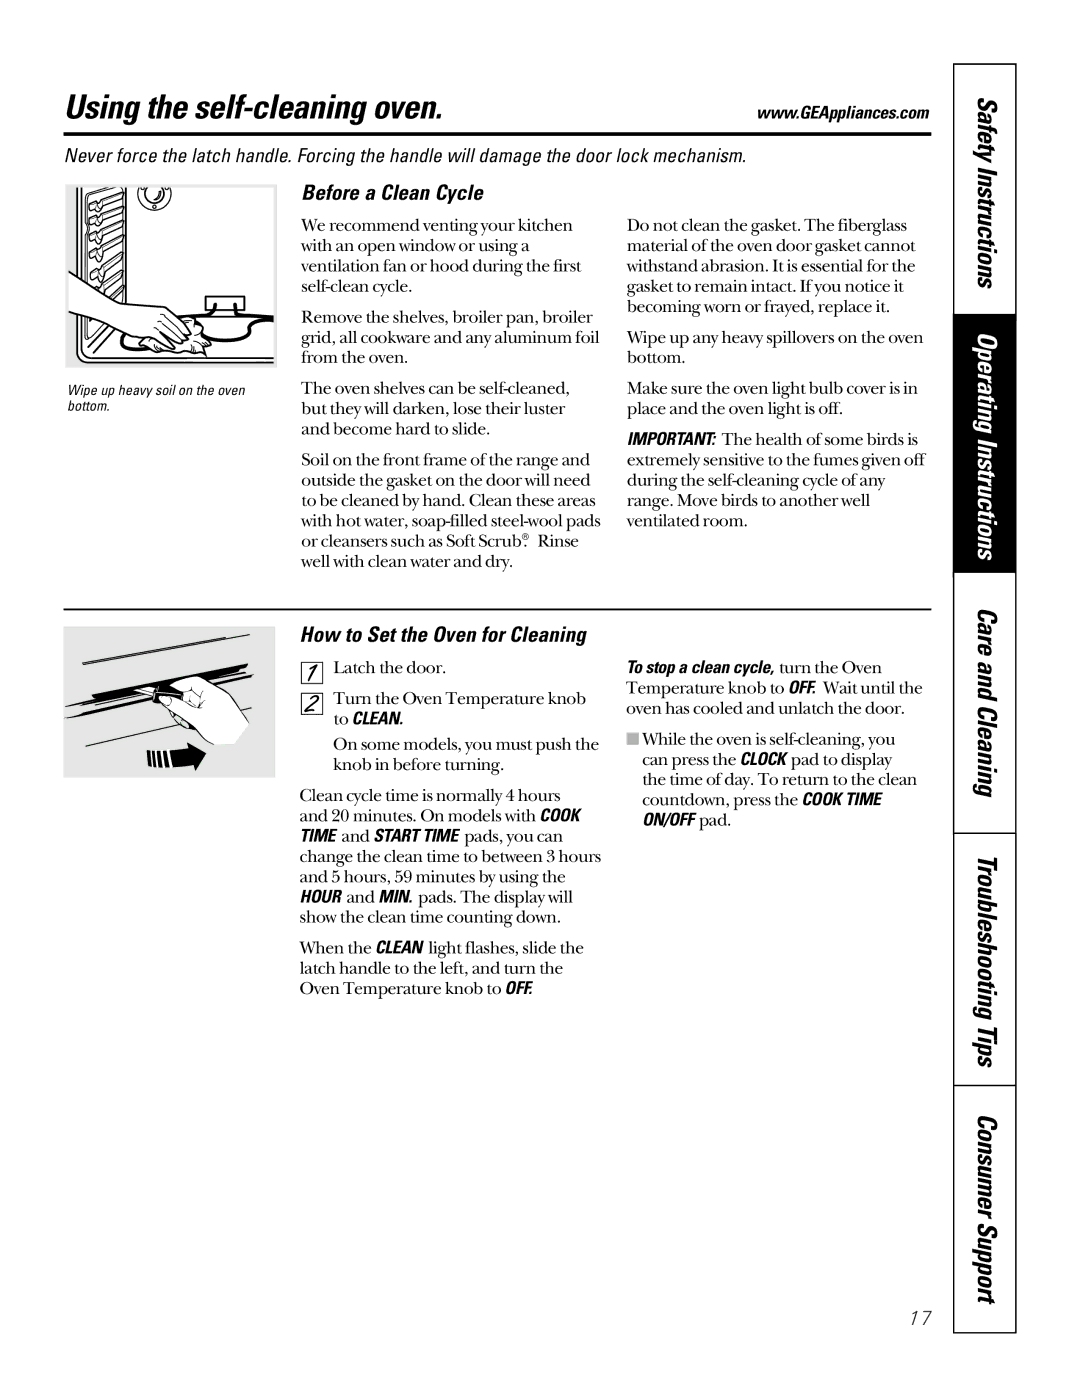
The JBP range series is equipped with an advanced self-cleaning oven system, which allows users to maintain clean oven interiors without the hassle of manual scrubbing. This feature operates by using high temperatures to burn away food residues, transforming them into ash that can easily be wiped away. Additionally, the ranges come with a substantial cooking capacity, ensuring ample space for multiple dishes at once.
All models in the JBP series also incorporate the convenience of electronic oven controls, allowing precise temperature settings and programming for timed baking. Some models are equipped with additional features such as a delay bake option, which can be particularly useful for meal planning or preparing meals in advance.
Safety is a priority with features like the oven's automatic shutdown and a control lock, preventing unintended operation. The ranges are designed with durable construction materials that ensure reliability and long-term performance.
Another notable aspect of these GE models is their energy efficiency, helping users save on utility bills while being environmentally conscious. The smooth surface of the cooktop not only enhances aesthetics but also contributes to more efficient heat distribution, leading to faster cooking times.
Overall, the GE JBP series ranges are a fantastic investment for anyone looking to upgrade their kitchen with high-quality appliances that blend performance, style, and convenience. With a range of features designed for modern cooking demands, these models continue to uphold GE's reputation for producing reliable and innovative kitchen appliances. Whether you are an experienced chef or a casual cook, the JBP series provides the tools needed to create delicious meals with ease.