
JVM172J specifications
The GE JVM172J is a compact over-the-range microwave oven that combines practicality and performance in a sleek design. This model is particularly suited for those who are looking to save counter space in their kitchen while still enjoying the convenience of a microwave. Designed for a wide variety of cooking, reheating, and defrosting tasks, the JVM172J has several features and technologies that make it a reliable kitchen companion.One of the standout features of the GE JVM172J is its 1.7 cubic feet capacity, which allows ample space for cooking larger dishes, while still being compact enough to fit in smaller kitchens. The microwave offers 950 watts of cooking power, providing efficient heating and cooking performance that can easily handle everyday tasks such as reheating leftovers or cooking frozen meals.
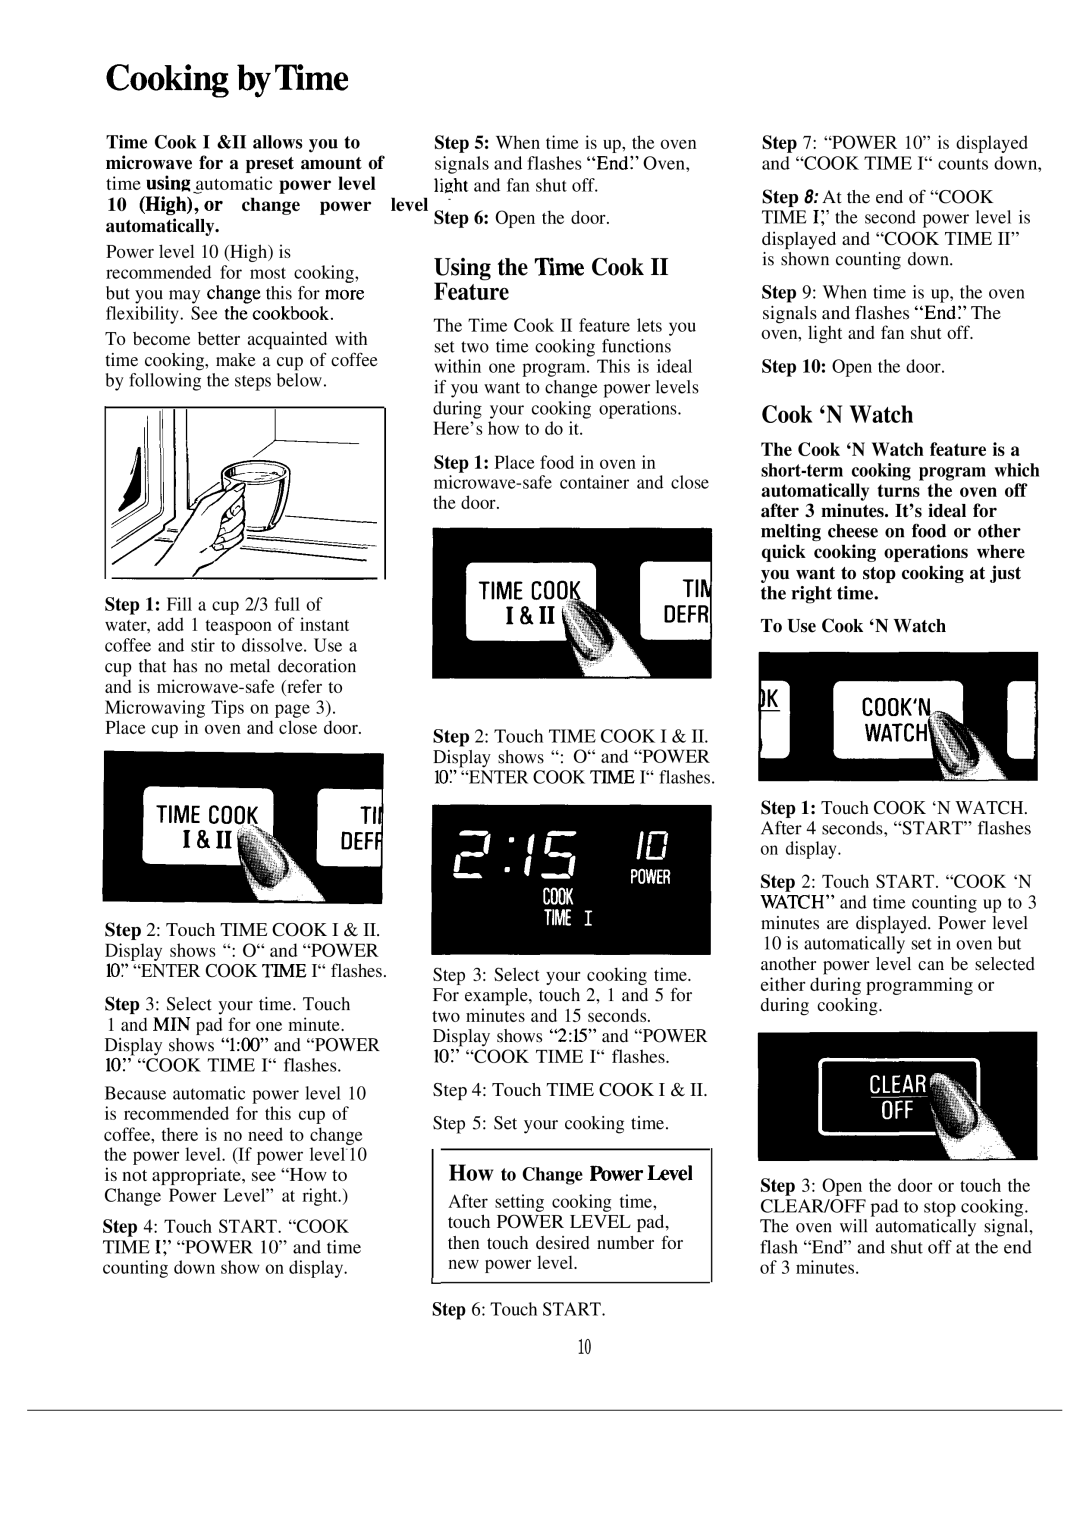
The microwave comes equipped with a one-touch cooking feature, which simplifies the cooking process by allowing users to quickly access settings for popcorn, reheat, or cook specific foods. This is complemented by the microwave’s automatic defrost settings, which enables perfectly thawed food without the risk of cooking the edges.
Additionally, the GE JVM172J includes a turntable, ensuring even cooking by rotating food evenly as it heats. The microwave’s venting system is also noteworthy; it features a two-speed venting system that can efficiently eliminate smoke, steam, and odors from the kitchen. This makes it an ideal choice for those who cook regularly and want to maintain a fresh kitchen environment.
Another characteristic that sets the JVM172J apart is its easy-to-read digital display, which shows cooking times and power levels clearly. The control panel is user-friendly, with quick-set buttons that enhance usability for all ages.
The design of the GE JVM172J is modern and aesthetically pleasing, available in various finishes to complement any kitchen decor. Energy efficiency is also a consideration with this model, as it is designed to reduce energy consumption when not in use.
In conclusion, the GE JVM172J is a feature-rich and versatile microwave oven that suits both casual and serious cooks. With its combination of cooking power, capacity, and user-friendly design, it remains a popular choice for those seeking both quality and convenience in their kitchen appliances.