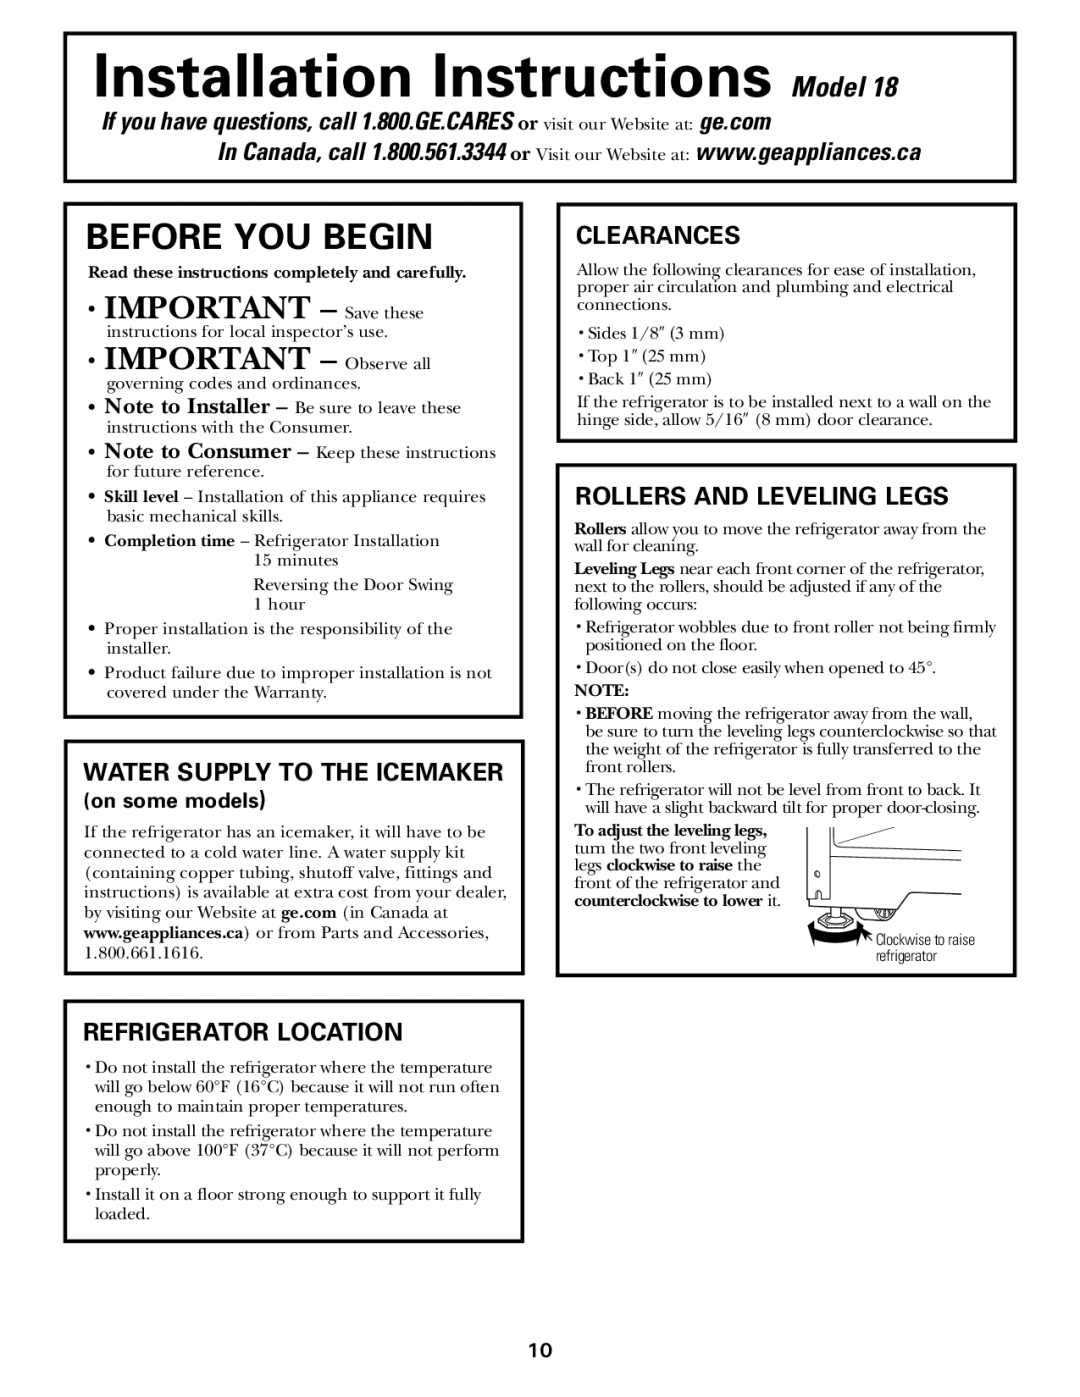
Installation Instructions Model 18

If you have questions, call 1.800.GE.CARES or visit our Website at: ge.com

In Canada, call 1.800.561.3344 or Visit our Website at: www.geappliances.ca

BEFORE YOU BEGIN

Read these instructions completely and carefully.

IMPORTANT – Save these

instructions for local inspector’s use.

IMPORTANT – Observe all

governing codes and ordinances.

Note to Installer – Be sure to leave these instructions with the Consumer.

Note to Consumer – Keep these instructions for future reference.

Skill level – Installation of this appliance requires basic mechanical skills.

Completion time – Refrigerator Installation

15 minutes

Reversing the Door Swing

1hour

Proper installation is the responsibility of the installer.

Product failure due to improper installation is not covered under the Warranty.

WATER SUPPLY TO THE ICEMAKER (on some models)

If the refrigerator has an icemaker, it will have to be connected to a cold water line. A water supply kit (containing copper tubing, shutoff valve, fittings and instructions) is available at extra cost from your dealer, by visiting our Website at ge.com (in Canada at www.geappliances.ca) or from Parts and Accessories, 1.800.661.1616.

CLEARANCES

Allow the following clearances for ease of installation, proper air circulation and plumbing and electrical connections.

Sides 1/8″ (3 mm)

Top 1″ (25 mm)

Back 1″ (25 mm)

If the refrigerator is to be installed next to a wall on the hinge side, allow 5/16″ (8 mm) door clearance.

ROLLERS AND LEVELING LEGS

Rollers allow you to move the refrigerator away from the wall for cleaning.

Leveling Legs near each front corner of the refrigerator, next to the rollers, should be adjusted if any of the following occurs:

Refrigerator wobbles due to front roller not being firmly positioned on the floor.

Door(s) do not close easily when opened to 45°.

NOTE:

BEFORE moving the refrigerator away from the wall, be sure to turn the leveling legs counterclockwise so that the weight of the refrigerator is fully transferred to the front rollers.

The refrigerator will not be level from front to back. It will have a slight backward tilt for proper door-closing.

To adjust the leveling legs, turn the two front leveling legs clockwise to raise the front of the refrigerator and counterclockwise to lower it.

Clockwise to raise refrigerator

REFRIGERATOR LOCATION

Do not install the refrigerator where the temperature will go below 60°F (16°C) because it will not run often enough to maintain proper temperatures.

Do not install the refrigerator where the temperature will go above 100°F (37°C) because it will not perform properly.

Install it on a floor strong enough to support it fully loaded.

10

Page 10
Image 10
GE WX08X10006, WX08X10015, WX08X10025 manual Before YOU Begin, Clearances, Rollers and Leveling Legs, Refrigerator Location

197D3354P013, WX08X10006, WX08X10025, WX08X10015 specifications

The GE WX08X10015, WX08X10025, WX08X10006, and 197D3354P013 are essential components designed for enhancing the functionality and performance of GE appliances, particularly in laundry applications. These parts are popular for their reliable construction, compatibility, and advanced features that ensure seamless operation.

The GE WX08X10015 is a high-quality washer hose that is engineered for adding flexibility and durability to your washing machine. It typically features a reinforced design to prevent kinks and leaks, ensuring that water flows smoothly without interruptions. The hose is also resistant to extreme temperatures, making it suitable for various washing machine environments. The installation process is straightforward, allowing homeowners to easily replace existing hoses without the need for professional assistance.

On the other hand, the GE WX08X10025 offers a similar application with an extended length that caters to varying laundry room configurations. This appliance part is designed to connect the washing machine to the water supply, providing a consistent and secure water flow during wash cycles. Its robust construction means that it can withstand high pressures, making it a reliable choice for both top-loading and front-loading washing machines.

The GE WX08X10006 is another important hose option, known for its features that allow for an effective drain during laundry cycles. This hose plays a critical role in removing water from the washing machine after each cycle, ensuring that the machine operates efficiently. The drainage hose is typically engineered to fit standard washing machine drain outlets, promoting a hassle-free installation and maintenance experience.

Lastly, the 197D3354P013 is a versatile part that serves as a coupling or connector within washing machine setups. Its design includes durable materials that ensure longevity and resistance to wear and tear. This part is crucial for establishing secure connections between various components, thus maintaining the overall integrity of the washing system.

The combined characteristics of these GE appliance parts highlight their importance in maintaining effective laundry operations. From reliable water connection hoses to efficient drainage solutions and sturdy connectors, these components enhance usability and extend the lifespan of washing machines. Their advanced engineering reflects GE's commitment to quality and performance, making them invaluable to any household laundry setup.