Service
7.Remove the entire counter assembly (31) (FIG. 19).
31![]()
FIG. 19
Reassembly
1.Install counter assembly (31).
31![]()
FIG. 20
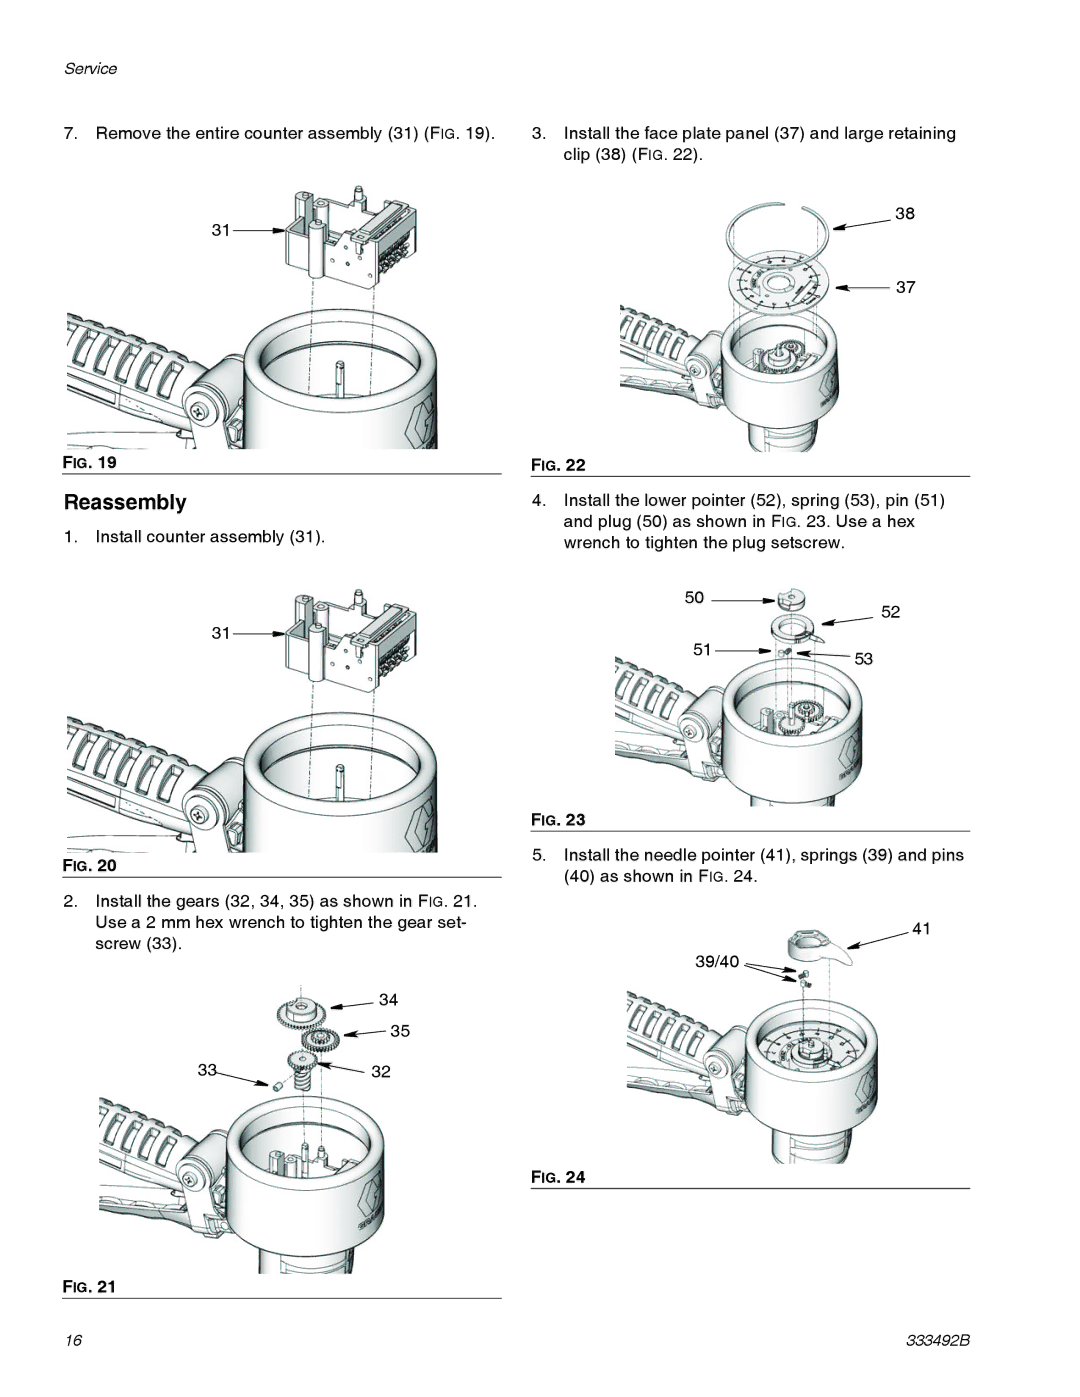
2.Install the gears (32, 34, 35) as shown in FIG. 21. Use a 2 mm hex wrench to tighten the gear set- screw (33).
![]() 34
34 ![]() 35
35
33 | 32 |
FIG. 21
3.Install the face plate panel (37) and large retaining clip (38) (FIG. 22).
38
37
FIG. 22
4.Install the lower pointer (52), spring (53), pin (51) and plug (50) as shown in FIG. 23. Use a hex wrench to tighten the plug setscrew.
50 |
|
|
| 52 |
|
|
| ||
|
|
|
| |
51 |
|
| 53 | |
|
| |||
|
|
|
| |
FIG. 23
5.Install the needle pointer (41), springs (39) and pins (40) as shown in FIG. 24.
41
39/40 ![]()
FIG. 24
16 | 333492B |