Initial Startup
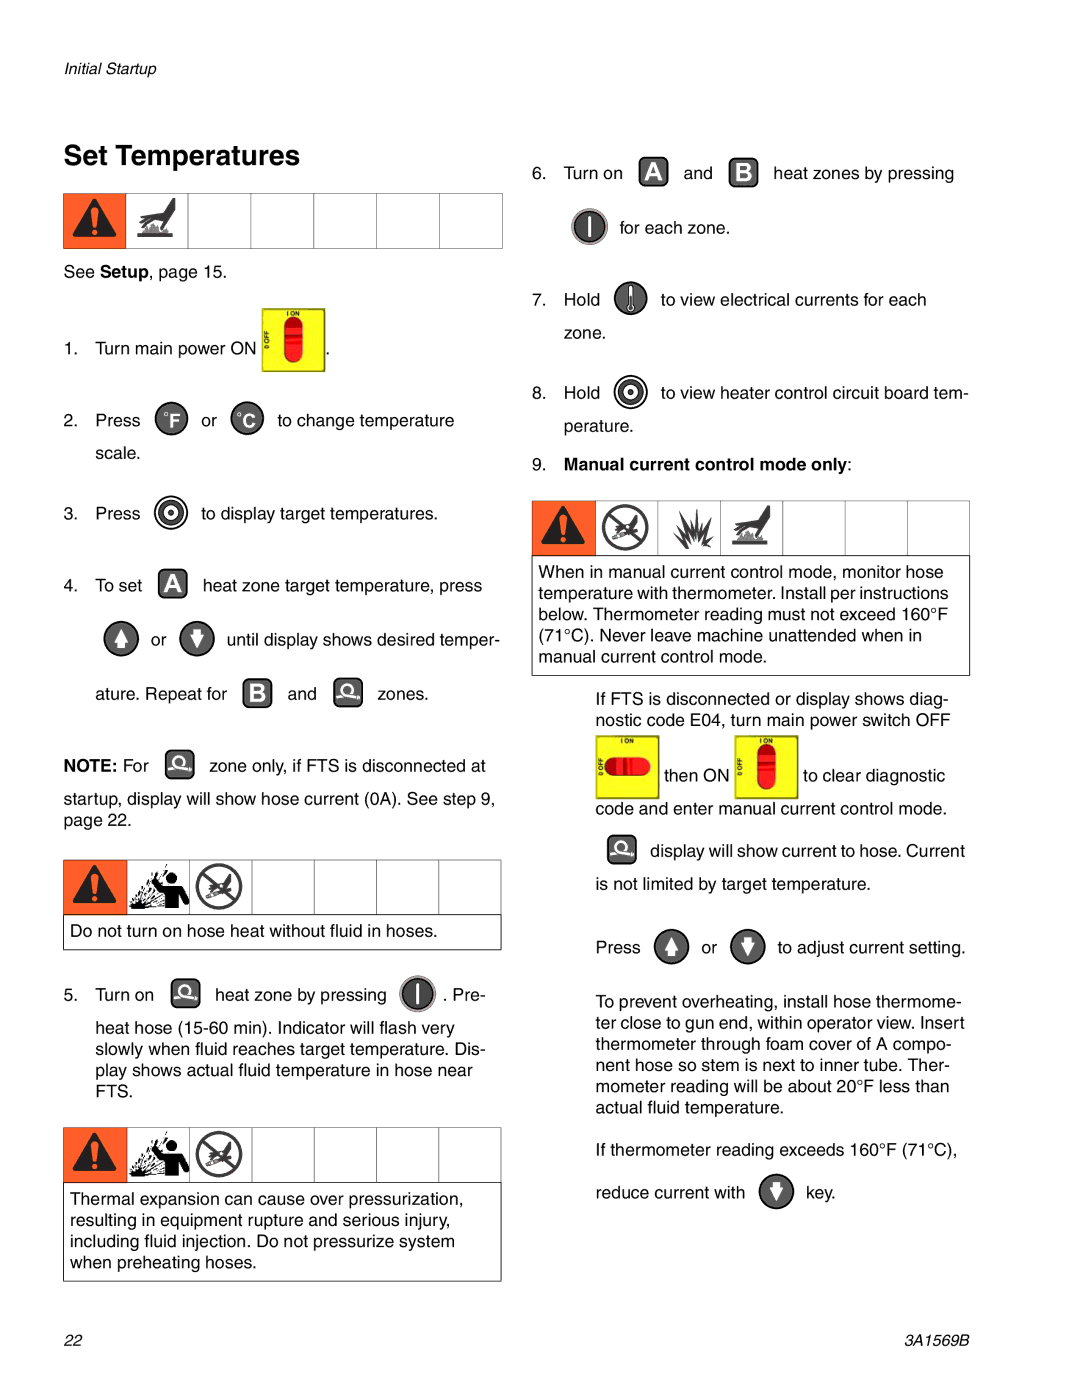
Set Temperatures
See Setup, page 15.
1. Turn main power ON | . |
2.Press °F or °C to change temperature scale.
3.Press ![]() to display target temperatures.
to display target temperatures.
4. To set A | heat zone target temperature, press | |
or | until display shows desired temper- | |
ature. Repeat for B and | zones. | |
NOTE: For ![]() zone only, if FTS is disconnected at
zone only, if FTS is disconnected at
startup, display will show hose current (0A). See step 9, page 22.
Do not turn on hose heat without fluid in hoses.
5.Turn on ![]() heat zone by pressing
heat zone by pressing ![]() . Pre- heat hose
. Pre- heat hose
Thermal expansion can cause over pressurization, resulting in equipment rupture and serious injury, including fluid injection. Do not pressurize system when preheating hoses.
6. Turn on A and B heat zones by pressing
for each zone.
7.Hold ![]() to view electrical currents for each zone.
to view electrical currents for each zone.
8.Hold ![]() to view heater control circuit board tem- perature.
to view heater control circuit board tem- perature.
9.Manual current control mode only:
When in manual current control mode, monitor hose temperature with thermometer. Install per instructions below. Thermometer reading must not exceed 160°F (71°C). Never leave machine unattended when in manual current control mode.
If FTS is disconnected or display shows diag- nostic code E04, turn main power switch OFF
then ON | to clear diagnostic |
code and enter manual current control mode.
display will show current to hose. Current
is not limited by target temperature.
Press ![]() or
or ![]() to adjust current setting.
to adjust current setting.
To prevent overheating, install hose thermome- ter close to gun end, within operator view. Insert thermometer through foam cover of A compo- nent hose so stem is next to inner tube. Ther- mometer reading will be about 20°F less than actual fluid temperature.
If thermometer reading exceeds 160°F (71°C),
reduce current with ![]() key.
key.
22 | 3A1569B |
