Crank Handle |
|
Components and Hardware Needed | Qty |
Cap Screw | 1 |
To install the crank handle (Figure 9): |
|
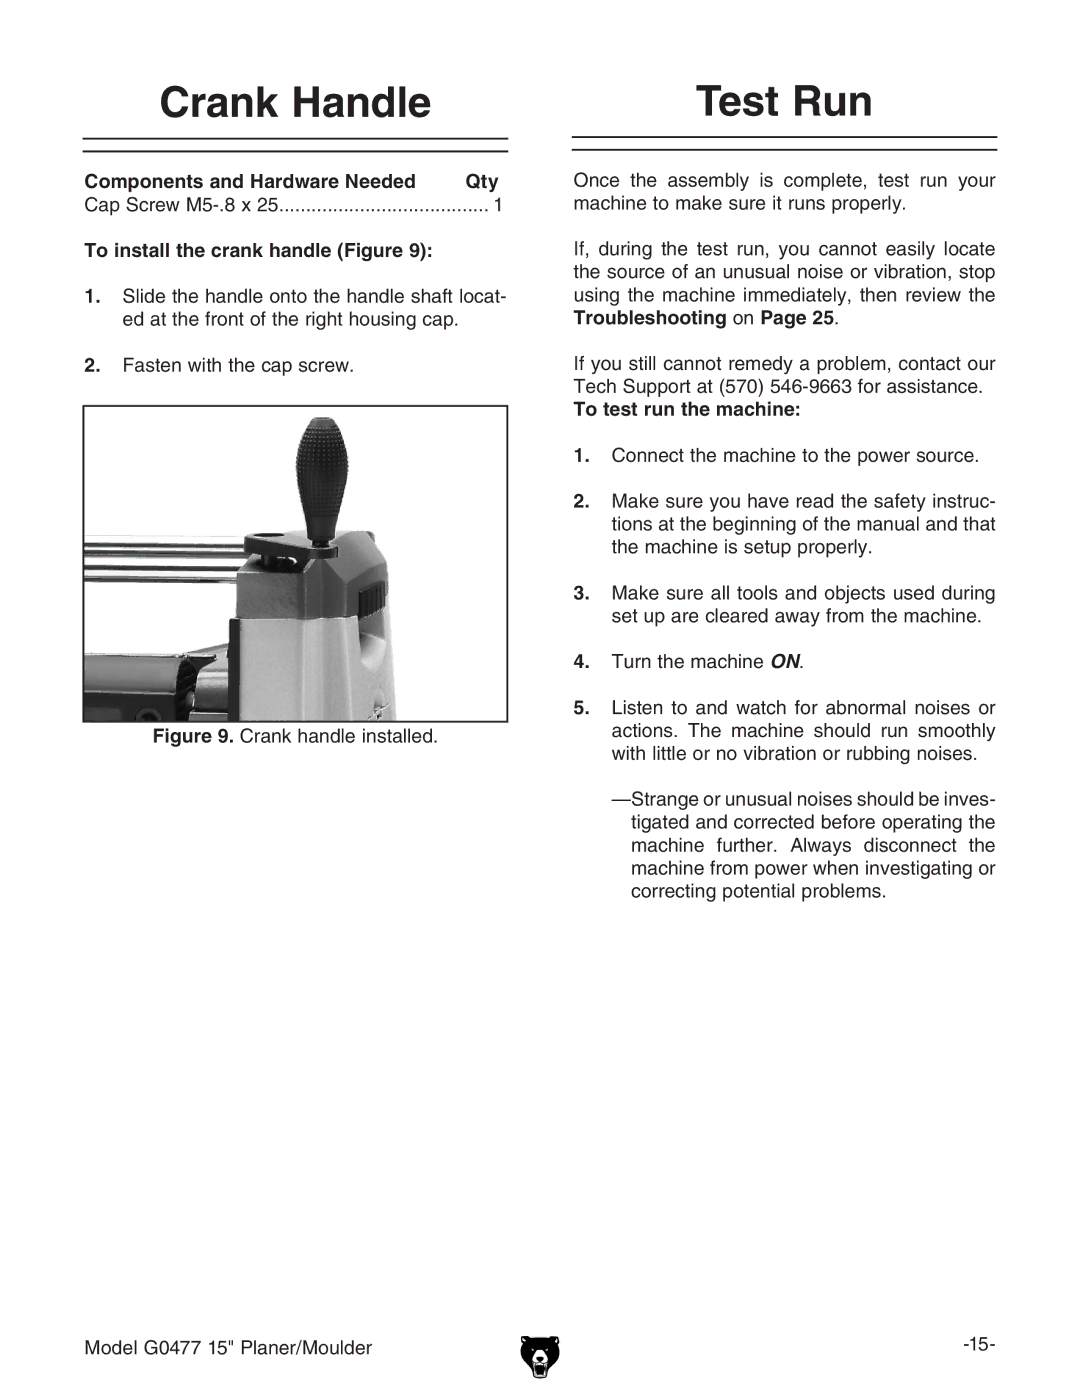
1.Slide the handle onto the handle shaft locat- ed at the front of the right housing cap.
2.Fasten with the cap screw.
Figure 9. Crank handle installed.
Model G0477 15" Planer/Moulder
Test Run
Once the assembly is complete, test run your machine to make sure it runs properly.
If, during the test run, you cannot easily locate the source of an unusual noise or vibration, stop using the machine immediately, then review the Troubleshooting on Page 25.
If you still cannot remedy a problem, contact our Tech Support at (570)
To test run the machine:
1.Connect the machine to the power source.
2.Make sure you have read the safety instruc- tions at the beginning of the manual and that the machine is setup properly.
3.Make sure all tools and objects used during set up are cleared away from the machine.
4.Turn the machine ON.
5.Listen to and watch for abnormal noises or actions. The machine should run smoothly with little or no vibration or rubbing noises.