Headstock Height
Adjustment
The headstock height can be adjusted via the manual crank handle (used for fine adjustments) or by the power adjustment lever (used for larger headstock movements). The Model G0477 features a height scale (in both inches and mil- limeters) that shows the exact height of the head- stock.
To change the headstock height manually:
1.Rotate the crank handle on the top of the planer/moulder clockwise to raise the head- stock, or counterclockwise to lower the head- stock. Each full turn of the crank handle equals 1⁄16" (1.59 mm).
2.Check the height scale at the front of the planer/moulder, shown in Figure 12, to ensure headstock height accuracy.
Height
Indicator
Height
Scale
Figure 12. Headstock height scale.
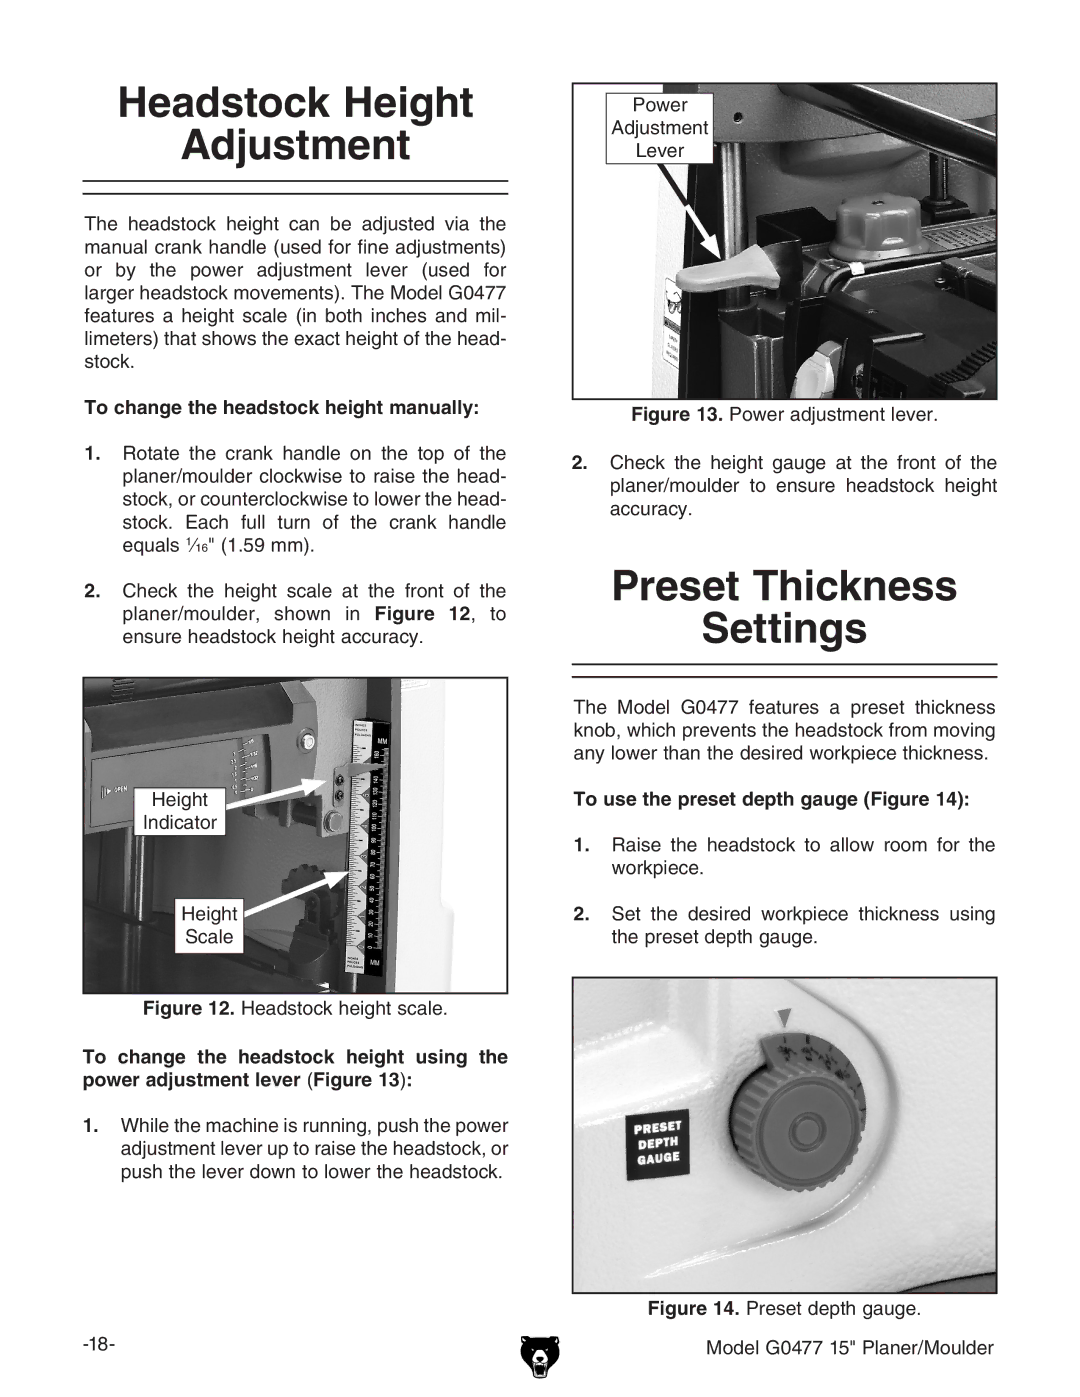
To change the headstock height using the power adjustment lever (Figure 13):
1.While the machine is running, push the power adjustment lever up to raise the headstock, or push the lever down to lower the headstock.
Power
Adjustment
Lever
Figure 13. Power adjustment lever.
2.Check the height gauge at the front of the planer/moulder to ensure headstock height accuracy.
Preset Thickness
Settings
The Model G0477 features a preset thickness knob, which prevents the headstock from moving any lower than the desired workpiece thickness.
To use the preset depth gauge (Figure 14):
1.Raise the headstock to allow room for the workpiece.
2.Set the desired workpiece thickness using the preset depth gauge.