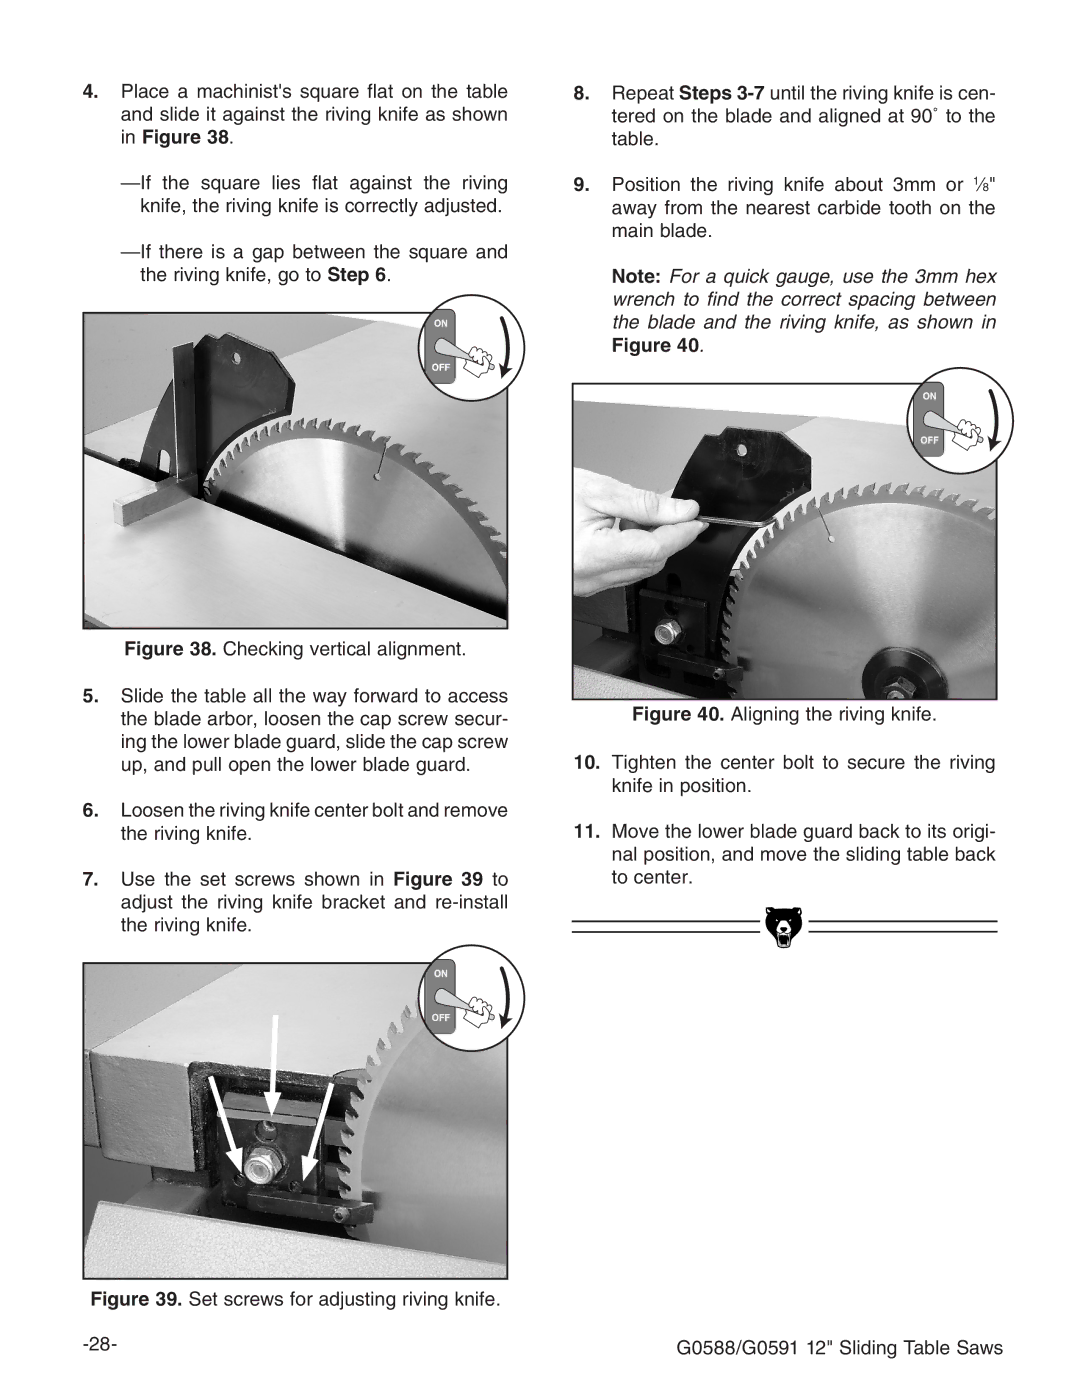
4.Place a machinist's square flat on the table and slide it against the riving knife as shown in Figure 38.
8.Repeat Steps
9.Position the riving knife about 3mm or 1⁄8" away from the nearest carbide tooth on the main blade.
Note: For a quick gauge, use the 3mm hex wrench to find the correct spacing between the blade and the riving knife, as shown in Figure 40.
Figure 38. Checking vertical alignment.
5.Slide the table all the way forward to access the blade arbor, loosen the cap screw secur- ing the lower blade guard, slide the cap screw up, and pull open the lower blade guard.
6.Loosen the riving knife center bolt and remove the riving knife.
7.Use the set screws shown in Figure 39 to adjust the riving knife bracket and re-install the riving knife.
Figure 40. Aligning the riving knife.
10.Tighten the center bolt to secure the riving knife in position.
11.Move the lower blade guard back to its origi- nal position, and move the sliding table back to center.
Figure 39. Set screws for adjusting riving knife.
G0588/G0591 12" Sliding Table Saws |
