Mounting to Shop
Floor
Although not required, we recommend that you mount your new machine to the floor. Because this is an optional step and floor materials may vary, floor mounting hardware is not included.
Use a precision level to make sure the bedways are level
The mounting flanges on either side of the lathe will accept 3⁄8" mounting hardware (see Figure 7).
Mounting Flange
Figure 7. Right side mounting flange.
NOTICE
To ensure long life from you lathe and good turning results, make sure the bedways are level
Model G0694 (Mfg. Since 1/09)
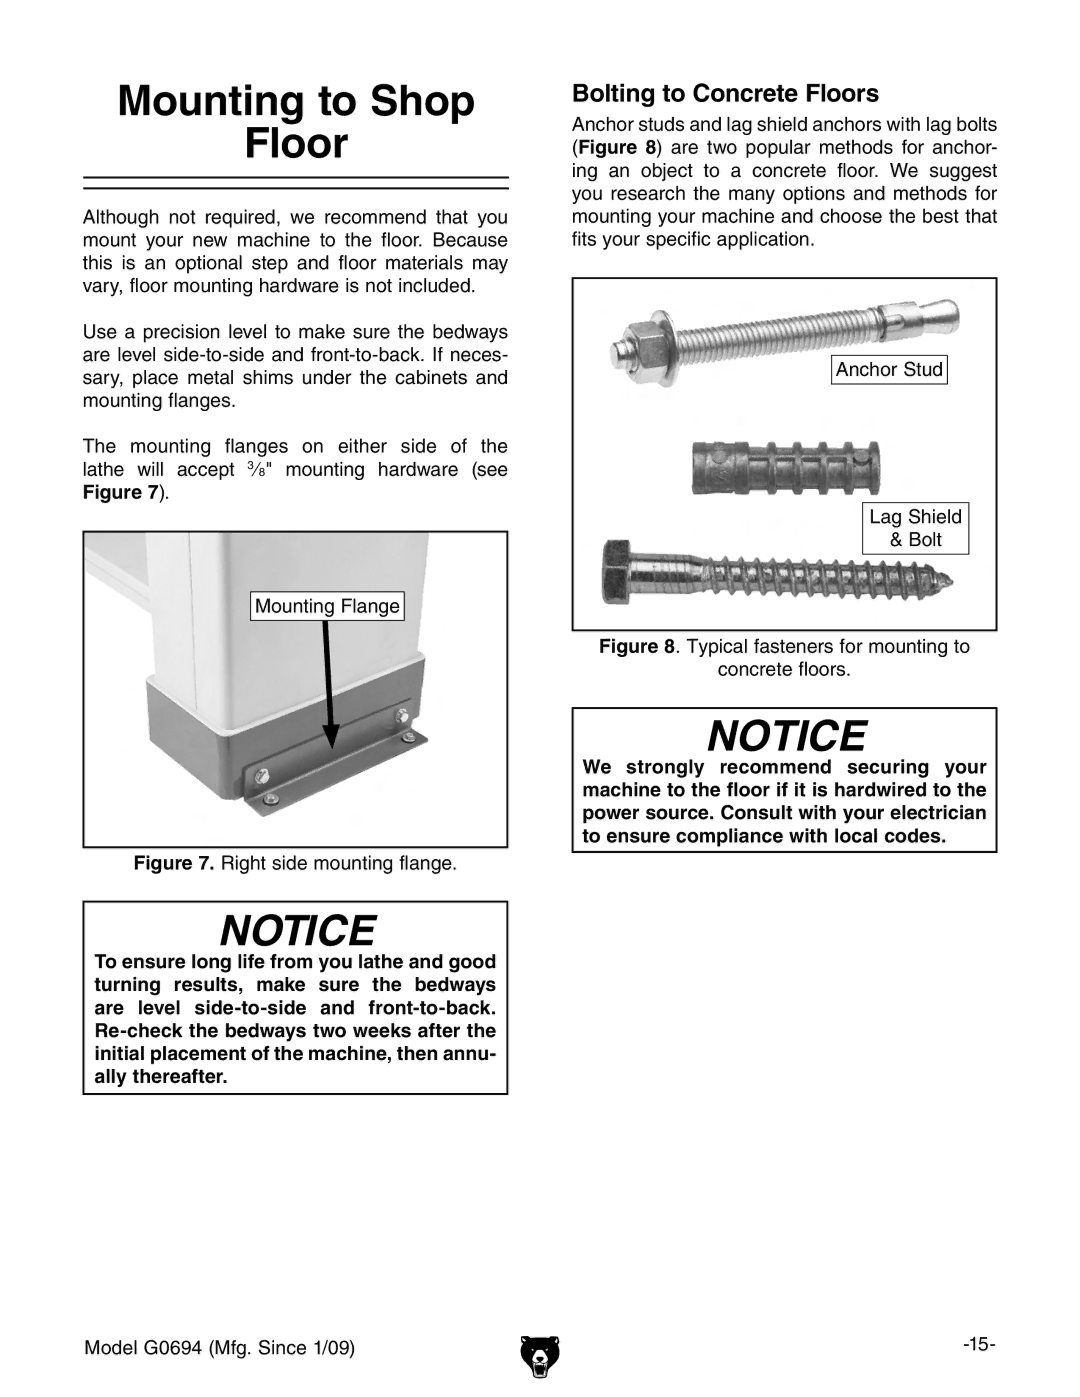
Bolting to Concrete Floors
Anchor studs and lag shield anchors with lag bolts (Figure 8) are two popular methods for anchor- ing an object to a concrete floor. We suggest you research the many options and methods for mounting your machine and choose the best that fits your specific application.
Anchor Stud
Lag Shield
& Bolt
Figure 8. Typical fasteners for mounting to
concrete floors.
NOTICE
We strongly recommend securing your machine to the floor if it is hardwired to the power source. Consult with your electrician to ensure compliance with local codes.