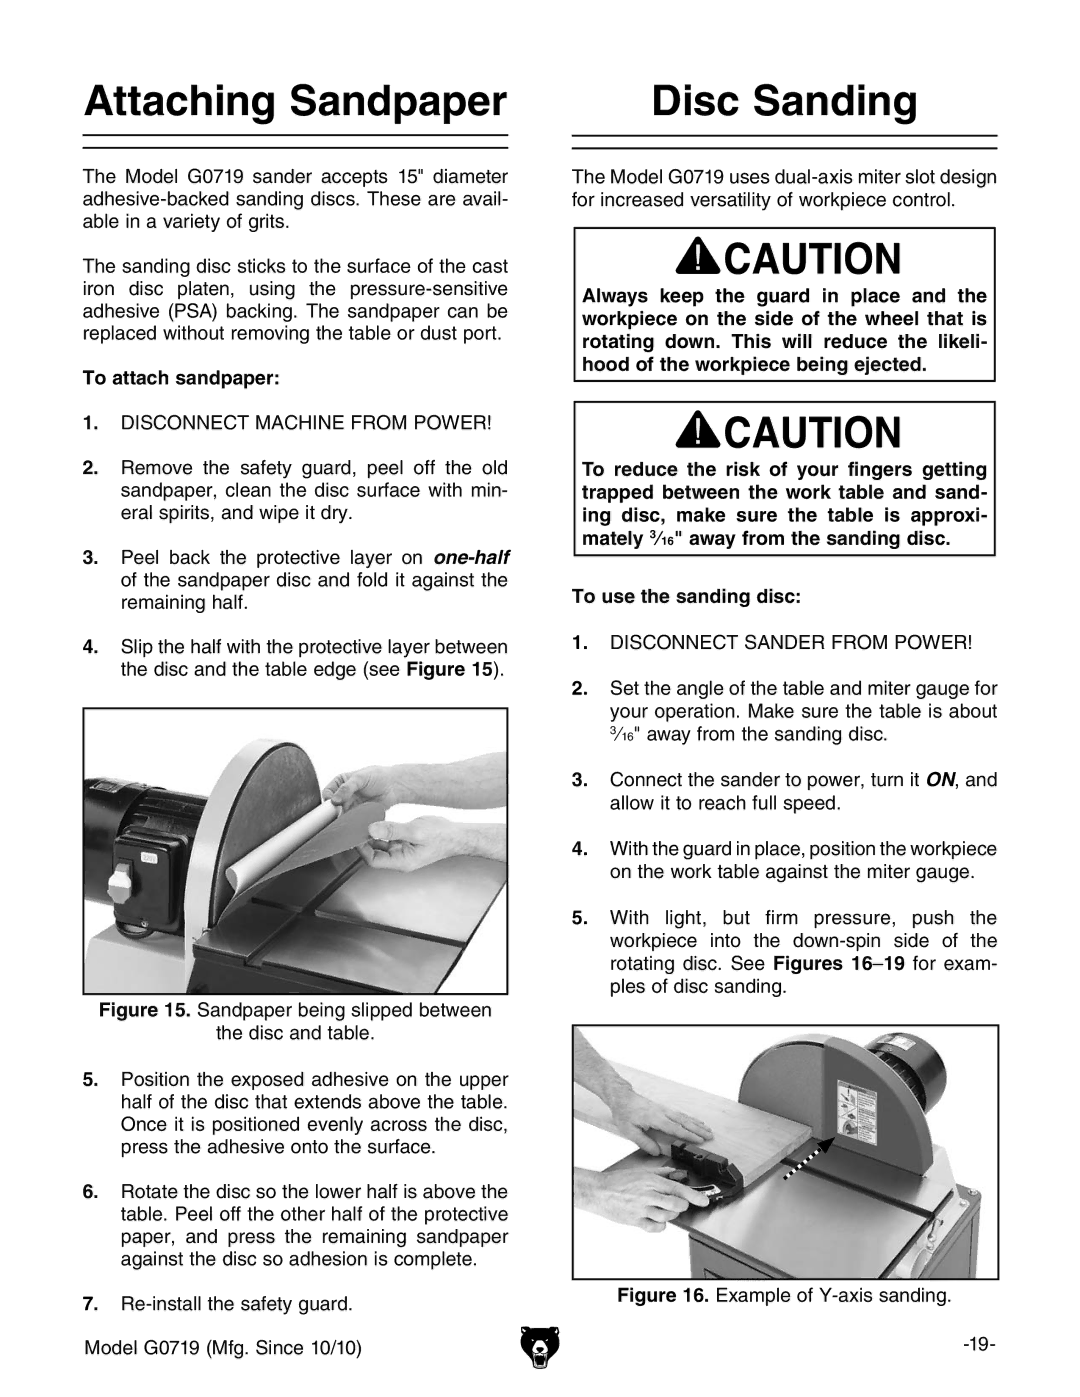
G0719 specifications
The Grizzly G0719 is a versatile and robust milling machine designed for both hobbyists and professionals in the woodworking and metalworking industries. A perfect blend of power, precision, and portability, the G0719 has garnered a reputation for its high performance and user-friendly features.One of the main highlights of the Grizzly G0719 is its impressive 1 HP motor, which supplies ample power for a variety of milling tasks. This machine operates on 120V, making it compatible with standard outlets, thus providing flexibility in where it can be used. The variable speed control allows users to adjust the RPM from 100 to 1,800, enabling the machine to handle various materials with ease.
The G0719 features a heavy-duty cast iron base, which ensures stability during operation and minimizes vibrations. This contributes to better precision and ultimately results in cleaner finishes on workpieces. The sizeable dovetail column is another notable characteristic that adds to the rigidity and accuracy of this milling machine, making it ideal for detailed and intricate machining tasks.
Equipped with a 6-inch quill travel range and a convenient manual feed, the G0719 empowers users to achieve precise height adjustments. The adjustable headstock allows for vertical movement, helping to facilitate a variety of machining angles. This flexibility is particularly beneficial for users who require versatility in their projects.
The G0719 also features a standard R8 spindle that accepts various tool holders, affording users endless options for tooling up according to their specific needs. The built-in work light is an advantage that enhances visibility, allowing for meticulous work, especially in low-light conditions.
Moreover, the machine includes a built-in coolant system, which helps manage heat during operation, thereby prolonging the tool life and offering users a more extended period of uninterrupted work.
Overall, the Grizzly G0719 milling machine combines robust construction, impressive features, and user-friendly technology, making it a valuable addition to any workshop. Its mix of power and precision, along with its adaptability for different milling tasks, positions it as a reliable choice for those looking to enhance their metalworking and woodworking capabilities. With this machine, users can expect professional results, whether they are tackling small projects or larger, more complex tasks.

