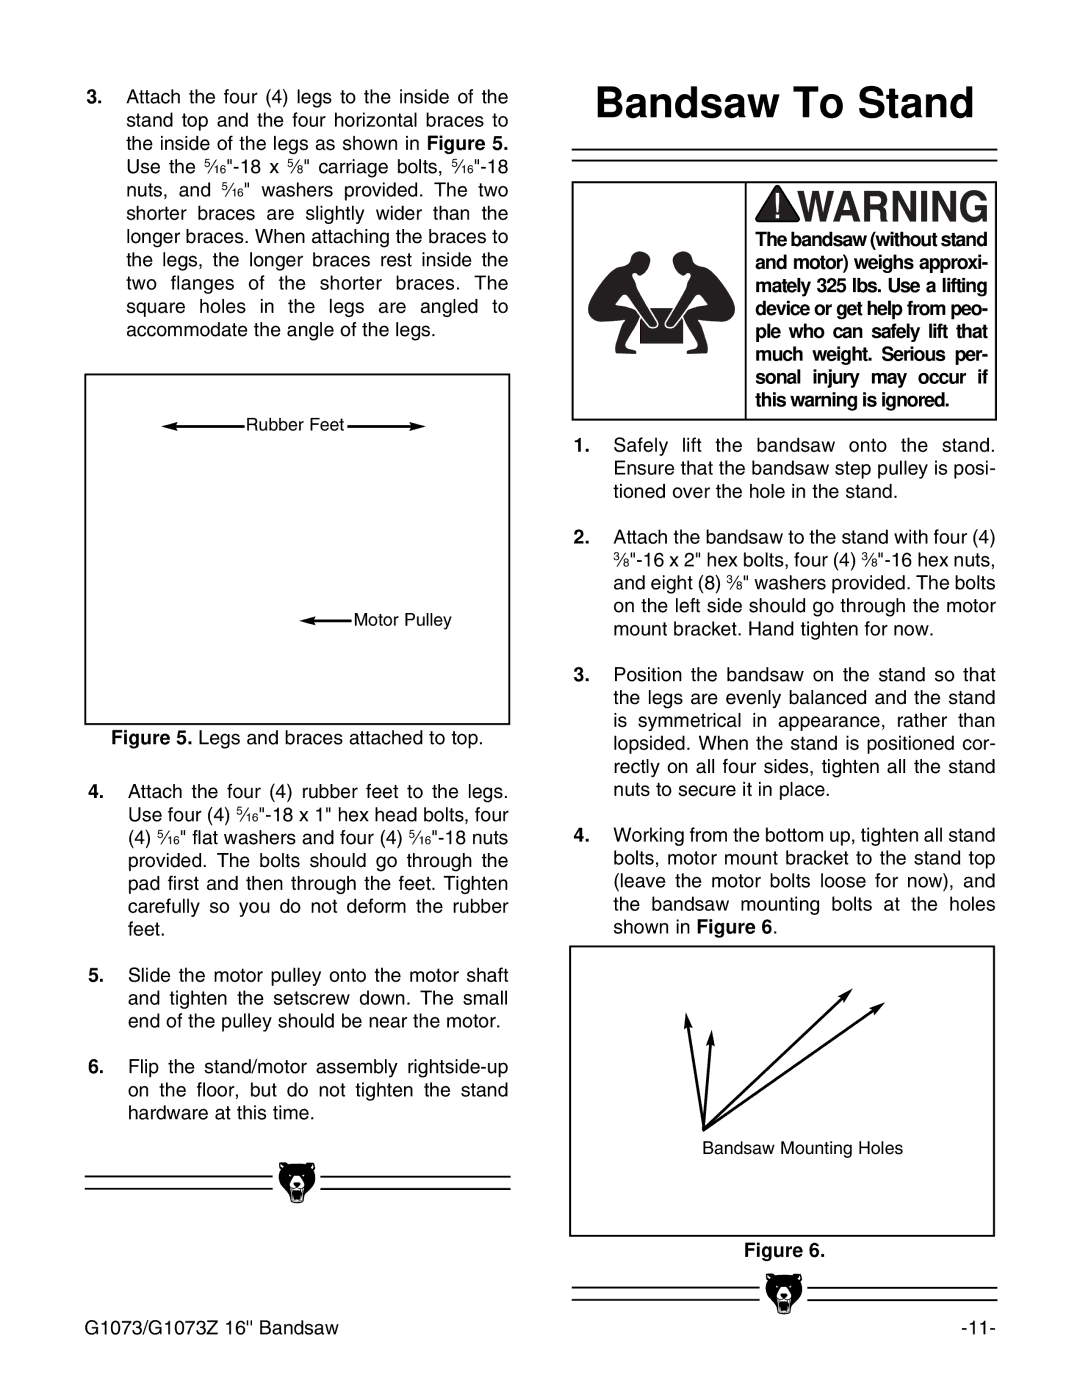
3.Attach the four (4) legs to the inside of the stand top and the four horizontal braces to the inside of the legs as shown in Figure 5. Use the
![]() Rubber Feet
Rubber Feet ![]()
![]() Motor Pulley
Motor Pulley
Figure 5. Legs and braces attached to top.
4.Attach the four (4) rubber feet to the legs. Use four (4) 5Ú16"-18 x 1" hex head bolts, four
(4)5Ú16" flat washers and four (4) 5Ú16"-18 nuts provided. The bolts should go through the pad first and then through the feet. Tighten carefully so you do not deform the rubber feet.
5.Slide the motor pulley onto the motor shaft and tighten the setscrew down. The small end of the pulley should be near the motor.
6.Flip the stand/motor assembly rightside-up on the floor, but do not tighten the stand hardware at this time.
Bandsaw To Stand
The bandsaw (without stand and motor) weighs approxi- mately 325 lbs. Use a lifting device or get help from peo- ple who can safely lift that much weight. Serious per- sonal injury may occur if this warning is ignored.
1.Safely lift the bandsaw onto the stand. Ensure that the bandsaw step pulley is posi- tioned over the hole in the stand.
2.Attach the bandsaw to the stand with four (4)
3.Position the bandsaw on the stand so that the legs are evenly balanced and the stand is symmetrical in appearance, rather than lopsided. When the stand is positioned cor- rectly on all four sides, tighten all the stand nuts to secure it in place.
4.Working from the bottom up, tighten all stand bolts, motor mount bracket to the stand top (leave the motor bolts loose for now), and the bandsaw mounting bolts at the holes shown in Figure 6.
Bandsaw Mounting Holes
Figure 6.
|
|
|
|
|
|
|
|
|
|
|
|
G1073/G1073Z 16'' Bandsaw | |||