Since it can take great effort to turn the inner spanner nut, you may find it difficult to know if you have gone past the zero
When you are confident that you have adjust- ed the inner spanner nut until zero spindle
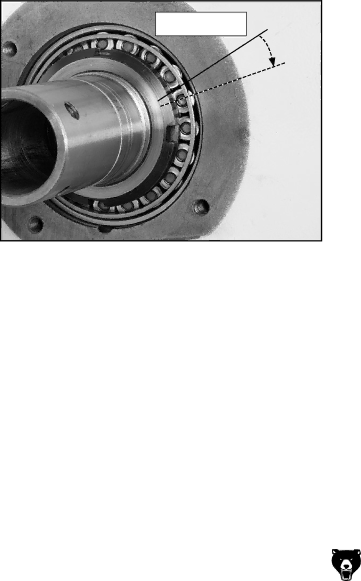
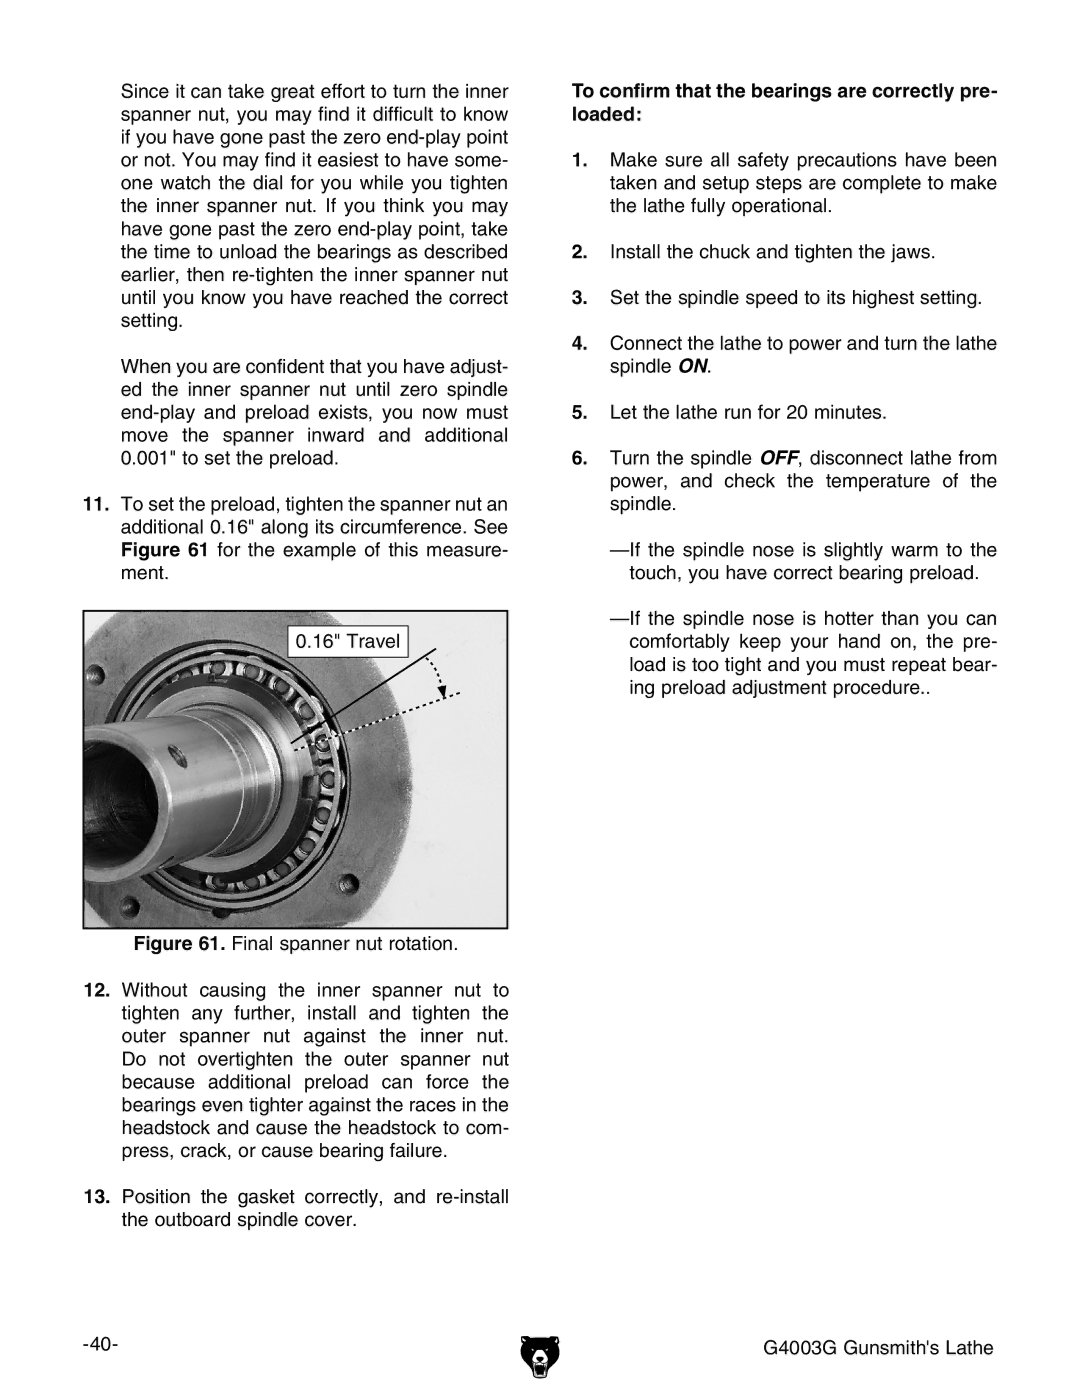
11.To set the preload, tighten the spanner nut an additional 0.16" along its circumference. See Figure 61 for the example of this measure- ment.
0.16" Travel
Figure 61. Final spanner nut rotation.
12.Without causing the inner spanner nut to tighten any further, install and tighten the outer spanner nut against the inner nut. Do not overtighten the outer spanner nut because additional preload can force the bearings even tighter against the races in the headstock and cause the headstock to com- press, crack, or cause bearing failure.
13.Position the gasket correctly, and re-install the outboard spindle cover.
To confirm that the bearings are correctly pre- loaded:
1.Make sure all safety precautions have been taken and setup steps are complete to make the lathe fully operational.
2.Install the chuck and tighten the jaws.
3.Set the spindle speed to its highest setting.
4.Connect the lathe to power and turn the lathe spindle ON.
5.Let the lathe run for 20 minutes.
6.Turn the spindle OFF, disconnect lathe from power, and check the temperature of the spindle.
G4003G Gunsmith's Lathe |
