Spindles
The Model G8622 comes with 11⁄4", 1", & 3⁄4" spin- dles like those in Figure 6. The spindles must be inserted correctly and remain stable in order to produce quality work. When installing and chang- ing spindles, make sure the spindle seats snugly and that there is enough drawbar threaded into the bottom of the spindle to safely secure it in place. To install a spindle:
1.You should not have your machine connect- ed to a power source at this time. If you do, UNPLUG it before you begin.
Figure 6. Spindles.
2.Thread the drawbar approximately
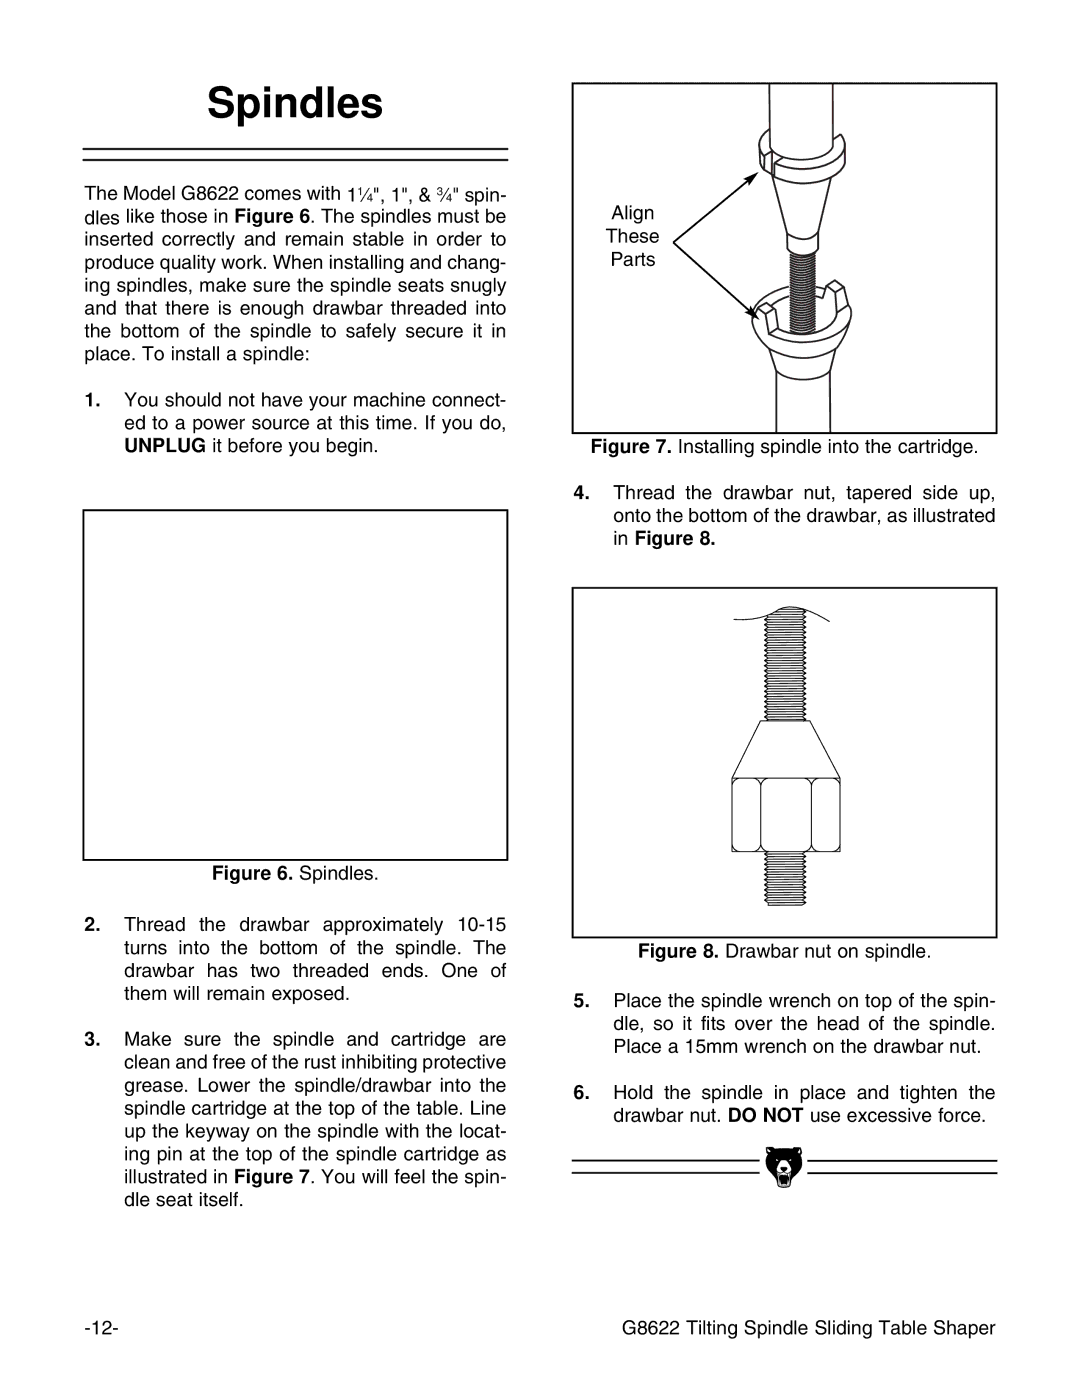
3.Make sure the spindle and cartridge are clean and free of the rust inhibiting protective grease. Lower the spindle/drawbar into the spindle cartridge at the top of the table. Line up the keyway on the spindle with the locat- ing pin at the top of the spindle cartridge as illustrated in Figure 7. You will feel the spin- dle seat itself.
Align
These
Parts
