Aligning The Fences | Setting Miter Gauge | |
|
|
|
|
|
|
The following procedure ensures that the fence is parallel with itself and square to the table.
1. Check that the bolts through the wood facing are tight on each side and are adequately countersunk.
2.To align the wood facing, adjust one or both fence halves so they are in close alignment.
3.If the wood fences cannot be made parallel by adjusting the fence controls, shim the incorrect fence with electrical washers. Normal washers may work, but electrical washers allow for fine adjustments.
Figure 28. Aligning fences with straightedge.
You will need to square the miter gauge each time it is removed from the table. To do this:
1. Ensure that the fence halves are aligned and that the miter assembly is correctly assem- bled.
2.Place one end of a framing or try square flush with the infeed shaper fence.
3.Rotate the miter gauge/fence so that it lines up flush with the other end of the square.
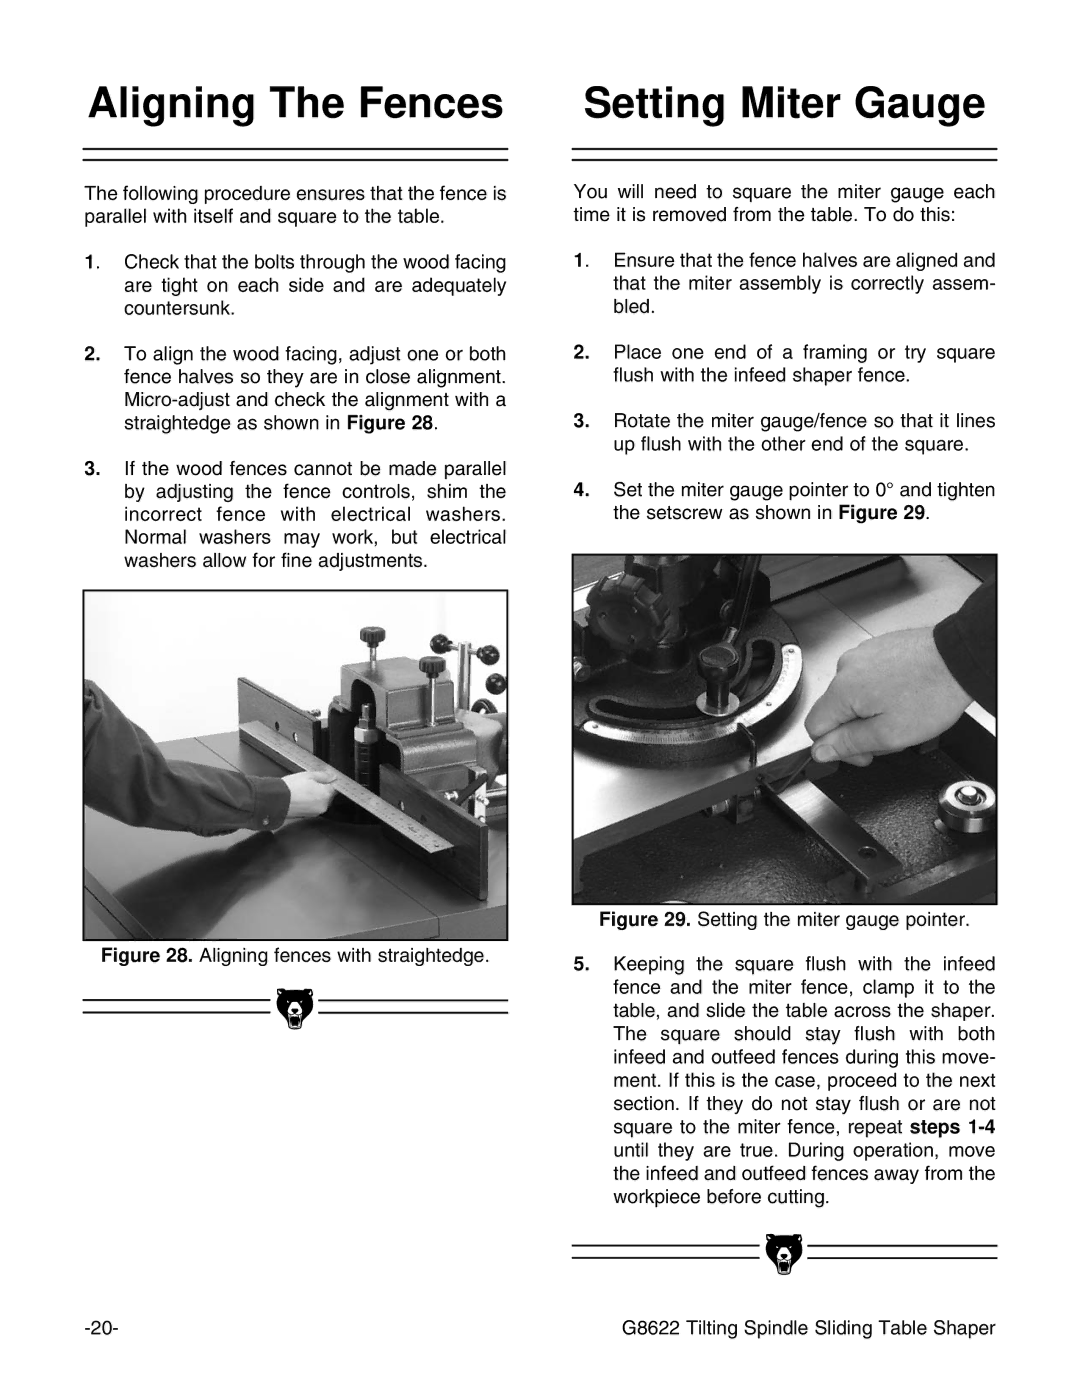
4.Set the miter gauge pointer to 0° and tighten the setscrew as shown in Figure 29.
Figure 29. Setting the miter gauge pointer.
5.Keeping the square flush with the infeed fence and the miter fence, clamp it to the table, and slide the table across the shaper. The square should stay flush with both infeed and outfeed fences during this move- ment. If this is the case, proceed to the next section. If they do not stay flush or are not square to the miter fence, repeat steps 1-4 until they are true. During operation, move the infeed and outfeed fences away from the workpiece before cutting.
|
|
|
|
|
|
|
|
|
|
|
|
G8622 Tilting Spindle Sliding Table Shaper | |||