Grizzly H8192 owner manual Sanding disc table angle scale Pointer installed

Models: H8192

1 36
Download 36 pages 38.07 Kb
Page 18
Image 18

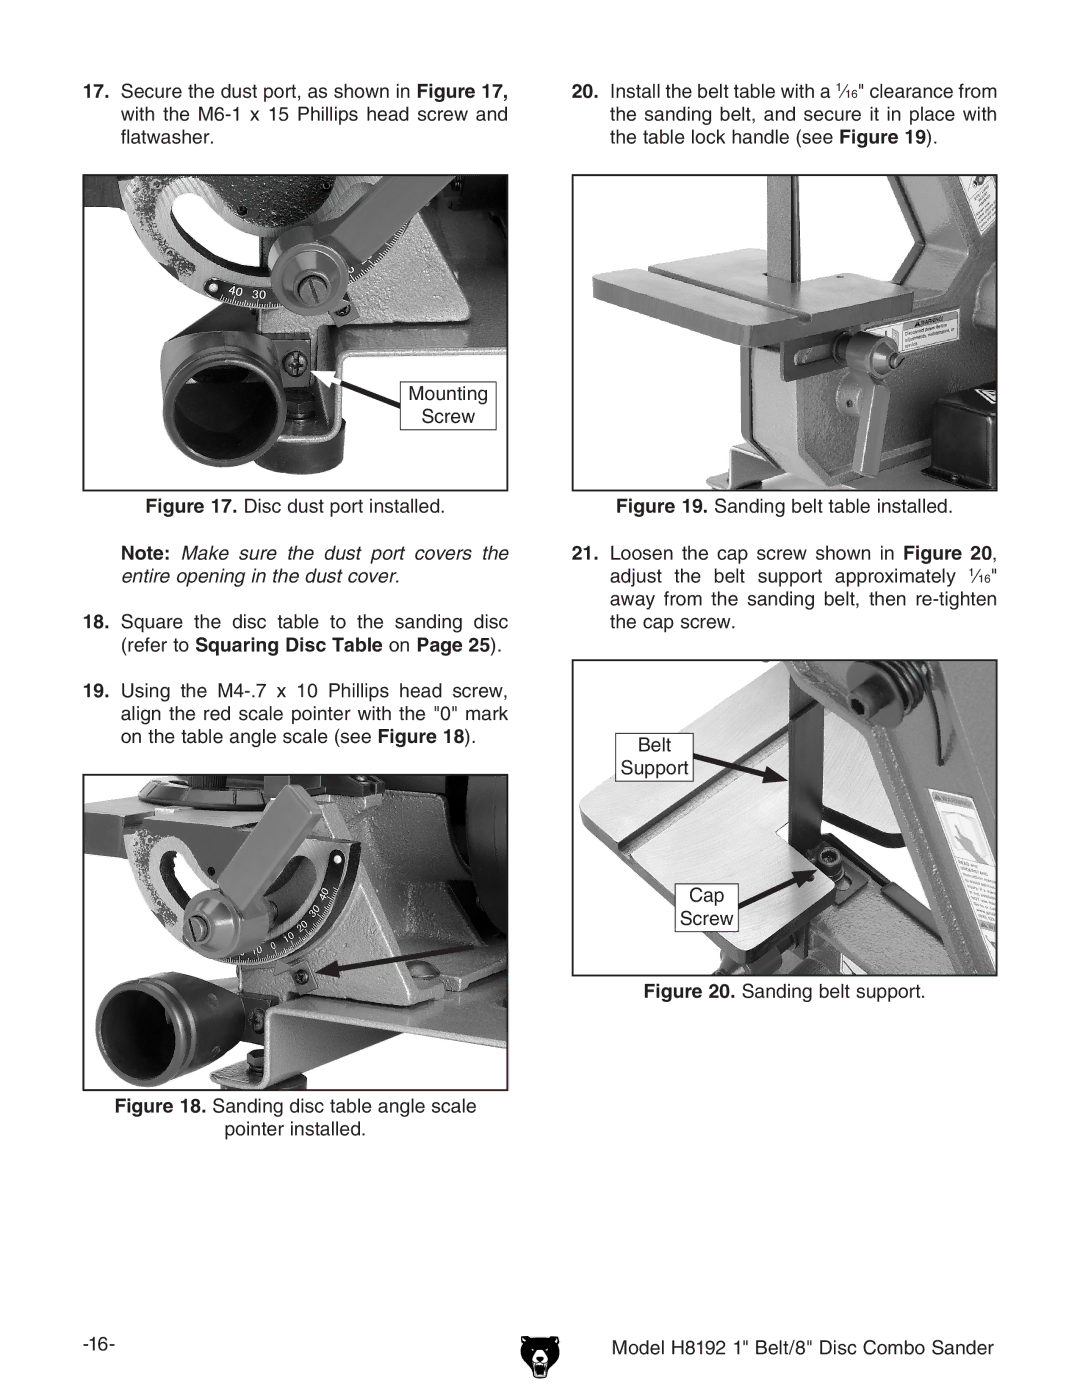
17.Secure the dust port, as shown in Figure 17, with the M6-1 x 15 Phillips head screw and flatwasher.

20.Install the belt table with a 116" clearance from the sanding belt, and secure it in place with the table lock handle (see Figure 19).

Mounting

Screw

Figure 17. Disc dust port installed.

Note: Make sure the dust port covers the entire opening in the dust cover.

18.Square the disc table to the sanding disc (refer to Squaring Disc Table on Page 25).

19.Using the M4-.7 x 10 Phillips head screw, align the red scale pointer with the "0" mark on the table angle scale (see Figure 18).

Figure 18. Sanding disc table angle scale

pointer installed.

-16-

Figure 19. Sanding belt table installed.

21.Loosen the cap screw shown in Figure 20, adjust the belt support approximately 116" away from the sanding belt, then re-tighten the cap screw.

Belt

Support

Cap

Screw

Figure 20. Sanding belt support.

Model H8192 1" Belt/8" Disc Combo Sander

Page 18
Image 18
Grizzly H8192 owner manual Sanding disc table angle scale Pointer installed