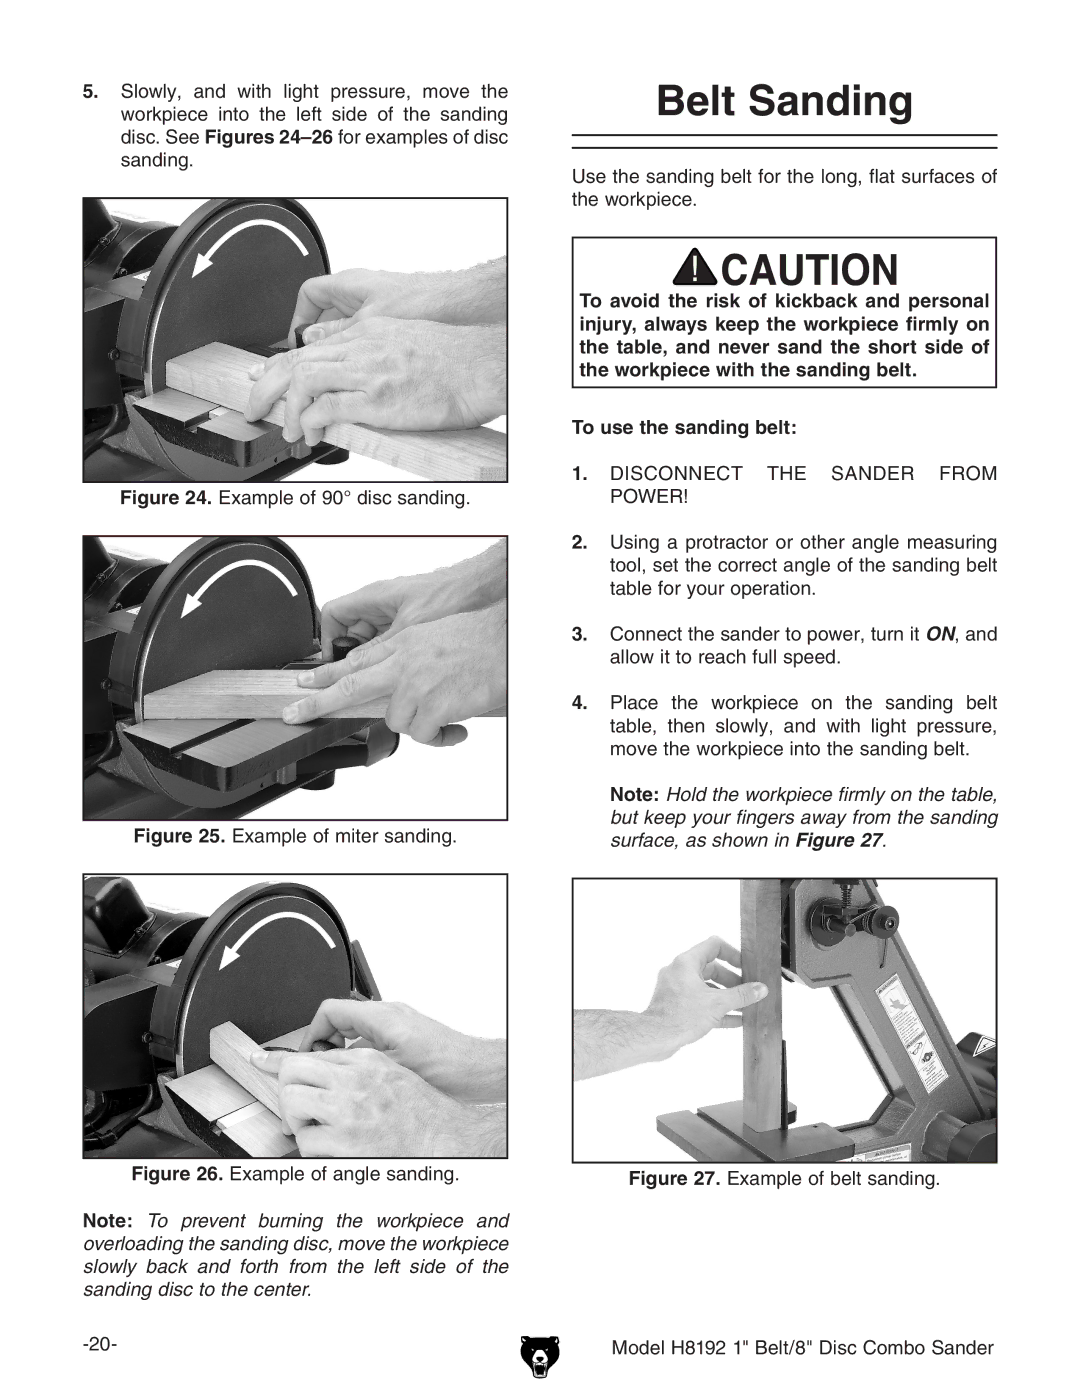
5.Slowly, and with light pressure, move the workpiece into the left side of the sanding disc. See Figures
Figure 24. Example of 90° disc sanding.
Figure 25. Example of miter sanding.
Figure 26. Example of angle sanding.
Note: To prevent burning the workpiece and overloading the sanding disc, move the workpiece slowly back and forth from the left side of the sanding disc to the center.
Belt Sanding
Use the sanding belt for the long, flat surfaces of the workpiece.
To avoid the risk of kickback and personal injury, always keep the workpiece firmly on the table, and never sand the short side of the workpiece with the sanding belt.
To use the sanding belt:
1.DISCONNECT THE SANDER FROM POWER!
2.Using a protractor or other angle measuring tool, set the correct angle of the sanding belt table for your operation.
3.Connect the sander to power, turn it ON, and allow it to reach full speed.
4.Place the workpiece on the sanding belt table, then slowly, and with light pressure, move the workpiece into the sanding belt.
Note: Hold the workpiece firmly on the table, but keep your fingers away from the sanding surface, as shown in Figure 27.
