INPUT
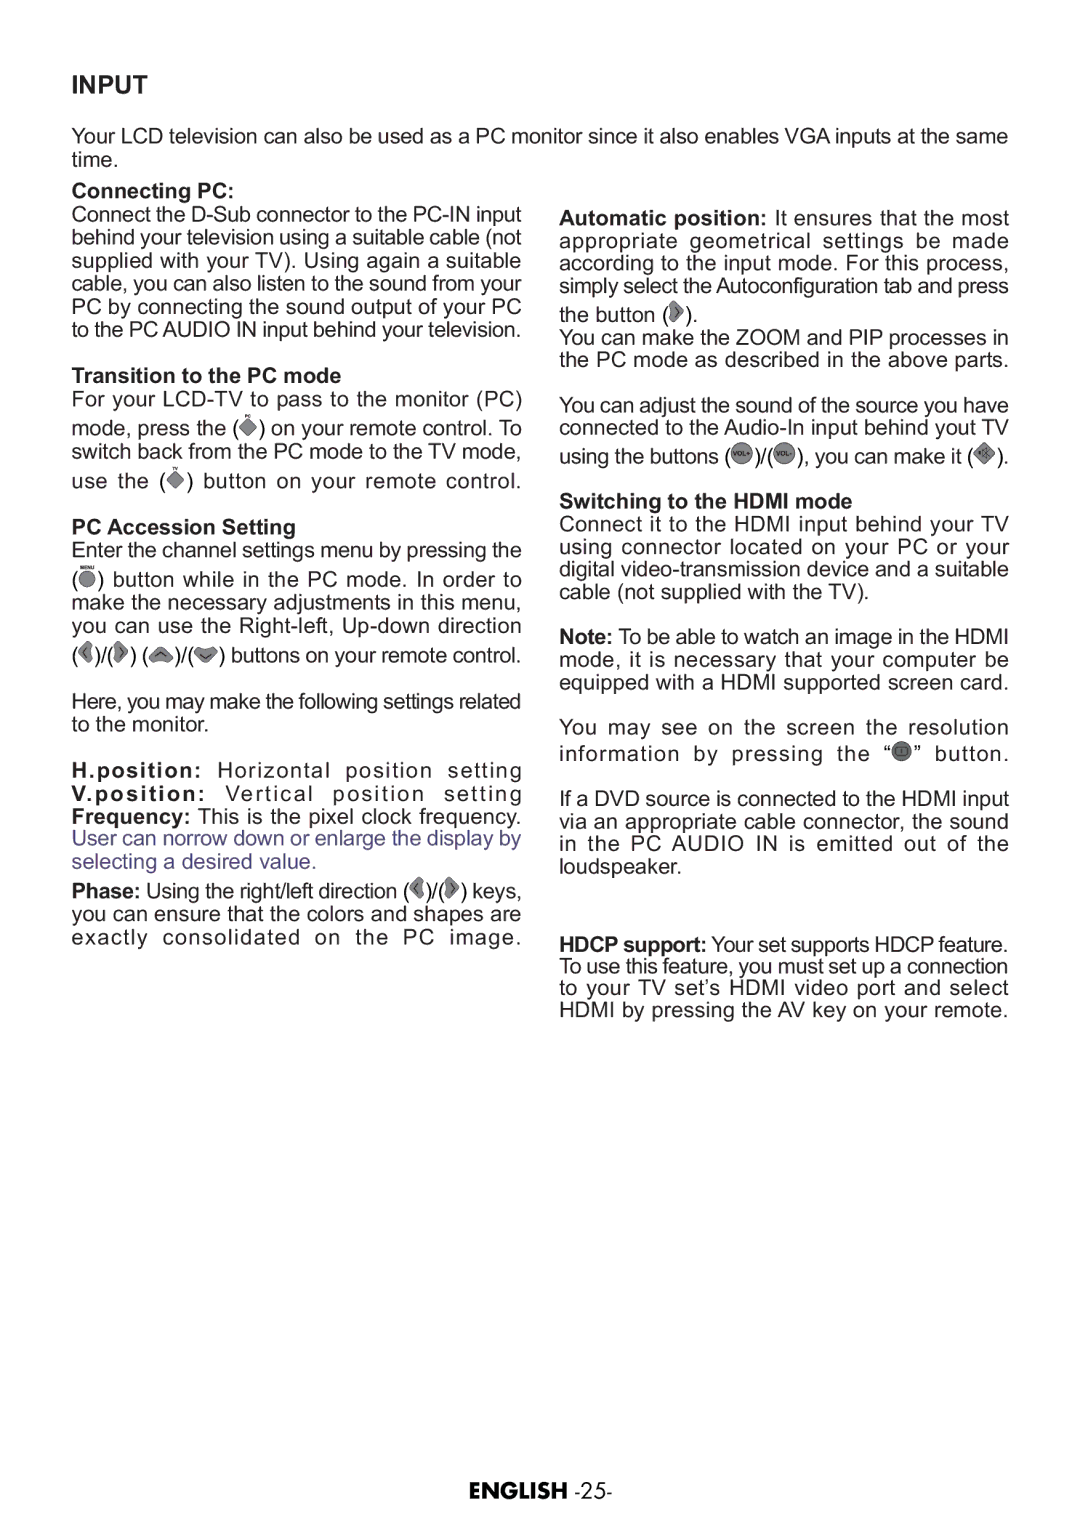
Your LCD television can also be used as a PC monitor since it also enables VGA inputs at the same time.
Connecting PC:
Connect the
Transition to the PC mode
For your
mode, press the (![]() ) on your remote control. To switch back from the PC mode to the TV mode,
) on your remote control. To switch back from the PC mode to the TV mode,
use the (![]() ) button on your remote control.
) button on your remote control.
PC Accession Setting
Enter the channel settings menu by pressing the
(![]() ) button while in the PC mode. In order to make the necessary adjustments in this menu, you can use the
) button while in the PC mode. In order to make the necessary adjustments in this menu, you can use the
(![]() )/(
)/(![]() ) (
) (![]() )/(
)/(![]() ) buttons on your remote control.
) buttons on your remote control.
Here, you may make the following settings related to the monitor.
H.position: Horizontal position setting
V.position: Vertical position setting
Frequency: This is the pixel clock frequency. User can norrow down or enlarge the display by selecting a desired value.
Phase: Using the right/left direction (![]() )/(
)/(![]() ) keys, you can ensure that the colors and shapes are exactly consolidated on the PC image.
) keys, you can ensure that the colors and shapes are exactly consolidated on the PC image.
Automatic position: It ensures that the most appropriate geometrical settings be made according to the input mode. For this process, simply select the Autoconfiguration tab and press
the button (![]() ).
).
You can make the ZOOM and PIP processes in the PC mode as described in the above parts.
You can adjust the sound of the source you have connected to the
using the buttons (![]() )/(
)/(![]() ), you can make it (
), you can make it (![]() ).
).
Switching to the HDMI mode
Connect it to the HDMI input behind your TV using connector located on your PC or your digital
Note: To be able to watch an image in the HDMI mode, it is necessary that your computer be equipped with a HDMI supported screen card.
You may see on the screen the resolution information by pressing the “![]() ” button.
” button.
If a DVD source is connected to the HDMI input via an appropriate cable connector, the sound in the PC AUDIO IN is emitted out of the loudspeaker.
HDCP support: Your set supports HDCP feature. To use this feature, you must set up a connection to your TV set’s HDMI video port and select HDMI by pressing the AV key on your remote.
ENGLISH
