CONNECTION AND PREPARATION_______________________________________
Loudspeakers x | y | |
Front left | White | Black |
Front right | Red | Black |
Centre | Green | Black |
Surround left | Blue | Black |
Surround right | Grey | Black |
|
|
|
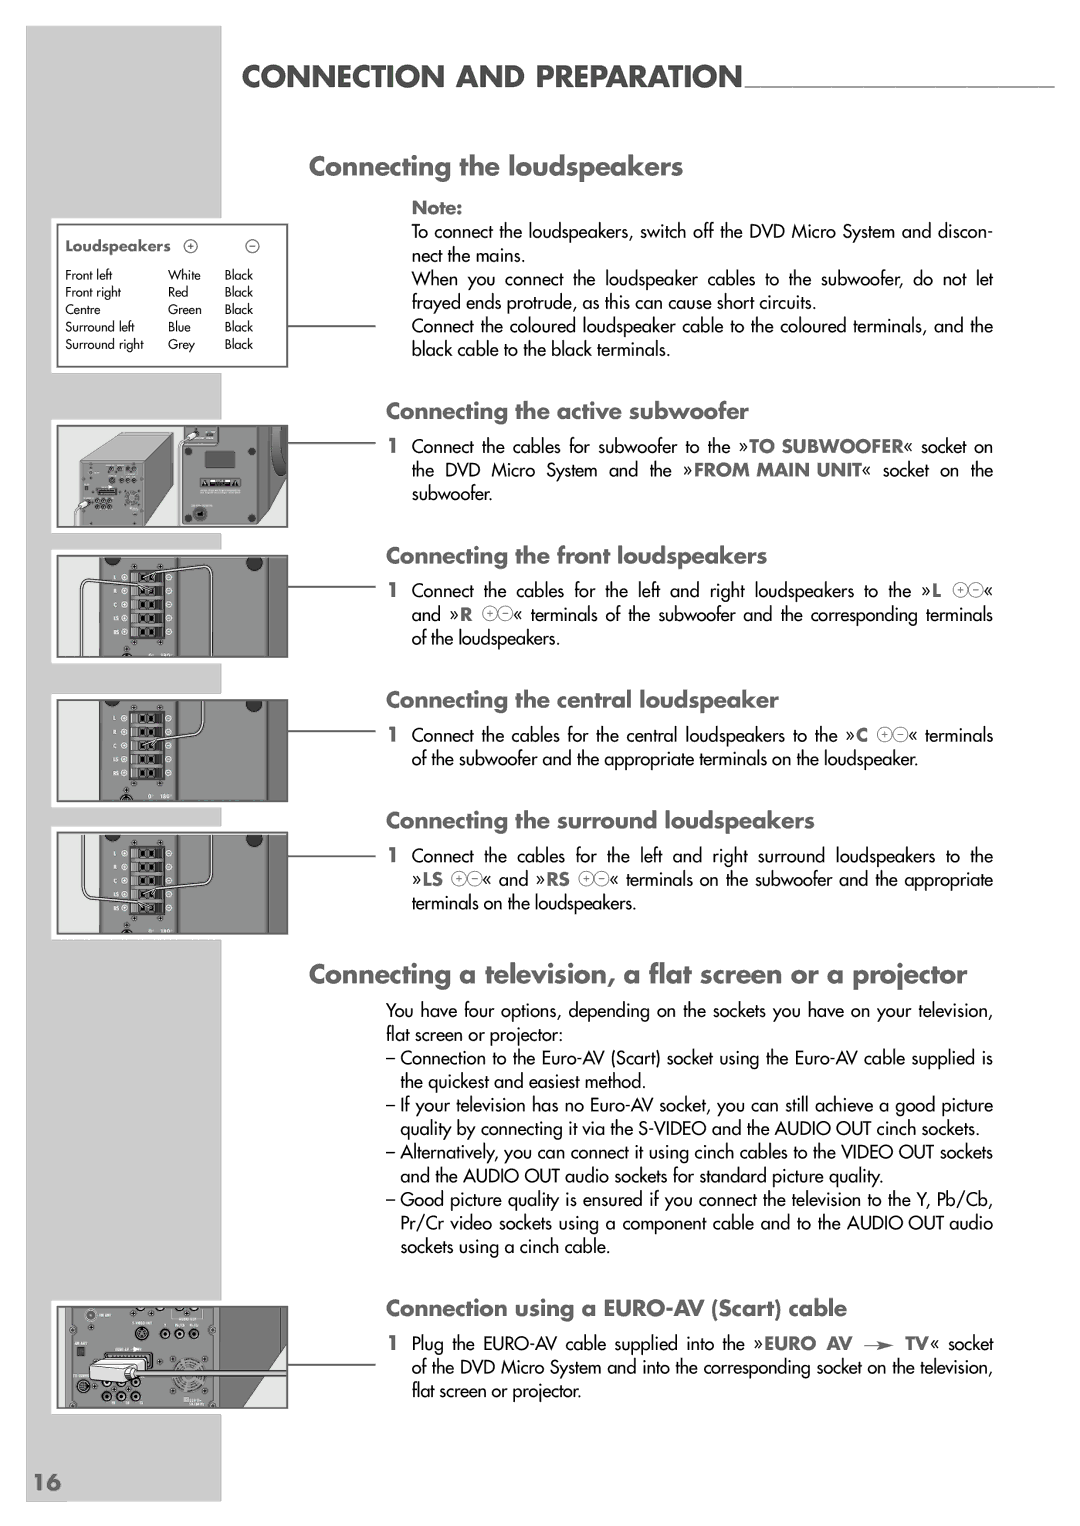
Connecting the loudspeakers
Note:
To connect the loudspeakers, switch off the DVD Micro System and discon- nect the mains.
When you connect the loudspeaker cables to the subwoofer, do not let frayed ends protrude, as this can cause short circuits.
Connect the coloured loudspeaker cable to the coloured terminals, and the black cable to the black terminals.
|
| 0° | 180° |
FROM MAIN UNIT | PHASE | ||
| ACHTUNG: GEHÄUSE NICHT ÖFFNEN STROMSCHLAGGEFAHR | ||
| AVIS: RISQUE DE CHOC ÉLECTRIQUE - NE PAS OUVRIR | ||
230 V | 50/60 Hz | ||
~ |
|
|
|
L |
|
R |
|
C |
|
LS |
|
RS |
|
0° | 180° |
L |
|
R |
|
C |
|
LS |
|
RS |
|
0° | 180° |
L |
|
R |
|
C |
|
LS |
|
RS |
|
0° | 180° |
Connecting the active subwoofer
1Connect the cables for subwoofer to the »TO SUBWOOFER« socket on the DVD Micro System and the »FROM MAIN UNIT« socket on the subwoofer.
Connecting the front loudspeakers
1Connect the cables for the left and right loudspeakers to the »L xy« and »R xy« terminals of the subwoofer and the corresponding terminals of the loudspeakers.
Connecting the central loudspeaker
1Connect the cables for the central loudspeakers to the »C xy« terminals of the subwoofer and the appropriate terminals on the loudspeaker.
Connecting the surround loudspeakers
1 Connect the cables for the left and right surround loudspeakers to the
»LS xy« and »RS xy« terminals on the subwoofer and the appropriate terminals on the loudspeakers.
Connecting a television, a flat screen or a projector
You have four options, depending on the sockets you have on your television, flat screen or projector:
–Connection to the
–If your television has no
–Alternatively, you can connect it using cinch cables to the VIDEO OUT sockets and the AUDIO OUT audio sockets for standard picture quality.
–Good picture quality is ensured if you connect the television to the Y, Pb/Cb, Pr/Cr video sockets using a component cable and to the AUDIO OUT audio sockets using a cinch cable.
FM ANT |
|
|
| AUDIO OUT | |
|
| S VIDEO OUT |
| ||
|
| Y | Pb/Cb | Pr/Cr | |
AM ANT |
|
|
|
|
|
| EURO AV | TV |
|
|
|
TO SUBWOOFER | SL | SUB |
|
|
|
FR | SR | CL |
|
| 230 V~ |
|
| 50/60 Hz | |||
Connection using a EURO-AV (Scart) cable
1 Plug the ![]() TV« socket of the DVD Micro System and into the corresponding socket on the television, flat screen or projector.
TV« socket of the DVD Micro System and into the corresponding socket on the television, flat screen or projector.
16
