The Clock
Here too, each entry step (button pressure) must be completed within a period of 5 seconds.
You can enter clock times no matter whether the unit is switched on or off.
There are several possible methods for entering clock and switching times.
Examples: |
|
|
Clock time | Possible entries | |
1st example: Clock time 6.30 |
| 6.30 |
|
| 06.30 |
2nd example: Clock time 15.00 | 15. | |
|
| 15.00 |
3rd example: Clock time 0.15 |
| .15 |
|
| 0.15 |
|
| 00.15 |
Setting the Clock (TIME I)
Setting TIME I with the help of a reference clock.
Example TIME I: 6.30 h
The display must indicate TIME I.
Enter the clock time with the numeric buttons immediately before the reference clock changes from 6.29.59 to 6.30.00. The period between the last entry and 6.30.00 must not exceed 5 seconds.
Press the ¦ TIME I/II button at the moment when the reference clock jumps from 6.29.59 to 6.30.00. When pressing the ¦ TIME 1/2 button, the clock is started exactly to the second and the minutes indication will flash.
Setting the Clock (TIME II/Clock Time II)
For setting TIME II follow the same steps, except that the display must indicate TIME II.
As the seconds of TIME II are running synchronously with the seconds of TIME I, it is not necessary to wait until the minute changes.
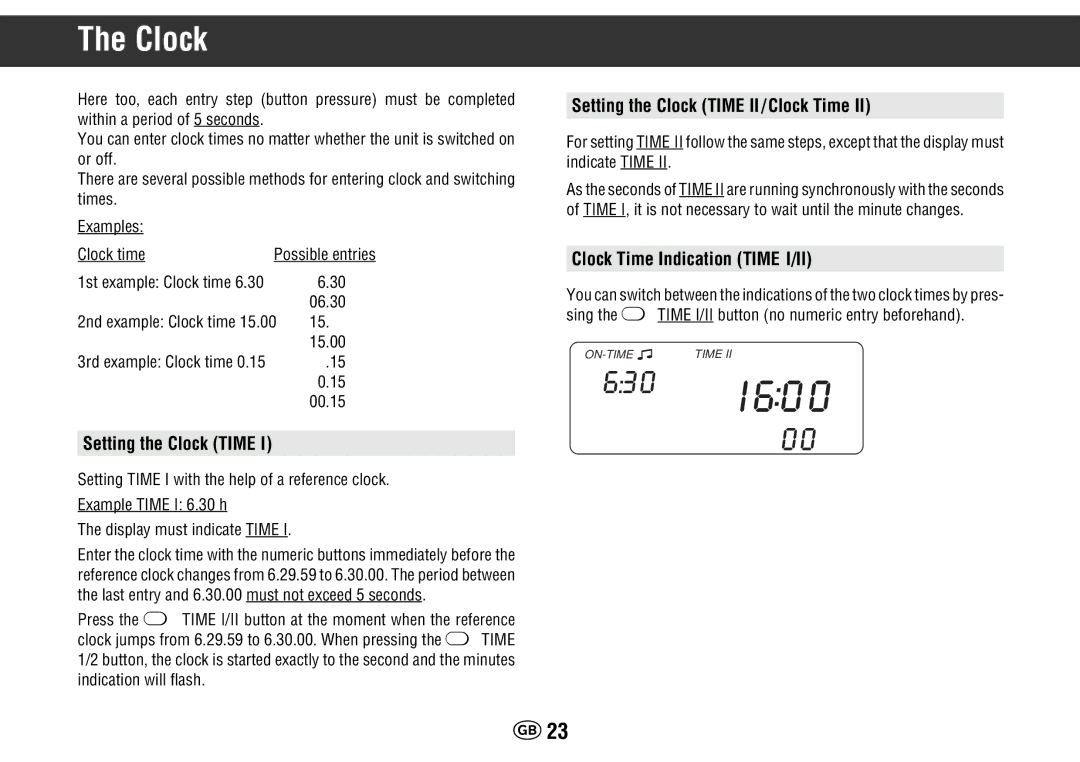
Clock Time Indication (TIME I/II)
You can switch between the indications of the two clock times by pres- sing the ¦ TIME I/II button (no numeric entry beforehand).
| TIME II | |
8 6:3 | 0 | : |
|
| |
|
| 8.I.6.0.0 |
|
| 0 0 |
k23