Section 3
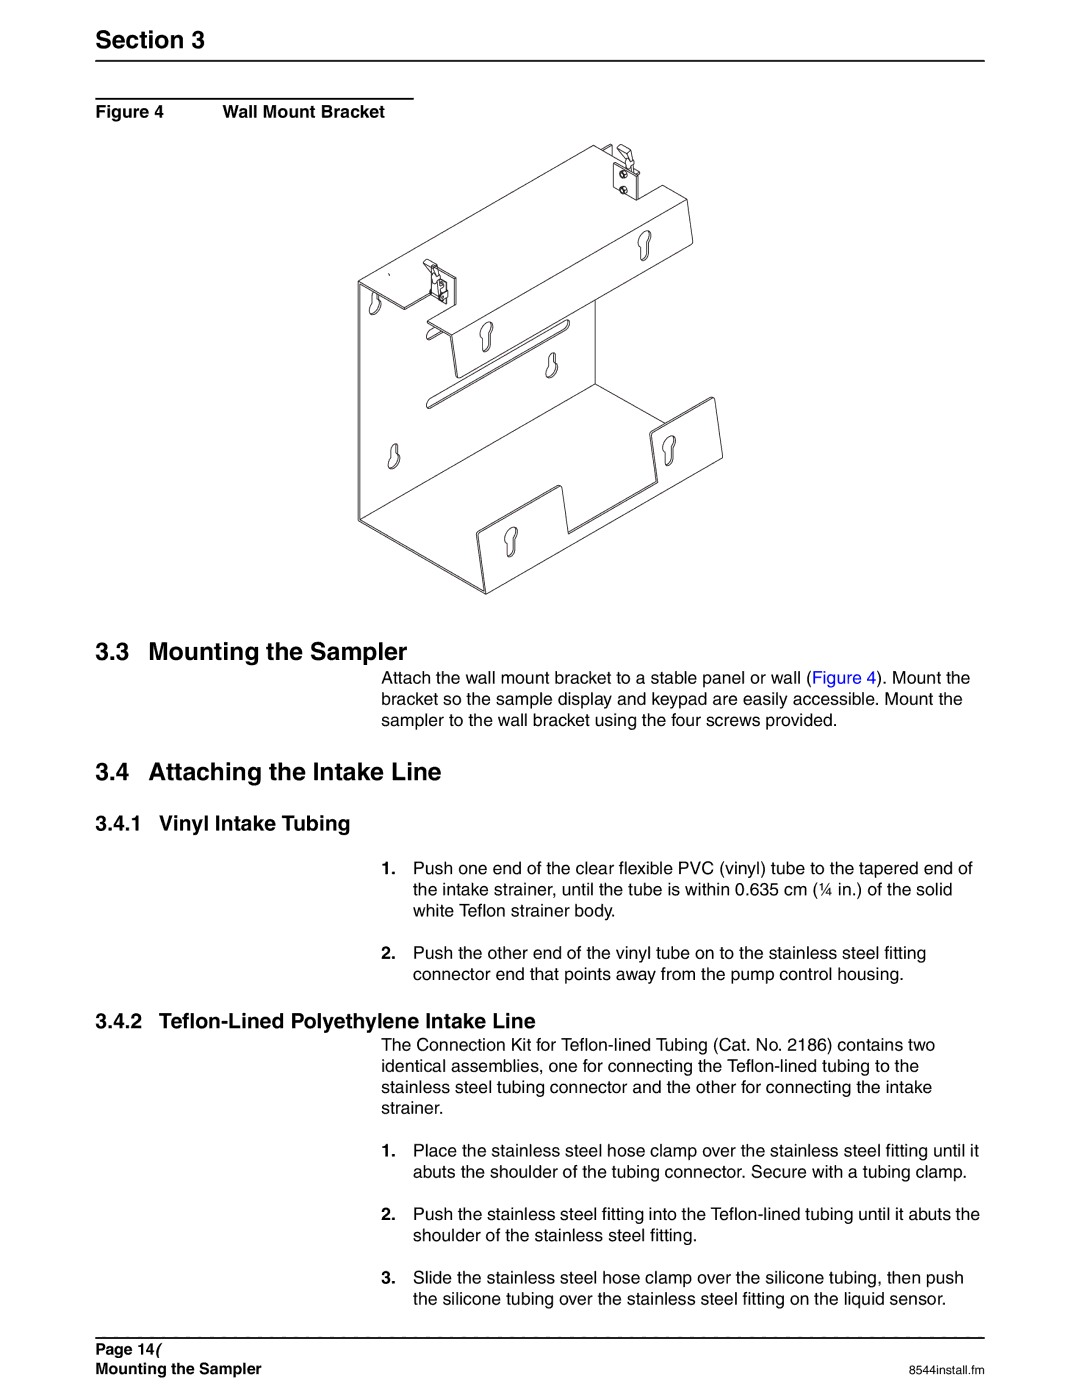
Figure 4 Wall Mount Bracket
3.3 Mounting the Sampler
Attach the wall mount bracket to a stable panel or wall (Figure 4). Mount the bracket so the sample display and keypad are easily accessible. Mount the sampler to the wall bracket using the four screws provided.
3.4 Attaching the Intake Line
3.4.1 Vinyl Intake Tubing
1.Push one end of the clear flexible PVC (vinyl) tube to the tapered end of the intake strainer, until the tube is within 0.635 cm (¼ in.) of the solid white Teflon strainer body.
2.Push the other end of the vinyl tube on to the stainless steel fitting connector end that points away from the pump control housing.
3.4.2Teflon-Lined Polyethylene Intake Line
The Connection Kit for
1.Place the stainless steel hose clamp over the stainless steel fitting until it abuts the shoulder of the tubing connector. Secure with a tubing clamp.
2.Push the stainless steel fitting into the
3.Slide the stainless steel hose clamp over the silicone tubing, then push the silicone tubing over the stainless steel fitting on the liquid sensor.
Page 14 |
|
Mounting the Sampler | 8544install.fm |
