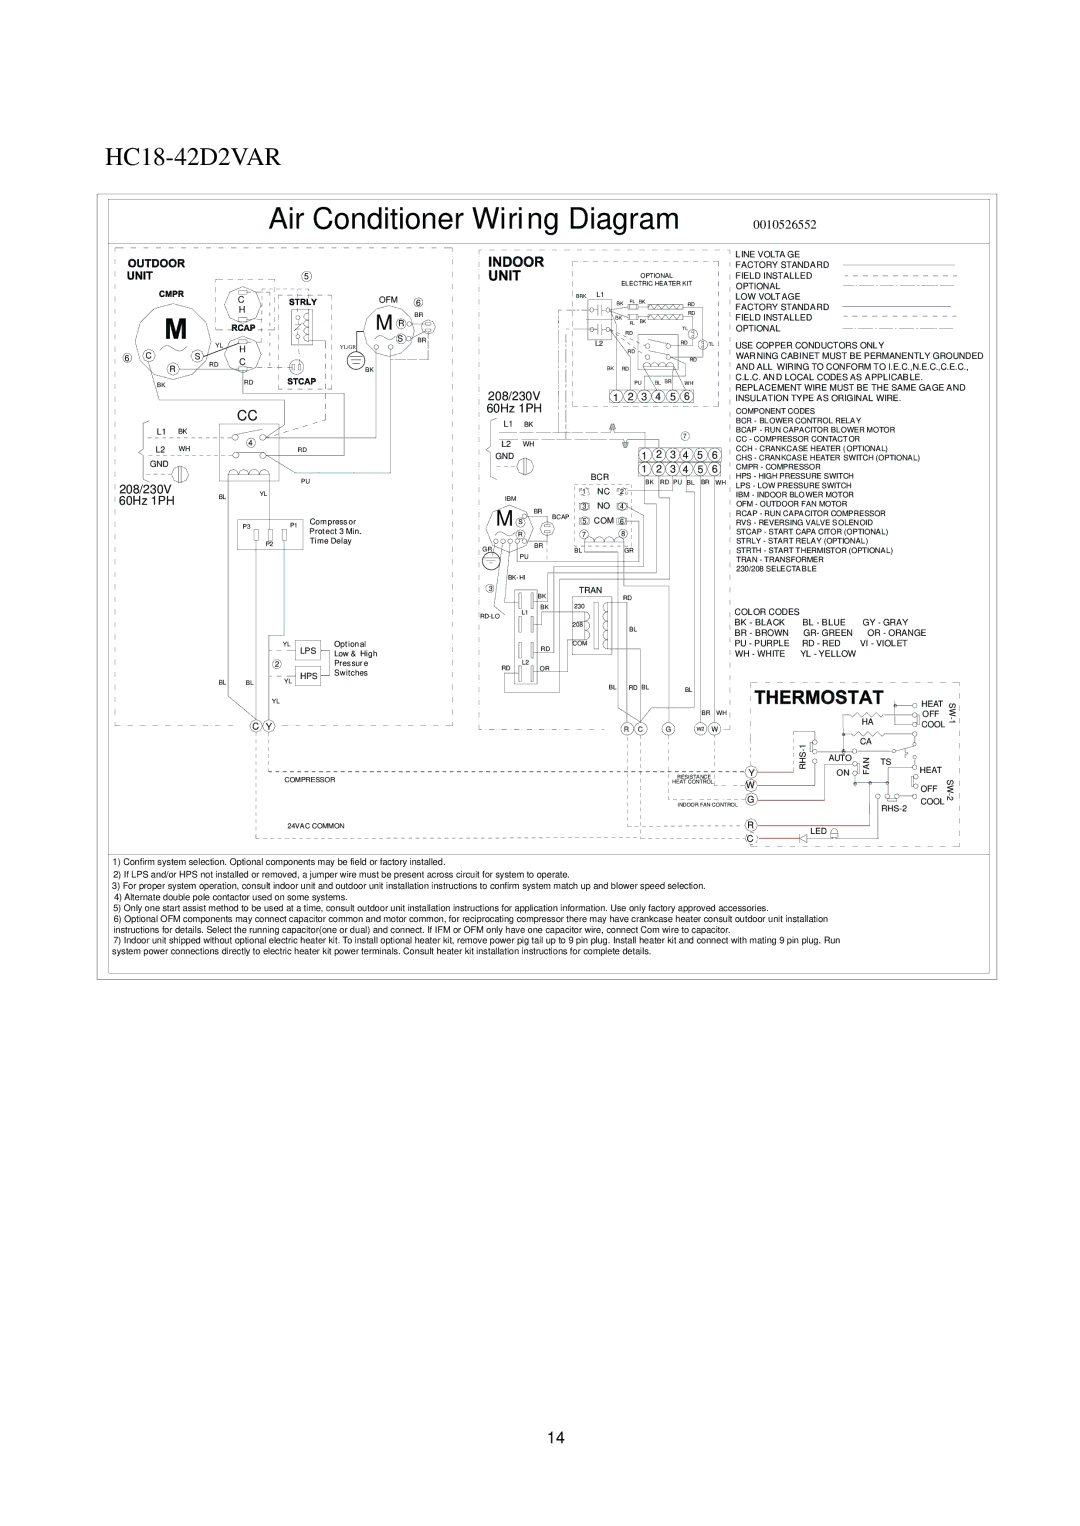
HC18D2VAR, HC24D2VAR, HC30D2VAR, HC36D2VAR, HC42D2VAR specifications
Haier has long been a name synonymous with innovative home appliances, and their line of high-efficiency mini-split air conditioning systems exemplifies this tradition of excellence. Among the standout models are the HC18D2VAR, HC24D2VAR, HC30D2VAR, HC36D2VAR, and HC42D2VAR. Each of these units brings unique features tailored to meet diverse cooling needs while emphasizing efficiency, comfort, and usability.The HC18D2VAR is designed for smaller spaces, affording homeowners effective cooling without breaking the bank on energy costs. It features variable refrigerant flow technology, allowing the system to adjust its capacity based on the current temperature and cooling load. This ensures optimal energy use while maintaining a consistent indoor environment. The built-in inverter technology further enhances efficiency, reducing energy consumption compared to traditional systems.
Moving to the HC24D2VAR, this model expands its capabilities, making it suitable for medium-sized rooms or offices. It boasts a sleek design that allows for discreet installation, while the advanced air filtration system effectively captures dust, pollen, and other allergens, enhancing indoor air quality. Additionally, its quiet operation ensures minimal disruption, making it ideal for bedrooms and study areas.
The HC30D2VAR is tailored for slightly larger applications, with superior cooling and heating performance. This model incorporates smart technologies such as Wi-Fi connectivity, enabling users to control their air conditioning remotely via a smartphone app. It also featuresmultiple airflow settings and a programmable timer that provides convenience for busy lifestyles.
For those needing even more cooling power, the HC36D2VAR and HC42D2VAR models are designed to handle larger spaces while maintaining energy efficiency. These units come equipped with advanced cooling technologies, including turbo cooling mode for quick temperature adjustment, and an extended range of operating temperatures, ensuring reliable performance in varying climates. The sleek aesthetic of these models blends seamlessly with modern interior designs.
All five models are equipped with user-friendly interfaces and remote control options, simplifying the adjustment of settings distance. With their high Seasonal Energy Efficiency Ratios (SEER), these Haier units provide a balance of comfort and efficiency, making them an excellent choice for homeowners looking to enhance their living environment while being environmentally conscious.
Overall, the Haier HC18D2VAR, HC24D2VAR, HC30D2VAR, HC36D2VAR, and HC42D2VAR models present a comprehensive solution for modern cooling needs, combining technology, efficiency, and design into one impressive package.